Give All 25 Kids a Brush Without the Chaos

Add us as a preferred source to see more stories on Google.
A classroom window is not really a decorating problem. It is a rota problem.
You have one window and twenty five children who all want a turn. Most window painting ideas you will find are designed for a family of four on a Saturday, and they fall apart the moment you scale them up, because there is nothing for the twentieth child to do that the first nineteen have not already done.
So choose your design by how it divides. If every child can add one thing without waiting long or painting over anyone, you have a good classroom window. If they cannot, you have a lovely picture that three children made while everyone else watched.
These seven designs all divide cleanly, and each one tells you how.
Designs that divide by the child
Each of these gives every child in your group exactly one job.
Paint the tree, hand out the leaves
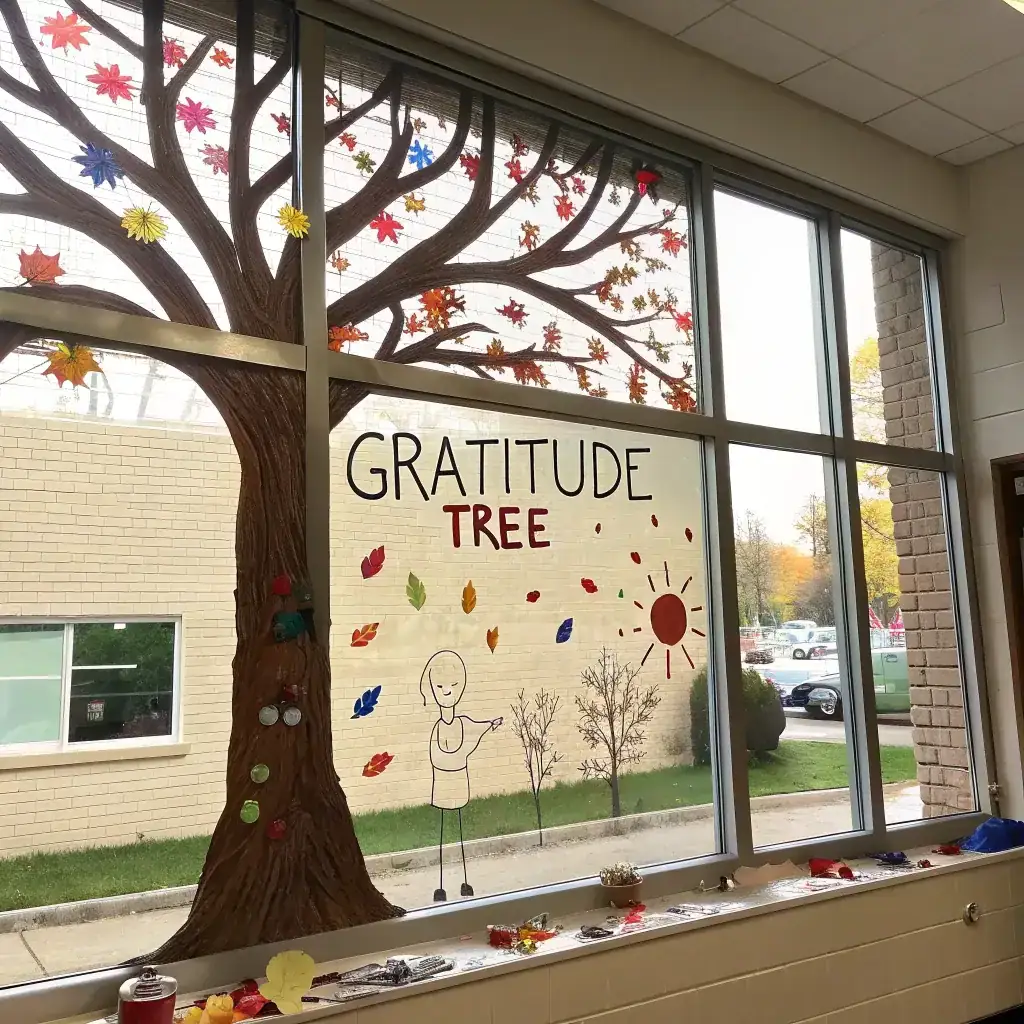
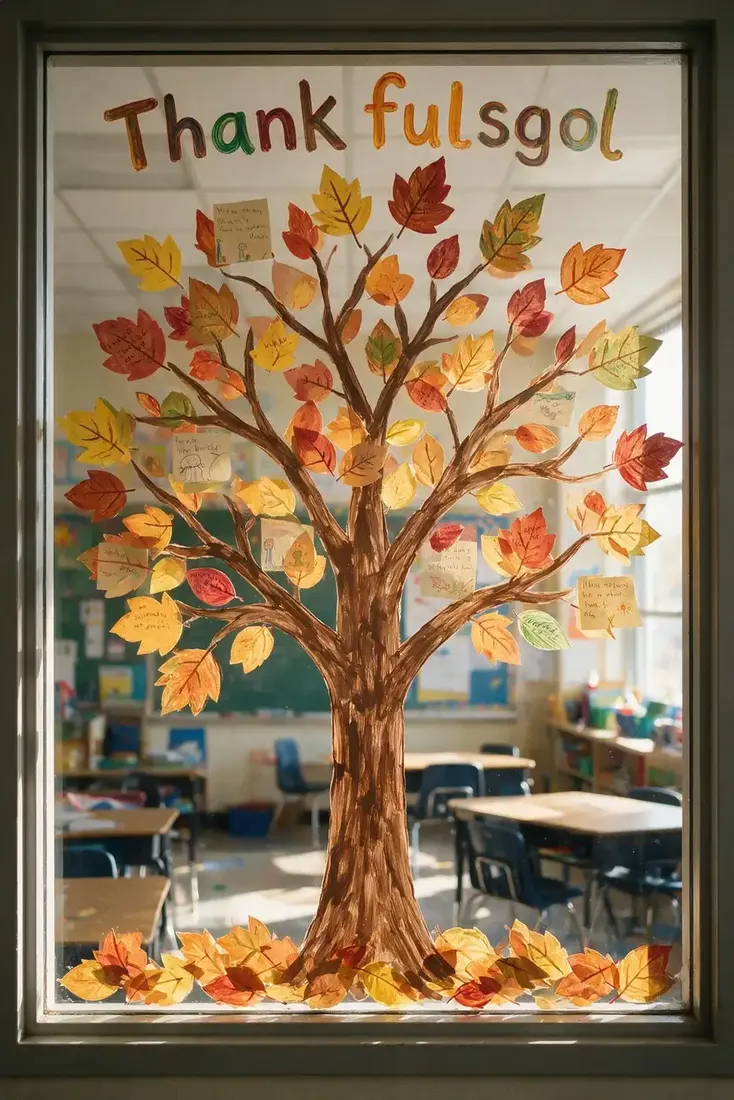
If you only use one design from this page, use this. You paint the trunk and branches, then every child adds a leaf. Twenty five leaves make your tree look full rather than crowded, so you have no upper limit on how many children can join in. Your youngest can dab, your oldest can paint a proper maple shape, and both sit happily on the same tree. It also solves the problem of children arriving at different times, since a late leaf is still a leaf.
Turn that same tree into a gratitude display
Once your tree is up, give each leaf a purpose. Every child writes or draws one thing they are thankful for on their leaf, and your seasonal decoration turns into a piece of classroom work you can point at all term. For your younger groups, write the words for them and let them decorate around it. This is the design that survives longest on your wall, because parents at pick-up stop and look for their own child’s leaf.
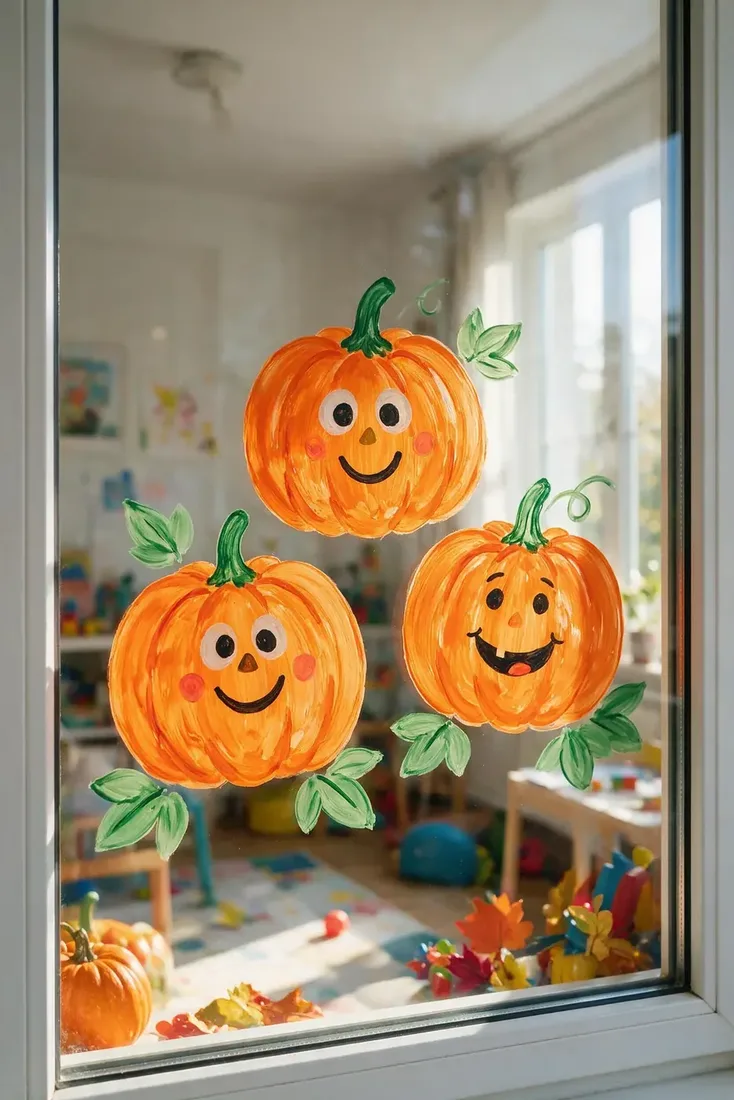
Give every child a pumpkin to decorate
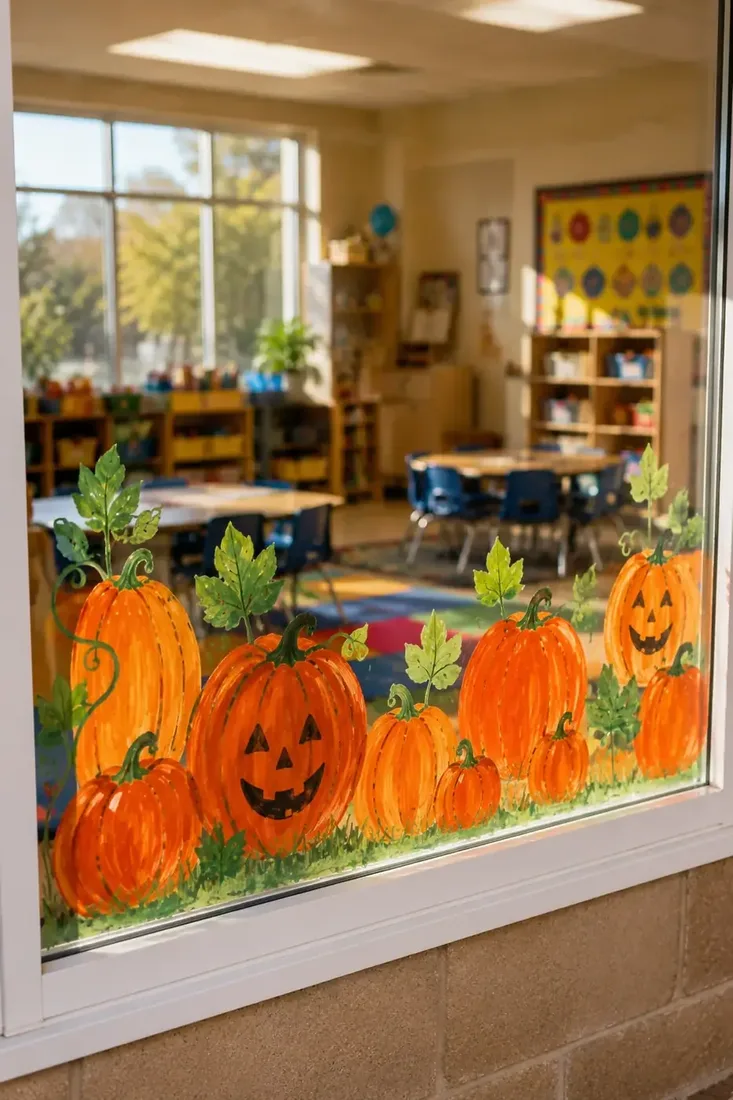
Paint a row of orange ovals along your lower pane, let them dry, then assign one to each child. They add the face, the stripes, the stem, whatever they like. Because you painted them at the same size and spacing, your row still reads as a patch no matter how strange the faces become. This is your fastest option, and it is the one to reach for when you have twenty minutes before the end of the day rather than a whole afternoon.
Designs for the youngest rooms
Daycare and preschool need shorter jobs and lower glass, so these three are built for you.
Run a mushroom border along the sill
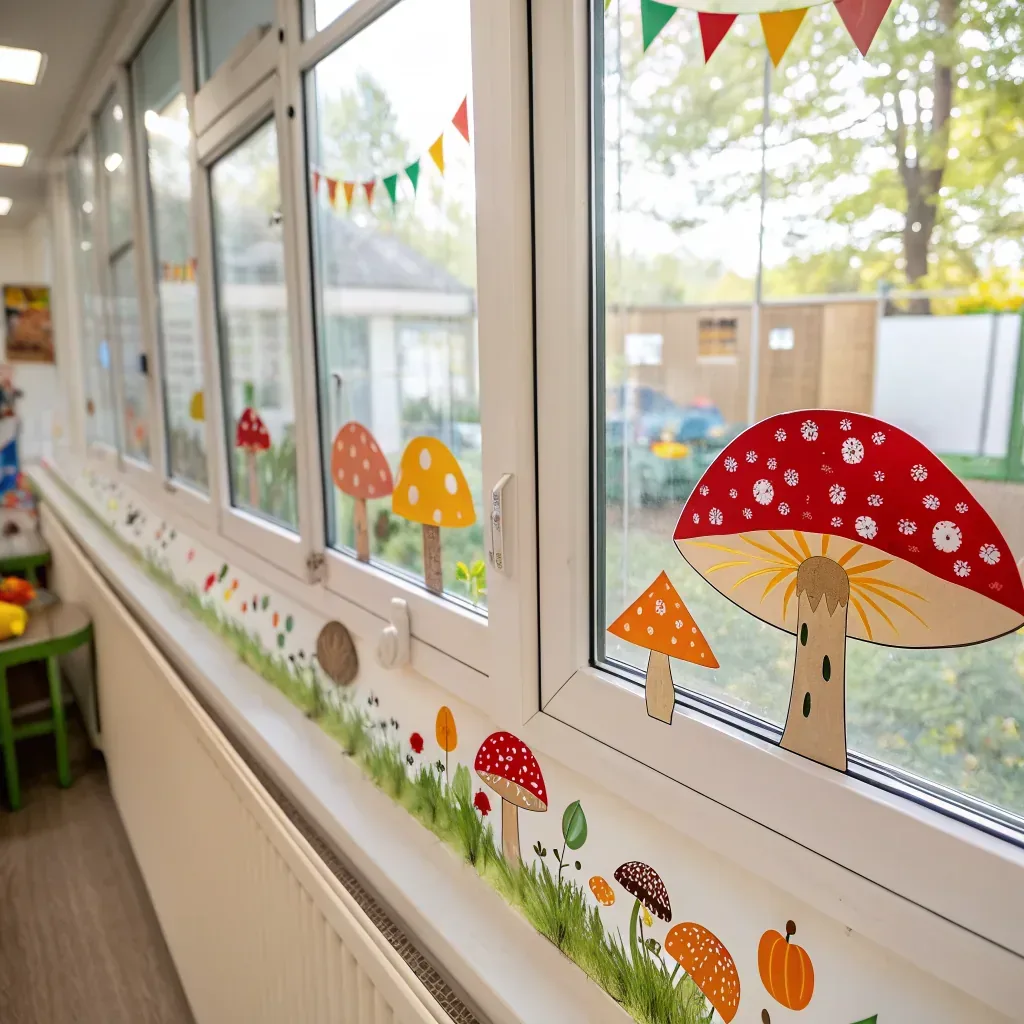
Paint a green grass line at the very bottom of your windows, then let each child add one mushroom above it. A mushroom is a cap and a stalk, so there is no wrong version and nothing to correct. Because it all sits at ankle height for you and eye height for them, your two and three year olds can work standing up without being lifted. Spots on the caps keep them busy longest, and you can always add more.
Let each child claim one woodland animal
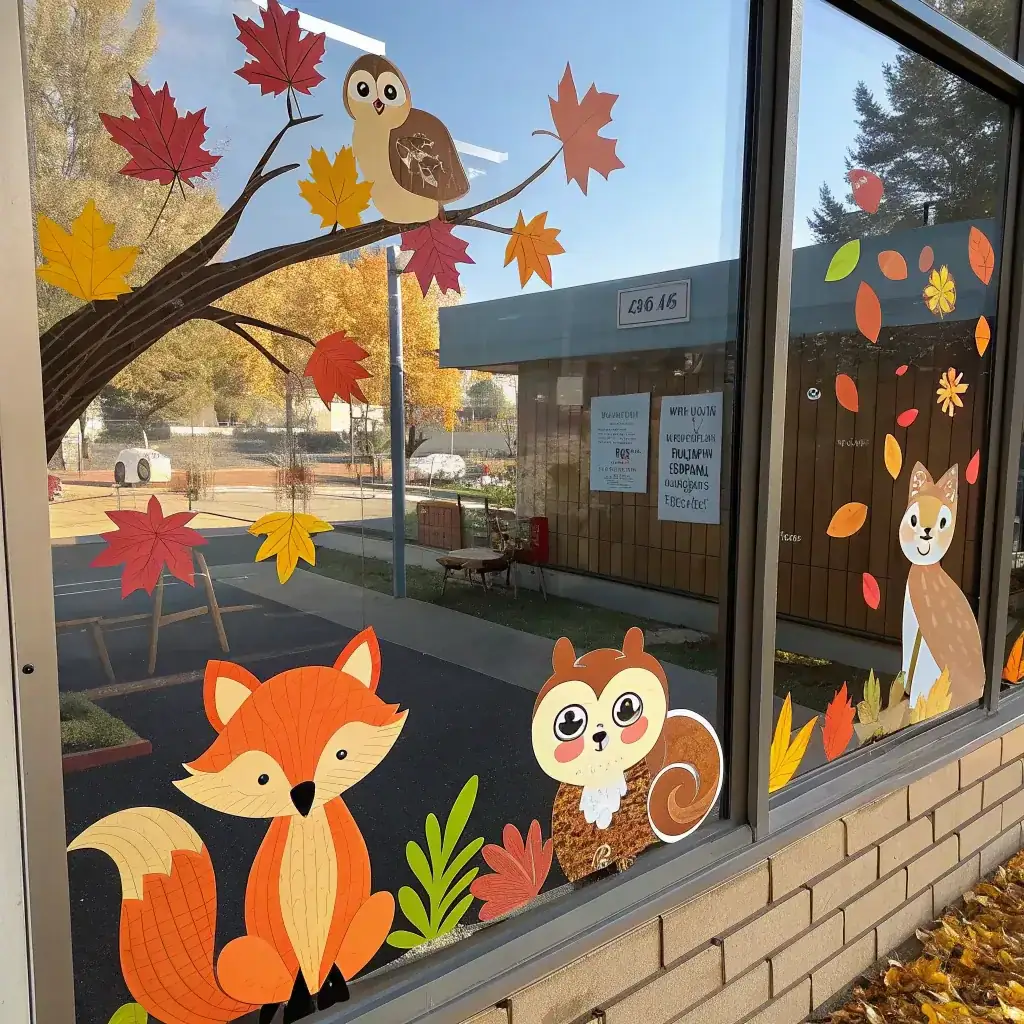
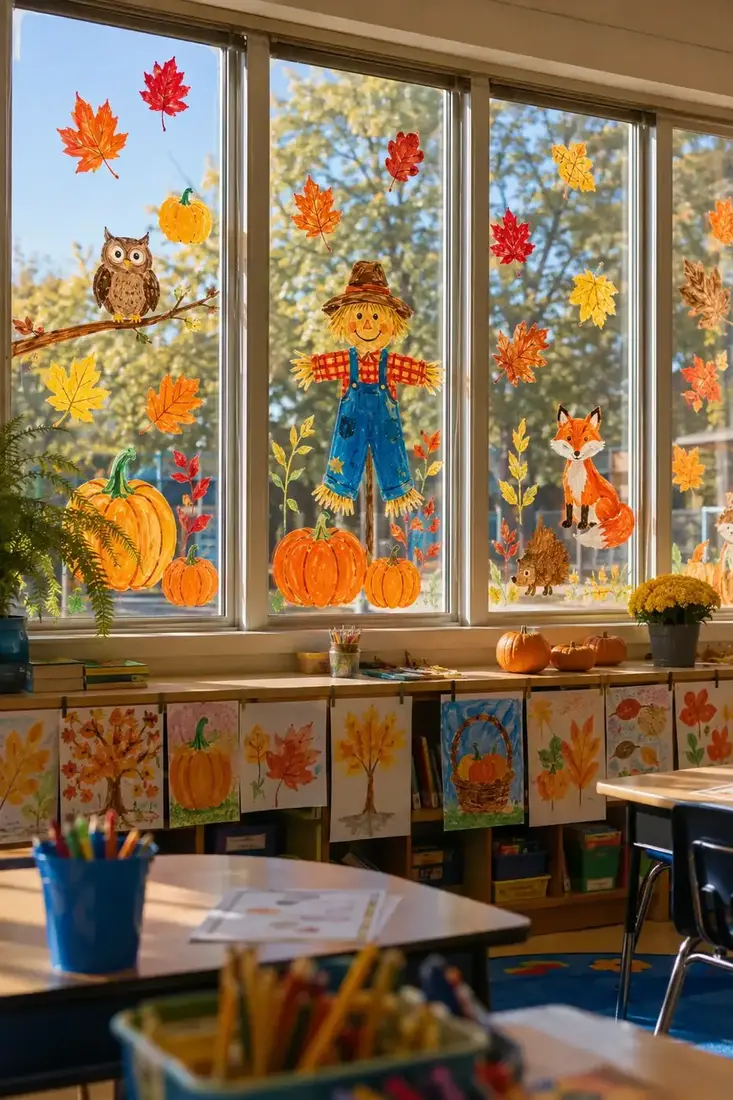
A fox, a squirrel, an owl and a hedgehog give you four characters children recognise instantly. Paint the outlines, then let small groups colour them in and add the leaves around them. Animals hold a young child’s attention far longer than a pattern does, and they give you something to talk about while your group works. Keep the shapes large and simple so the colouring is genuinely theirs rather than a careful filling-in exercise they cannot manage.
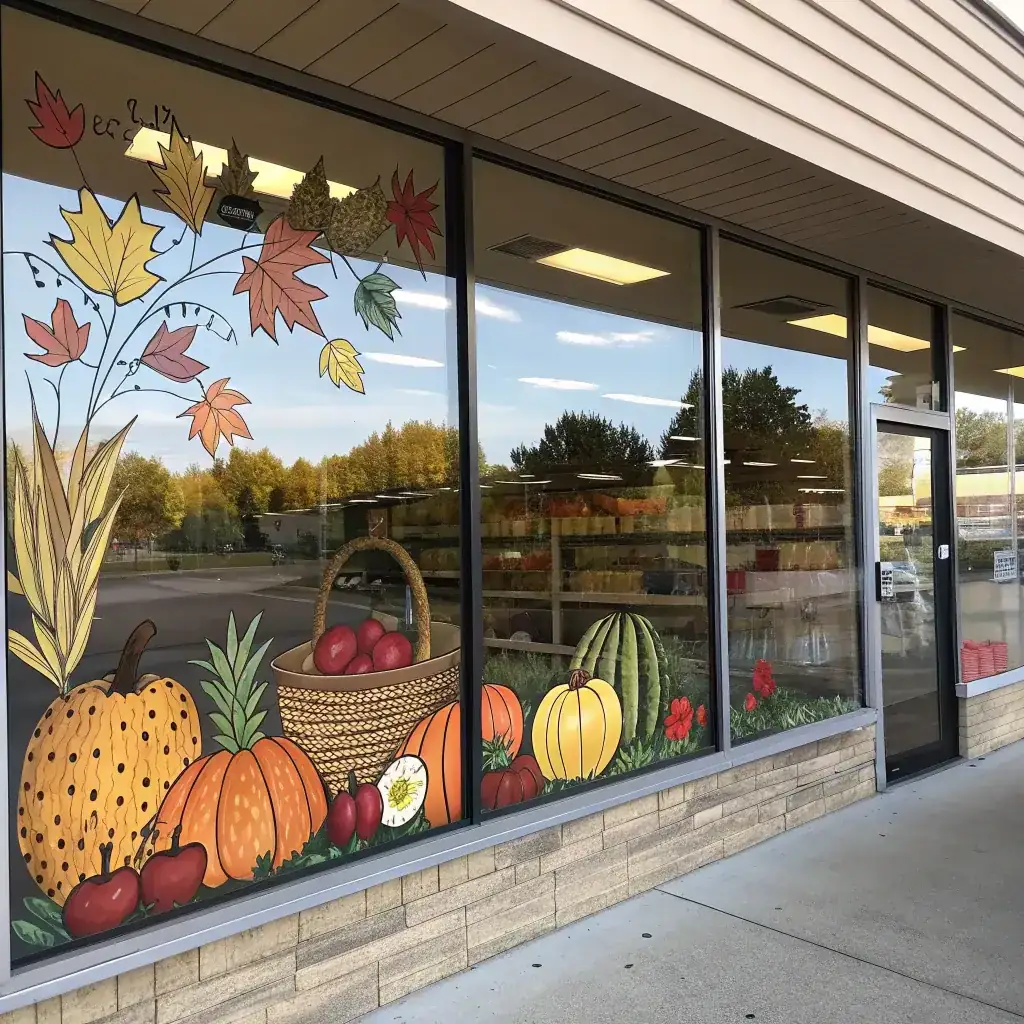
Fill a harvest basket one piece at a time
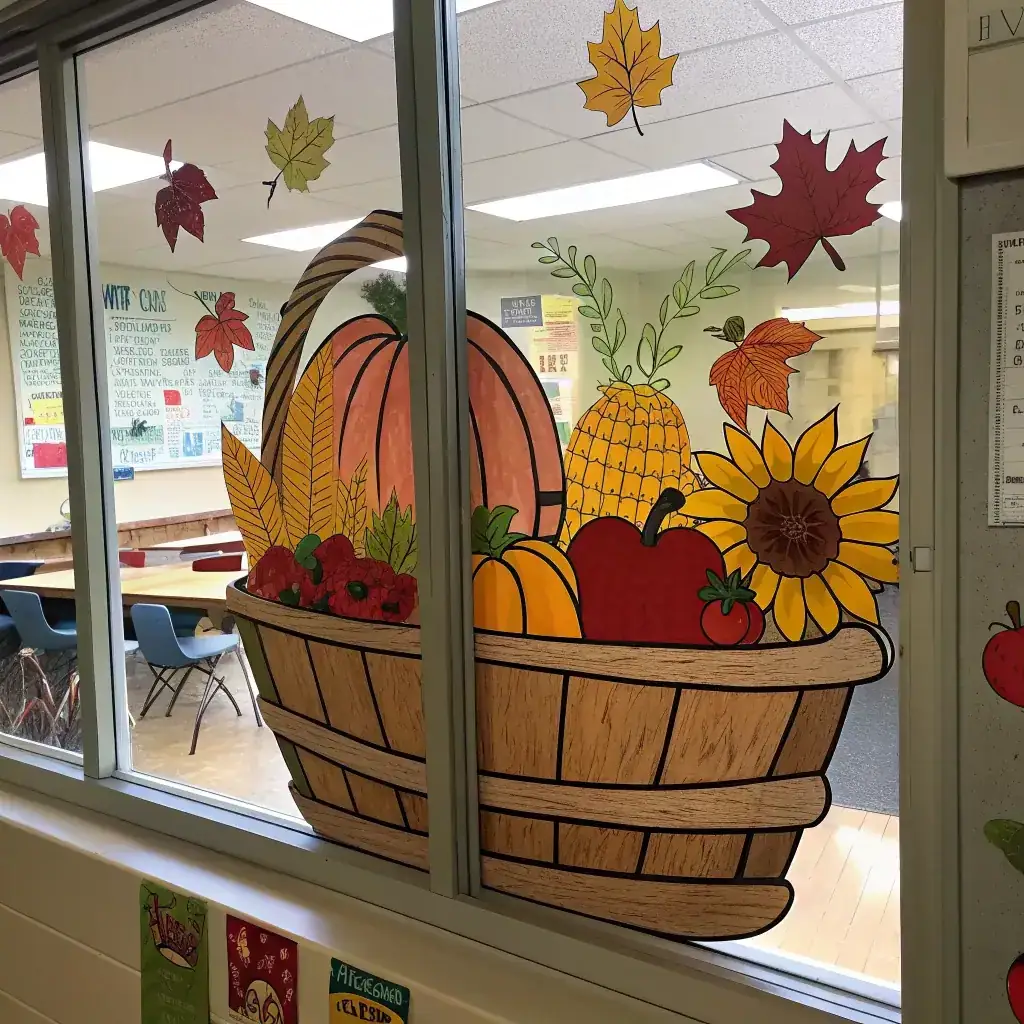
Paint a large basket shape, then let children add fruit and vegetables to it across several days. Apples are circles, pumpkins are ovals, corn is a few lines. Nobody has to finish anything, which suits your room when attention comes in short bursts, and the basket keeps looking better as it fills. It also gives you an easy way to talk about where food comes from while the painting happens.
When you have a whole bank of windows
Give each window its own subject
A long run of classroom glass defeats a single scene, so stop trying to make one work. Put an owl and a scarecrow on one pane, pumpkins on the next, leaves on the third. Each pane becomes a small project you hand to a different group, and you finish them on different days without anything looking half done. It also means a group that finishes early gets a whole window rather than a corner of somebody else’s.
Matching the design to your group
| Your situation | Choose | Why it fits |
|---|---|---|
| Whole class, one session | Tree with a leaf each | No limit on how many can join |
| Twenty minutes before home time | A pumpkin each | Row is already painted and dry |
| Two and three year olds | Mushroom border on the sill | Reachable standing, no wrong version |
| Children arriving at different times | Harvest basket | Nothing has to be finished |
| A long bank of windows | One subject per pane | Different groups, different days |
| You want it to count as work | Gratitude tree | Display and lesson in one |
The One Window, Many Hands Formula
- Ask how it divides before you ask how it looks. Twenty five hands need twenty five jobs.
- You paint the structure, they paint the repeated bit. Trunks and outlines are yours.
- Work low. Anything above their standing reach becomes your job by default.
- Small groups, not the whole room. Four at the glass, the rest doing something else.
- Choose designs that grow. Late arrivals and short attention spans stop being a problem.
- Make it earn its place. Counting, colours, or gratitude turn a display into a lesson.
Follow those and the window paints itself over a week without you standing guard. For designs to use at home with one or two children, see our fall window painting ideas for kids.
Paint, permissions and the practical bits
Use a washable paint or window marker clearly labelled for glass, and read the removal instructions before your first session rather than in the last week of term.
Check with your site or facilities team first. School glazing often carries safety film, tinting or a coating, so what comes off a home window easily may not come off yours. Test a small hidden area and leave it a day.
Plan the clean-up before you plan the design. Painting a vertical surface means drips, so lay something along the sill, keep cloths at the window rather than at the sink, and decide in advance which display board or shelf is going to lose a corner to drying brushes.
If you want the simplest possible shapes to start from, our easy fall window painting ideas break every design down to circles and ovals. In late October, our Halloween window painting ideas show how to add to the display rather than repaint it.
Frequently Asked Questions
How do I let a whole class join in on one window?
Choose a design where you paint the structure and each child adds one repeated element, such as a leaf on a tree or a face on a pumpkin. That gives every child a visible piece without anyone painting over anyone else.
What is the best fall window design for preschool?
A mushroom or grass border along the very bottom of the glass. It sits at standing height for small children, a mushroom has no wrong version, and adding spots keeps two and three year olds busy.
Can window painting count as a learning activity?
Yes. A gratitude tree where each child writes something on their leaf becomes a display and a lesson at once. Harvest baskets work the same way for talking about food, counting and colours.
What paint should a classroom use on windows?
A washable paint or marker labelled for glass, checked with your site team first. School glazing often has safety film or a coating, so test a small hidden area a day before the session.
How do I manage the mess with a big group?
Work in small groups of about four at the glass while the rest do something else, keep the design low, lay a cover along the sill, and keep cloths at the window rather than across the room.
What should I do with a long bank of windows?
Give each pane its own subject rather than stretching one scene across all of them. Different groups can take different panes on different days, and nothing looks half finished in between.
This article may contain affiliate links. We may earn a commission at no extra cost to you.