Layer Halloween Onto the Fall Window You Have
Add us as a preferred source to see more stories on Google.
Most people repaint their windows twice in autumn, and they do not need to.
Your fall design goes up in September. Then October arrives, you scrub it off, and something black and busy goes up in its place. By the first week of November that has to come off too, and you have scrubbed the same glass twice for one season.
There is a better way to do this. Halloween works best as an addition rather than a replacement, because black shapes read strongest against warm colour, not against more black. Three bats over your existing pumpkins will do more for you than a whole window of them.
So these nine designs are arranged by how much dark they add, starting with almost none.
Add a little, change everything
These three assume you already have pumpkins or leaves on your glass.
Send three bats across what you already have
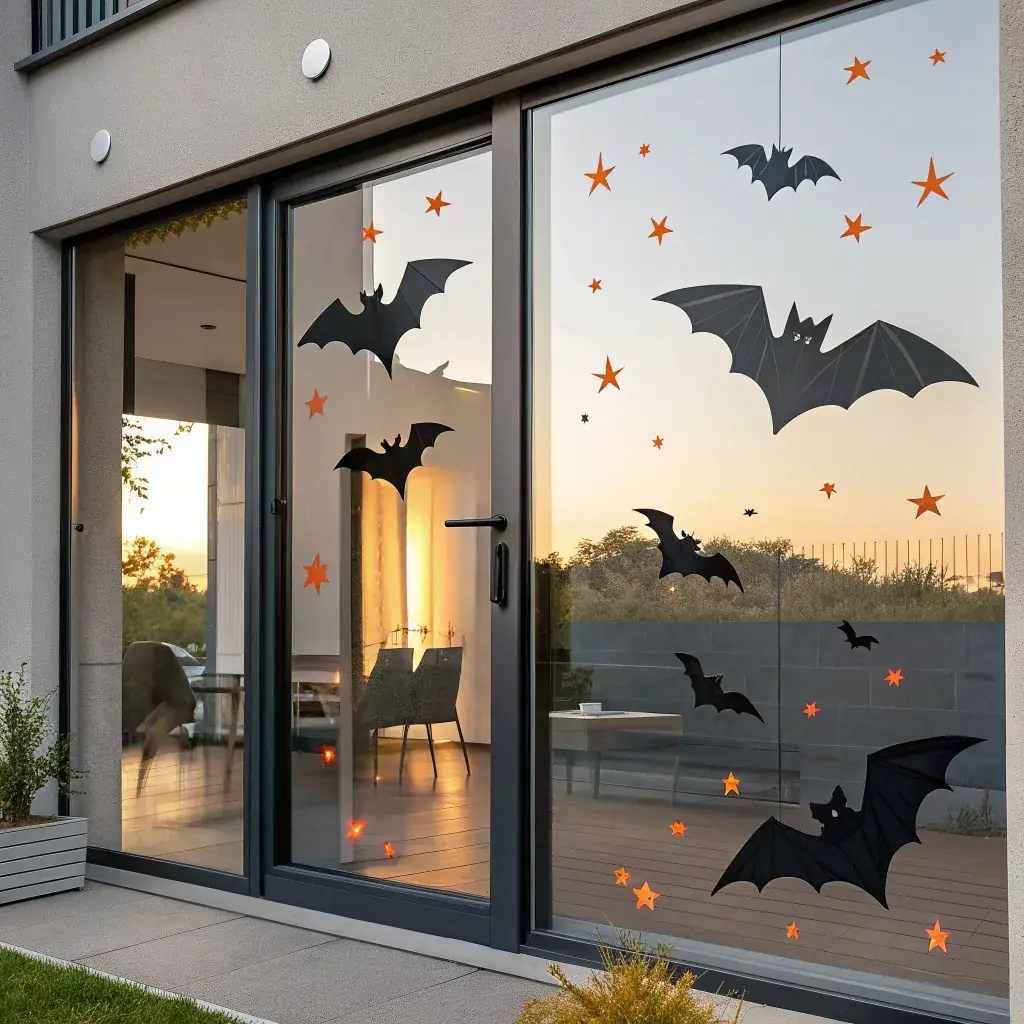
This is the smallest change you can make for the biggest effect. Paint three or four black bats flying diagonally above what you already have, in different sizes, spaced unevenly. That is it. Your pumpkins stay, your leaves stay, and the window reads as Halloween from the moment the bats appear. A bat is two curves and a body, so you are done in minutes, and it comes off in November leaving your fall window intact underneath.
Turn a pumpkin patch into a night scene
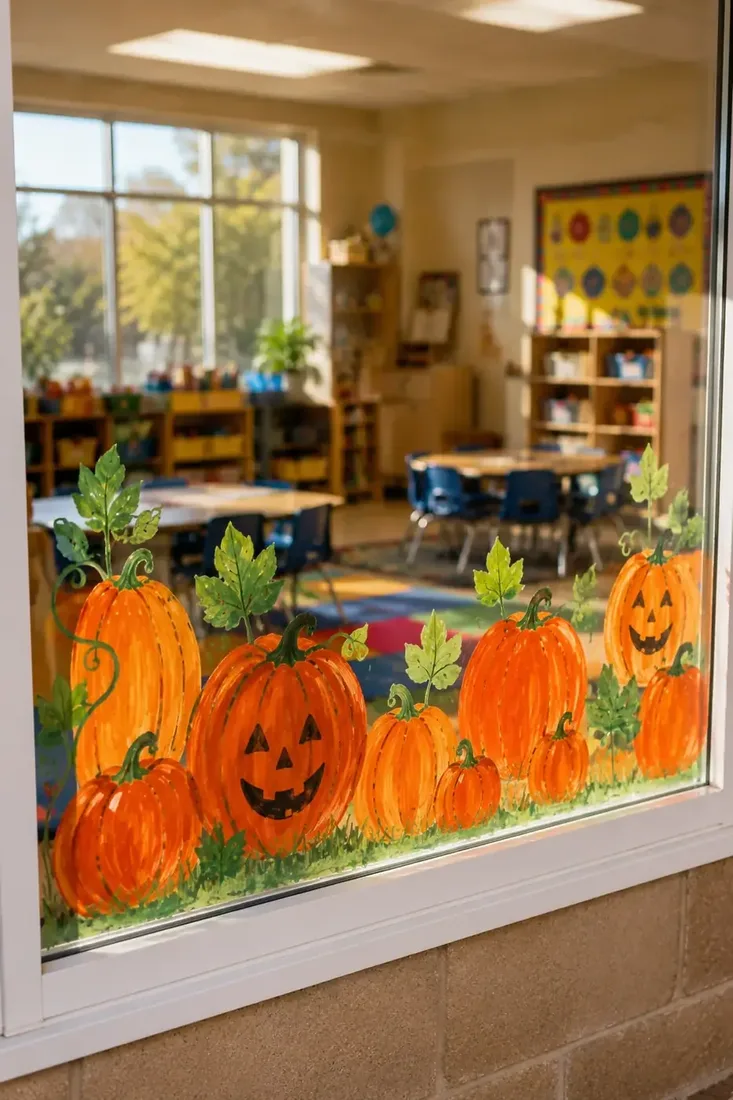
You already have pumpkins along the sill. Add a moon and a scatter of stars above them, and a few bats between, and your painting shifts from a harvest to a Halloween night without you touching a single pumpkin. This is the design to choose if you want your children to feel the change happened while nothing they made got wiped away, which matters more to them than it does to you.
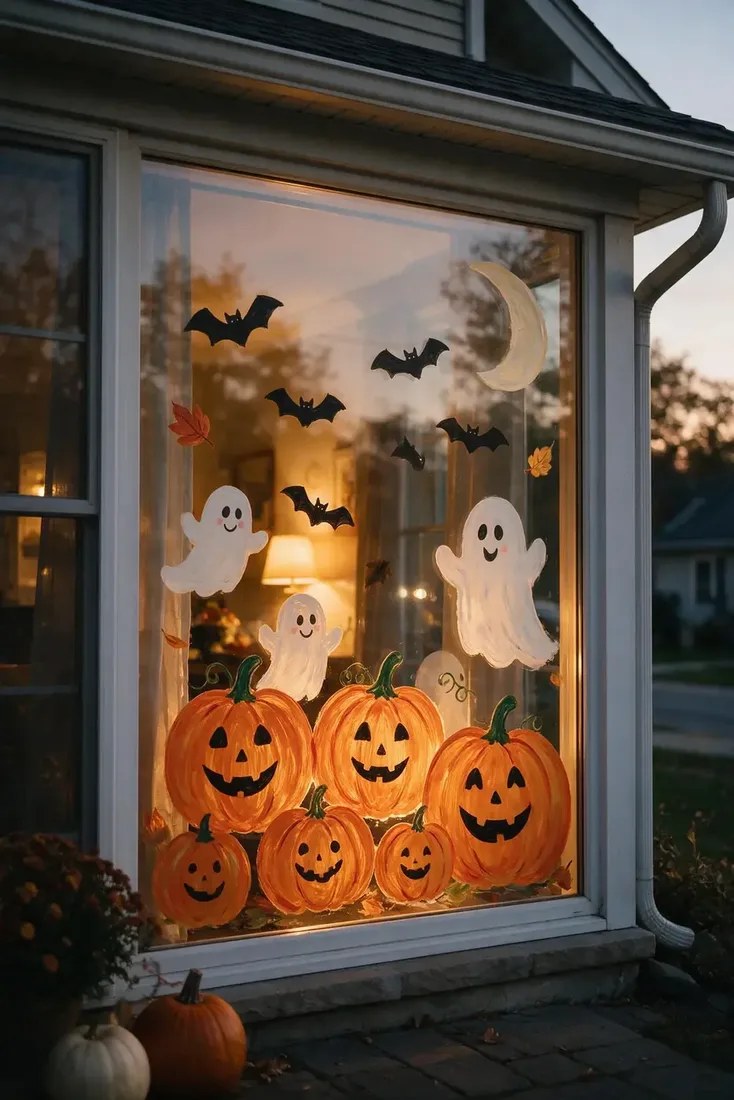
Float a few friendly ghosts and stop there
A ghost is the easiest Halloween shape you will ever paint: one wobbly white outline with two dots and a mouth. Paint two or three around the edges of your glass, leave the middle clear, and give each a slightly different expression. White on glass stays light and open, which makes this the gentlest option on the list and the right one for a window in a young child’s room.
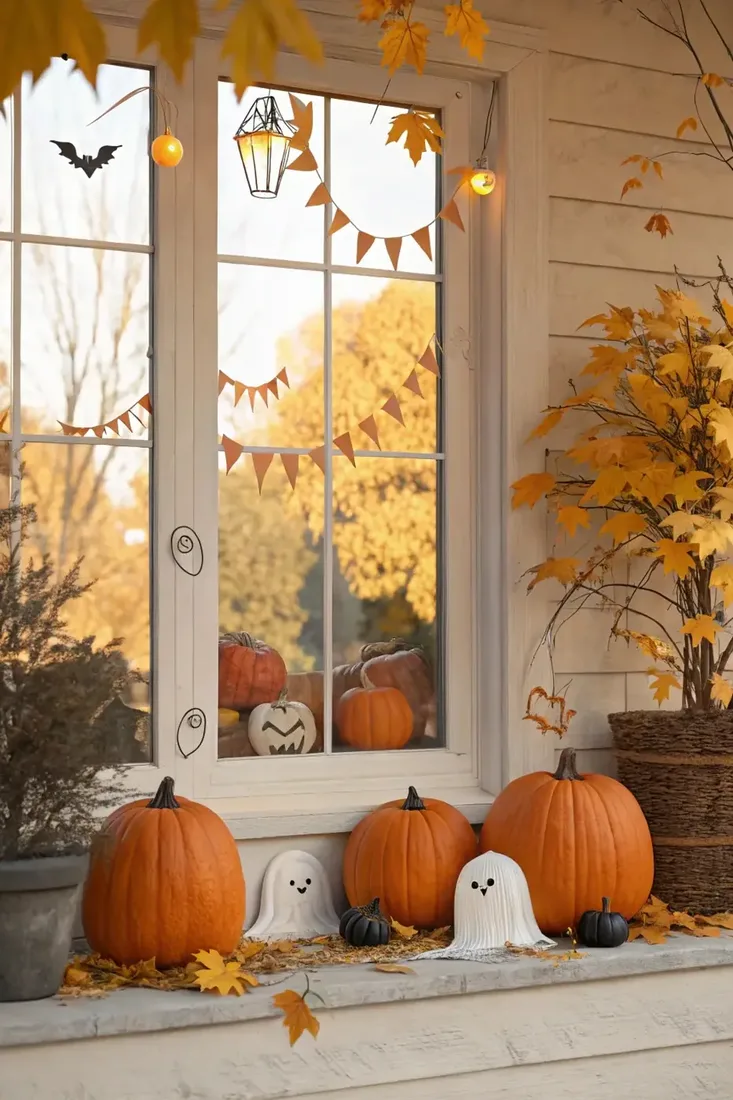
One strong image
If you would rather paint one thing well than several small things, these are yours.
Put a black cat against a big moon
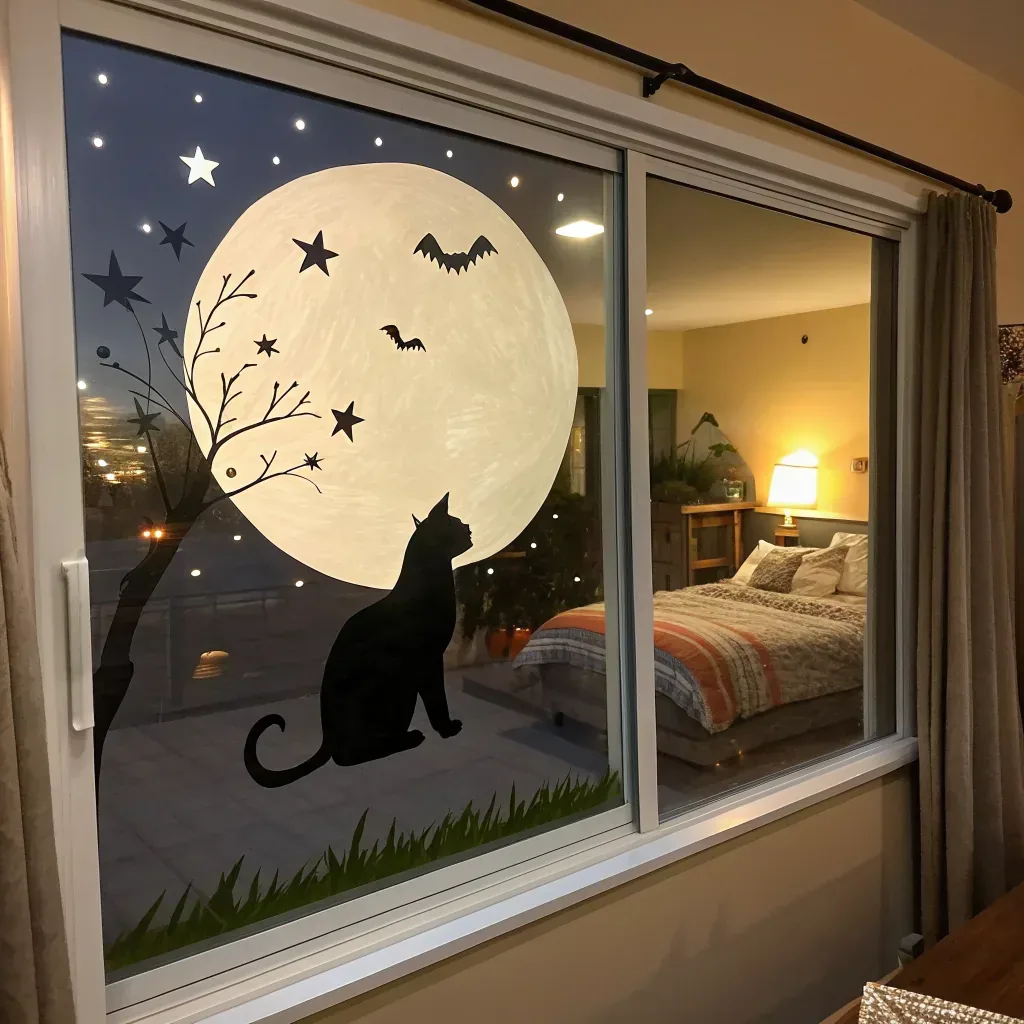
This is the most striking design here and one of the easiest you can attempt, because both shapes are silhouettes. Paint a large pale moon, then a black cat sitting in front of it, and add a bare branch and a few stars. Silhouettes need no interior detail at all, so you have nothing to get wrong beyond the outline. At night, with a lamp on behind it, your moon glows and the cat goes solid black, which is the whole effect in one.
Build a haunted house on the lower half
A haunted house looks far harder than it will be for you. A crooked roof, a chimney, a few lit windows and a fence, all in black, with a moon behind. Keep it low on your glass so the sky above stays open, then add two bare trees either side to finish it. Resist filling your sky with detail, because the empty part is what makes the house read as a silhouette against a night rather than a drawing on a window.
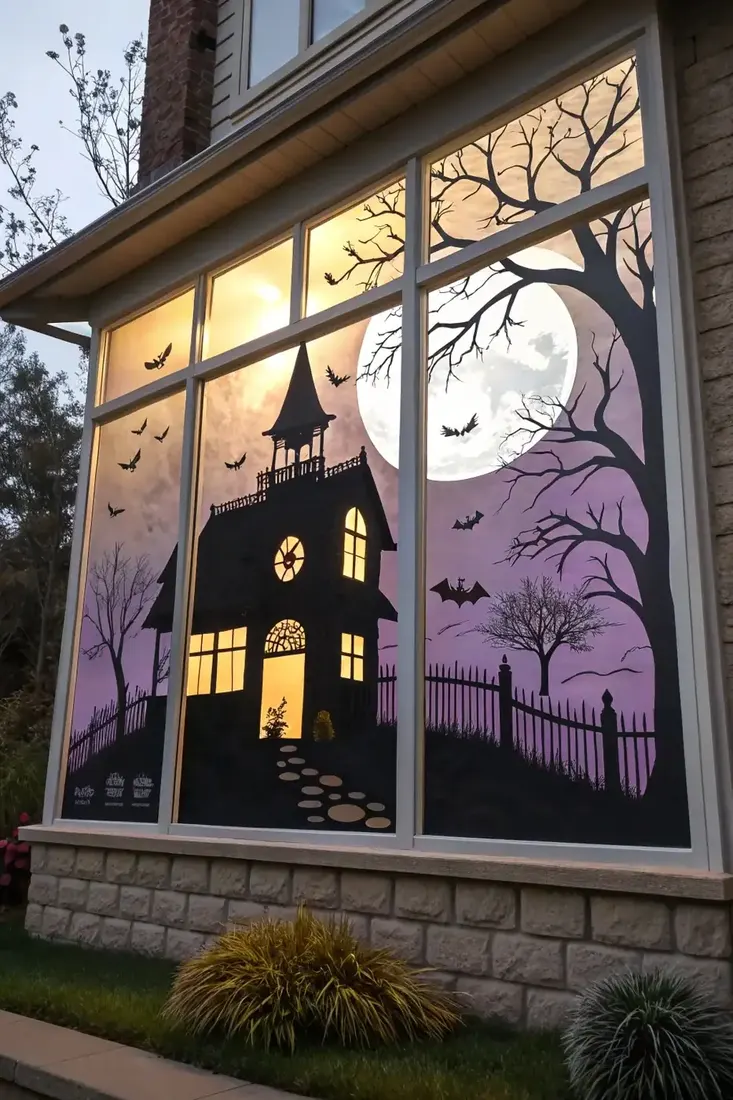
Hang one web in a corner
A single spider web in an upper corner with one small spider does more than a window full of webs. Draw your radiating lines first, then join them with curves, and keep them thin. Choose it for a small bathroom window, a narrow side panel, or any pane where a full scene will not fit. You will be finished in about five minutes.
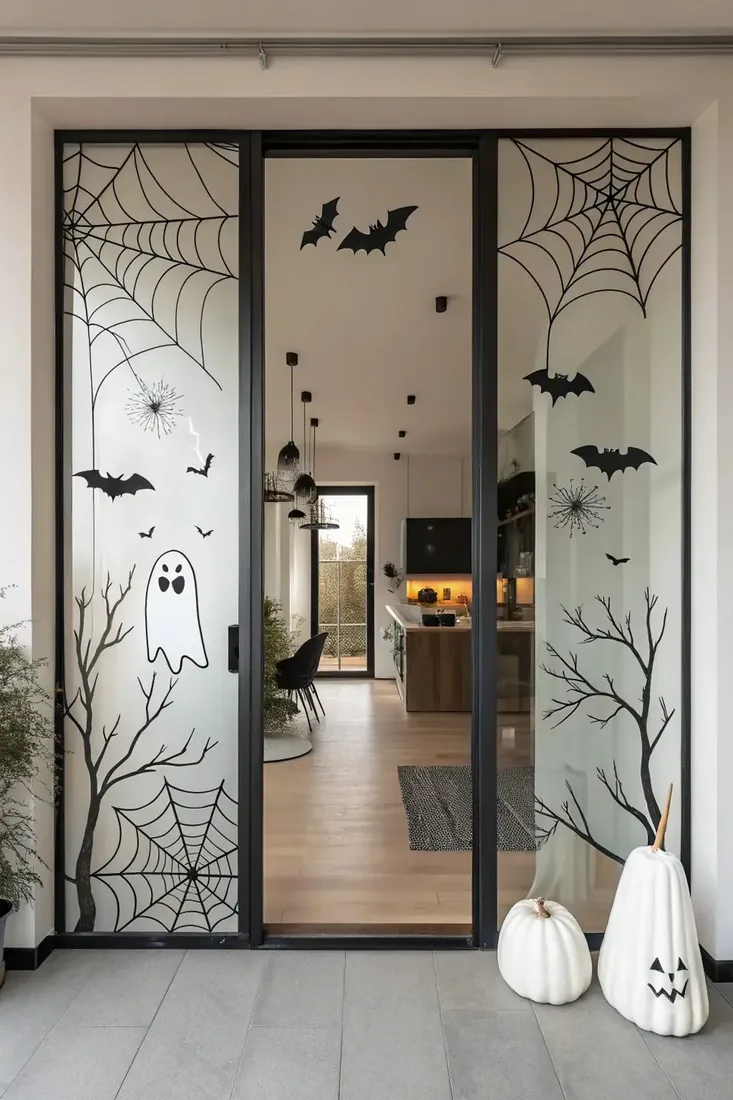
Choosing your level of spooky
Not every household wants the same thing here, and neither does every window in your house.
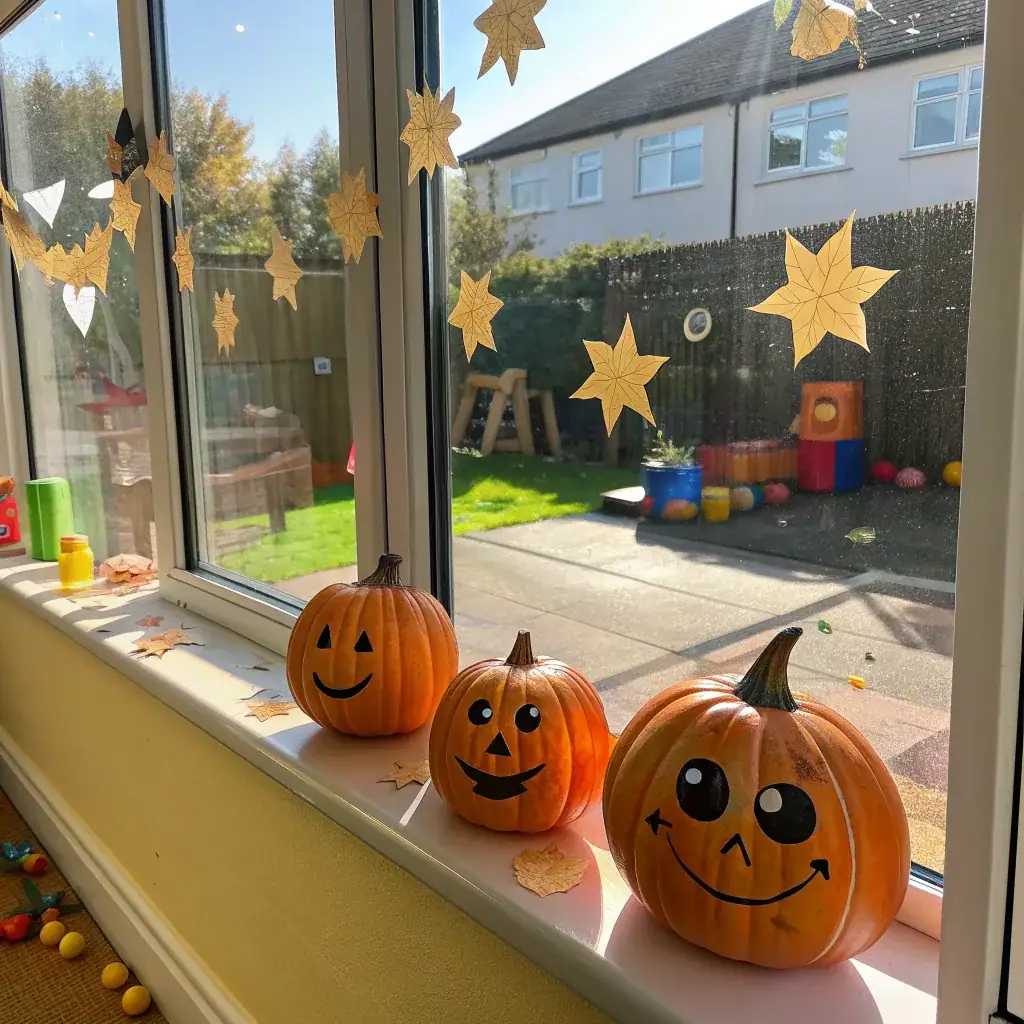
Keep it cute for young children
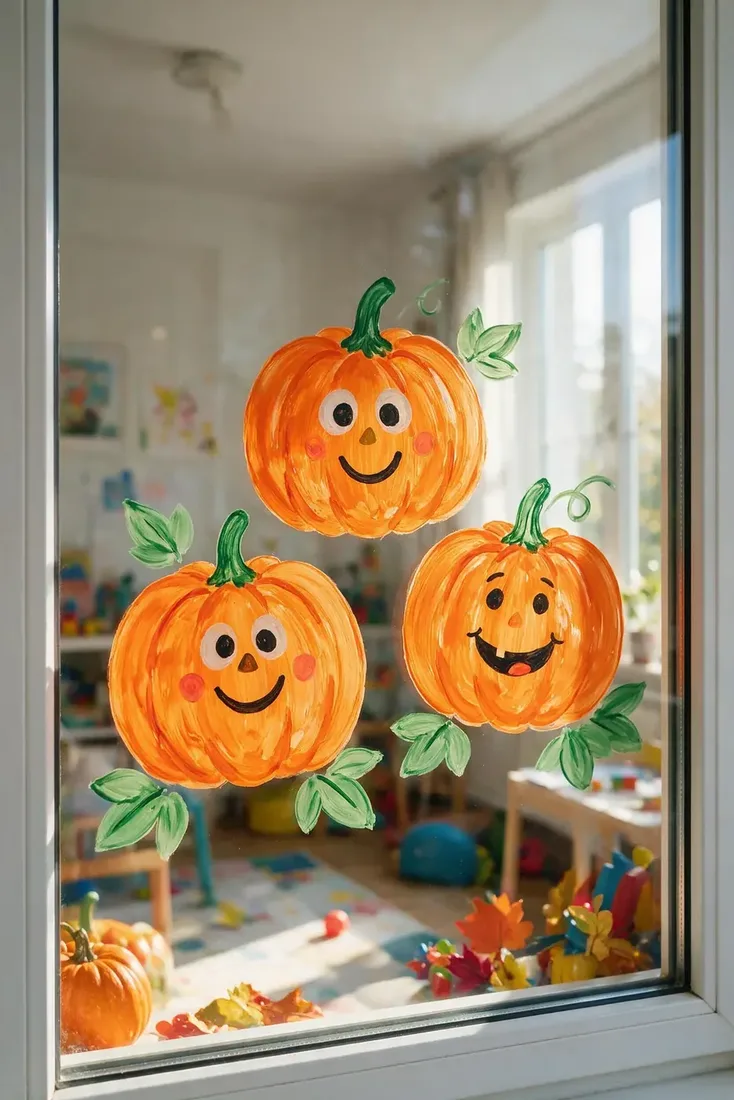
Smiling pumpkins, round-faced ghosts and stars give you Halloween without anything your three year old will think about at bedtime. Use warm orange, white, and just enough black for the faces. The rule is simple: if a shape has a friendly face, it is cute, and if it is a silhouette, it is spooky. That single distinction lets you tune the window to whoever sleeps in the room.
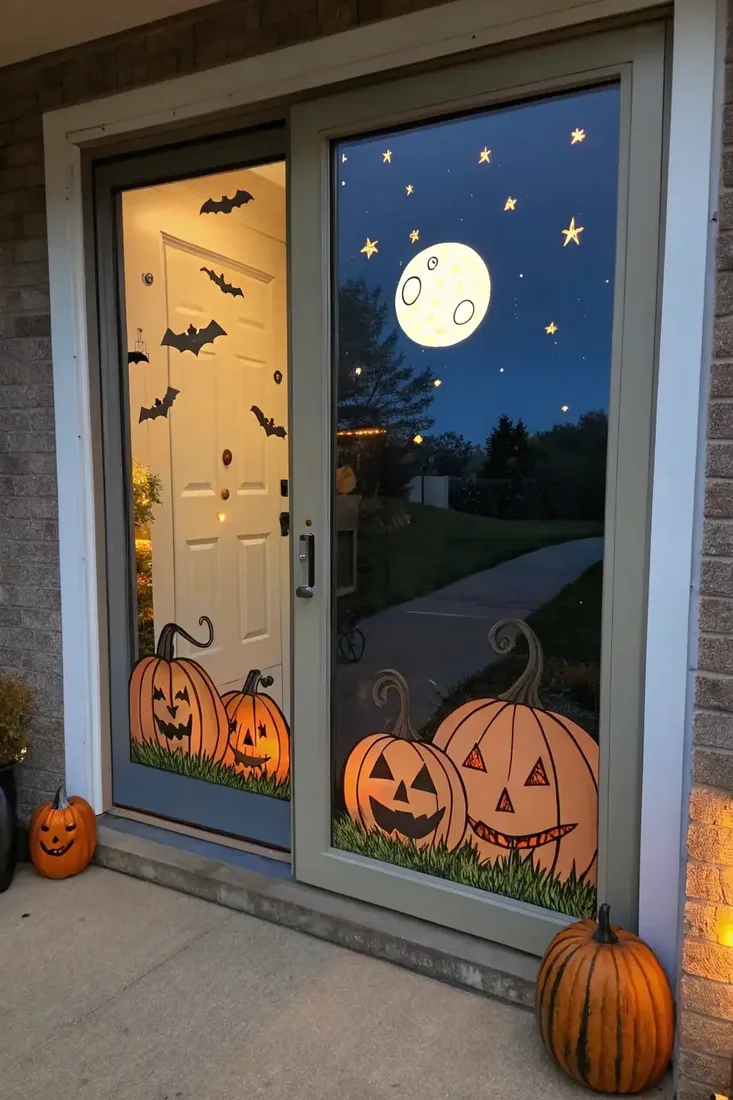
Go bold on a front door or porch
The front of your house is where your trick-or-treaters arrive, so this is the one window where more is genuinely better. A moon, bats, stars and grinning pumpkins on your front door glass read well in the dark, and warm light from your hallway behind them does most of the work. Paint it for evening viewing, since almost nobody will see it in daylight.
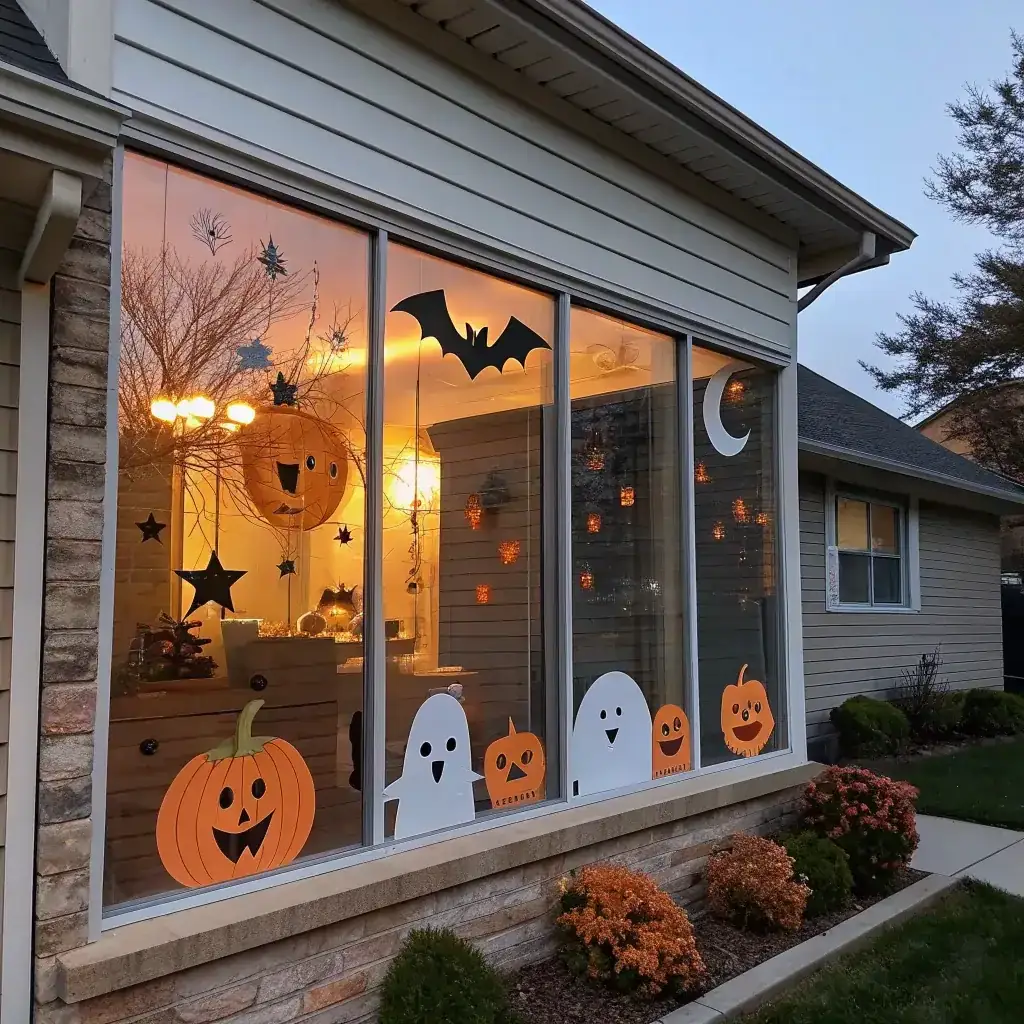
Mix ghosts and pumpkins for the in-between weeks
Ghosts above a row of jack o lanterns is the design that carries you through the whole of October, because it is unmistakably Halloween while staying warm rather than grim. It also comes apart neatly for you. Wipe the ghosts and bats away on the first of November and your pumpkins carry on through to Thanksgiving without you painting anything new.
How spooky, and where
| Window | Design | How dark |
|---|---|---|
| Young child’s bedroom | Friendly ghosts, smiling pumpkins | Faces only |
| Living room | Bats added over your fall design | About a quarter |
| Front door or porch | Moon, bats and lit pumpkins | As dark as you like |
| Small or narrow pane | One web in a corner | Thin lines, mostly clear |
| Large picture window | Haunted house on the lower half | Low and heavy, open sky |
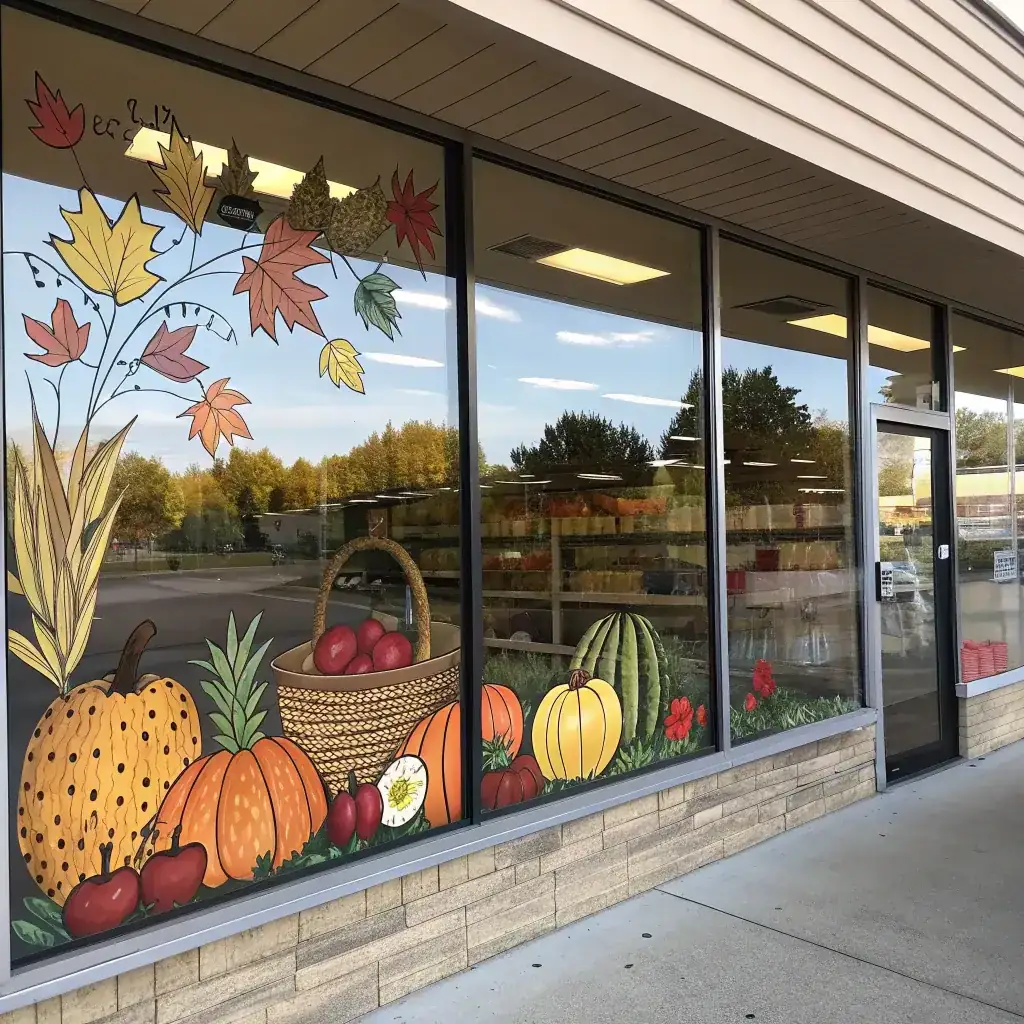
| Shop front | Fall shapes large, spooky ones small | Accents only |
The Slow Halloween Formula
- Do not wipe the fall window off. Halloween is an addition, not a replacement.
- Keep black to about a quarter. More than that and the glass goes heavy and dark.
- Paint silhouettes. Bats, cats and houses need an outline and nothing else.
- Friendly face means cute, silhouette means spooky. Tune it to who sleeps there.
- Leave the middle of the glass clear. Especially in October, when the light is already going.
- Plan the November wipe. Remove the spooky parts, keep the pumpkins, and you are ready for Thanksgiving.
Do it that way and one window carries you through three months on a single repaint. For the autumn base to build on, start with our fall window painting ideas.
When should you paint it?
Late September is your moment. Add a few bats or a moon to your autumn window then, build up through the first half of October, and let it peak in the last week rather than sitting fully spooky for six weeks.
That slow build is worth doing for a practical reason as well as a seasonal one. A window you paint all at once in early October has to survive a month of condensation, low sun and cleaning around it, and window paint does not always want to. Adding in layers means your newest work always looks fresh.
Use paint or markers made for glass, and test removal on a hidden corner before you commit, particularly on a front door where the glass may be toughened or coated. If children are painting with you, our fall window painting ideas for kids covers how to split the work so nothing gets spoiled.
Frequently Asked Questions
Should I repaint my window for Halloween?
No. Add dark accents to your existing autumn design instead. Bats, a moon and a few ghosts over pumpkins and leaves read stronger than a whole window of black, and it saves you a second repaint in November.
How much black should a Halloween window have?
About a quarter of the design. More than that and the glass reads heavy rather than atmospheric, and you lose light in the month when you can least afford to.
What is the easiest Halloween shape to paint on glass?
A ghost, which is one wobbly white outline with two dots and a mouth. Bats come next, at two curves and a body. Both are silhouettes, so there is no interior detail to get wrong.
How do I keep Halloween window art from scaring young children?
Give the shapes friendly faces. A pumpkin or ghost with a smile reads as cute, while the same shape as a plain silhouette reads as spooky. That one distinction lets you tune the window to the room.
When should I paint a Halloween window?
Late September for the first few accents, then build through October so the design peaks in the final week. Painting it all at once in early October means a month of condensation and low sun before Halloween arrives.
What do I do with the window after Halloween?
Wipe off the ghosts, bats and moon and leave the pumpkins and leaves. The autumn design underneath carries straight through November without you painting anything new.
This article may contain affiliate links. We may earn a commission at no extra cost to you.