7 Beginner Fall Window Designs From Simple Shapes
Add us as a preferred source to see more stories on Google.
Here is the thing nobody tells beginners: the hard part is not the painting.
You can draw a pumpkin. It is an oval with a few curved lines down it. You can draw a leaf, because that is one shape with a stalk. What actually goes wrong is that people pick a design needing shapes they cannot draw, then blame their hands.
So this list is built backwards. Every design here uses only ovals, circles and single curved lines, and each one tells you exactly which shape it is made from.
Pick one, keep your palette small, and you will have a finished window before the afternoon is out.
Designs made from one shape
Each of these repeats a single shape. That is the whole reason you can do them.
Paint three pumpkins and stop
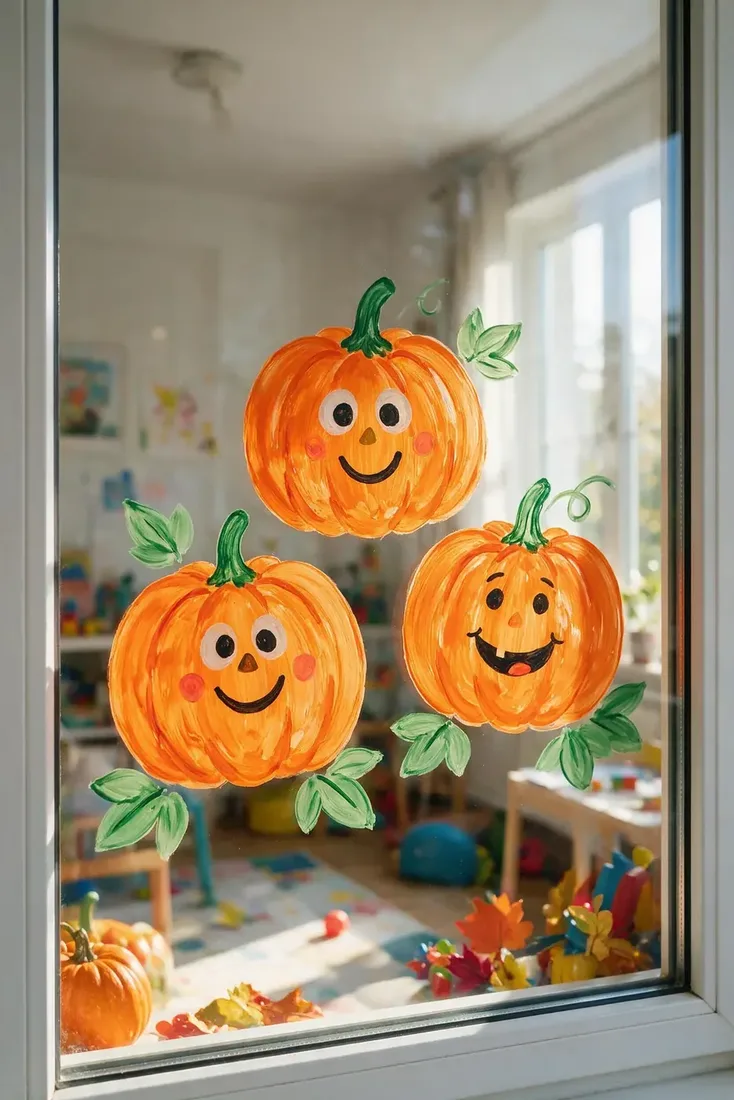
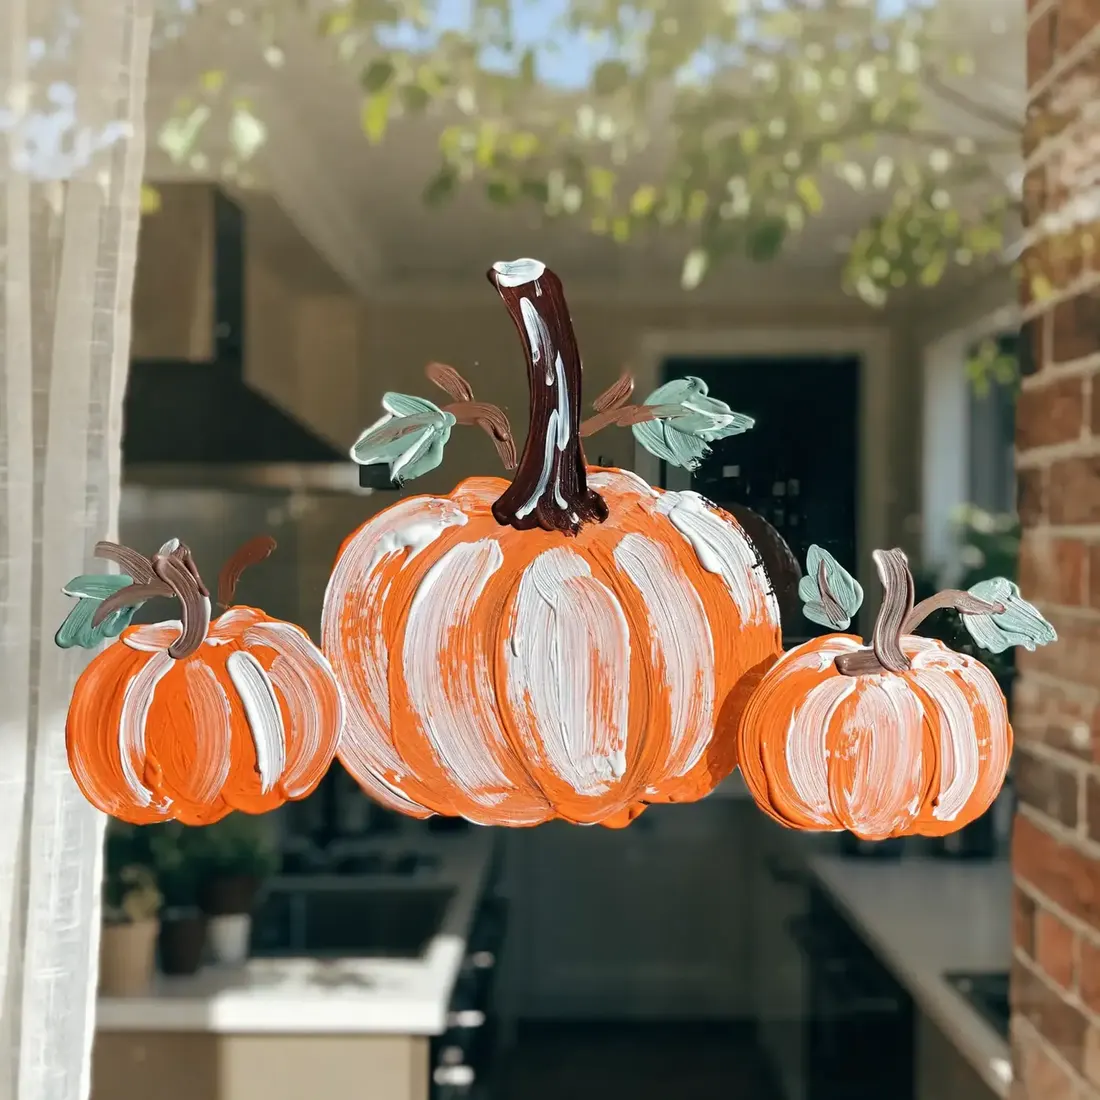
A pumpkin is an oval. Draw one big oval in the middle, one smaller either side, then add three or four curved lines down each so they read as ribs. Add two green stems and you are finished. Resist your urge to add a fourth and fifth, because three is the number that looks composed while four starts to look like a queue. If your ovals come out lopsided, leave them. Real pumpkins lean, and your slightly wonky one reads as handmade rather than as a mistake you failed to fix.
Scatter leaves and let the spacing do the work
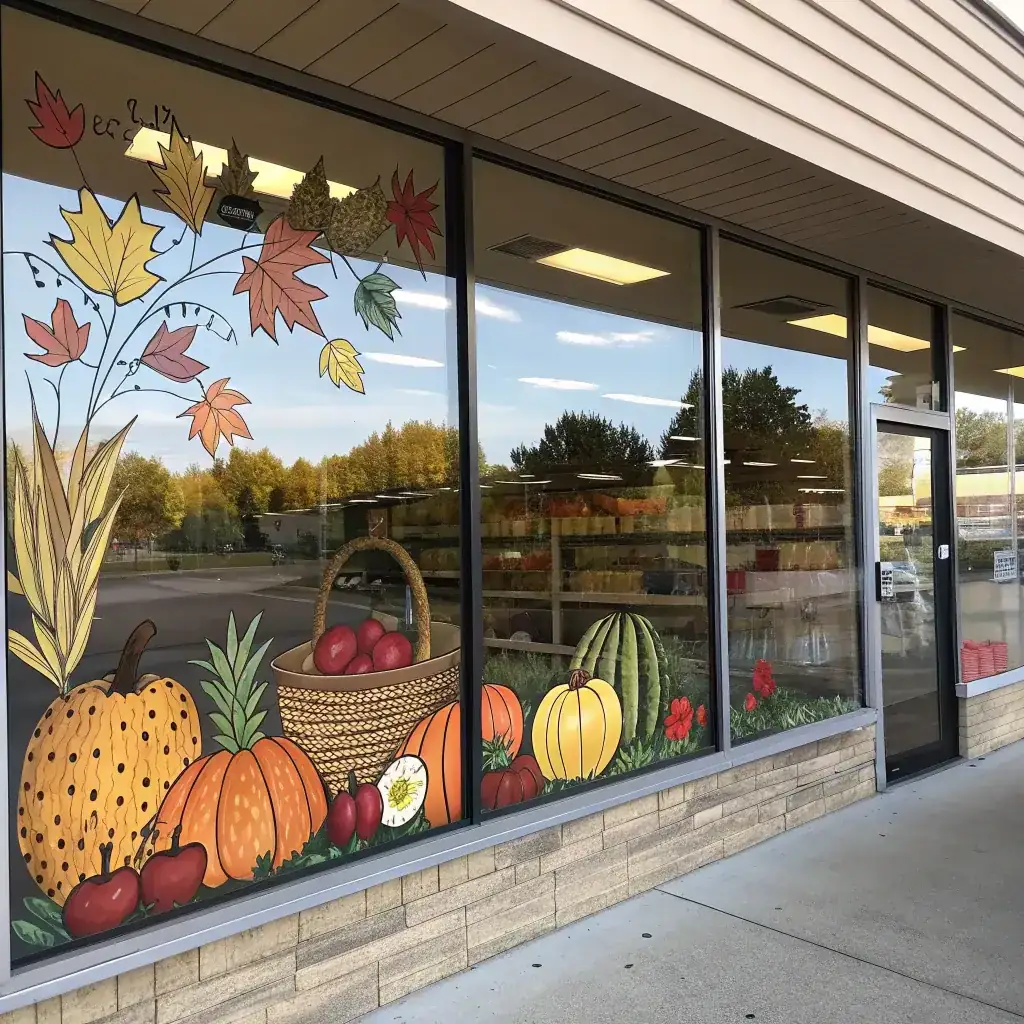
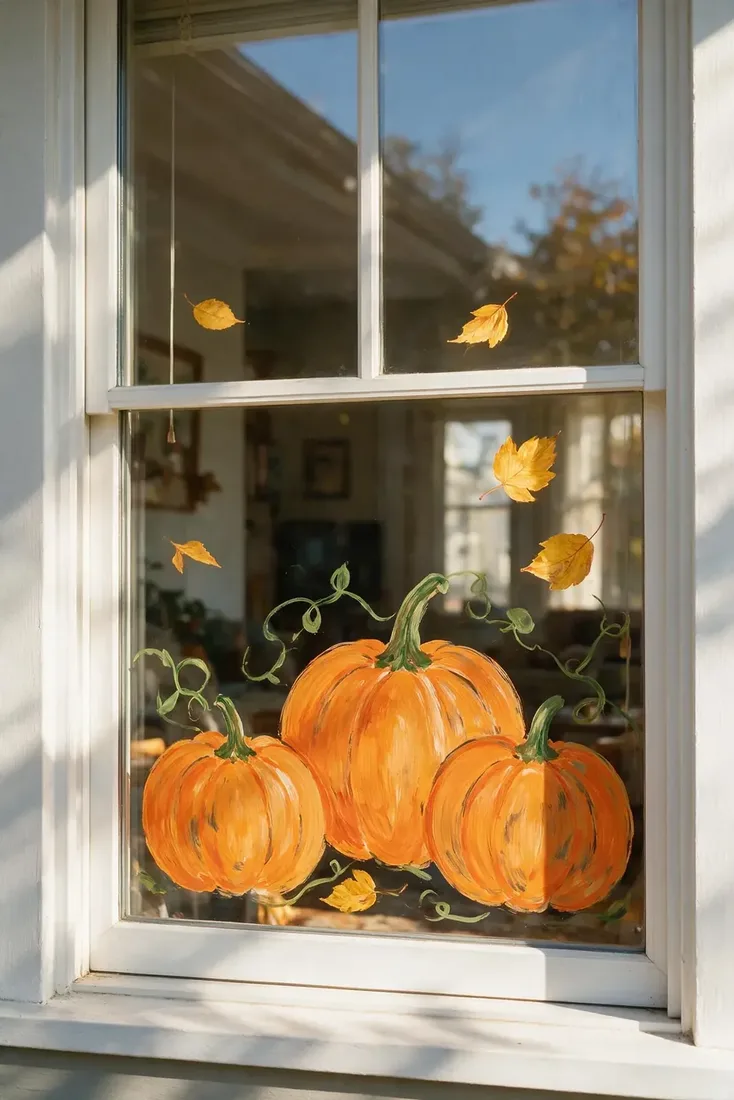
A leaf is one curved shape with a line down the middle. Paint six or seven of them falling from an upper corner toward the opposite lower one, and vary the gaps between them so they look blown rather than arranged. This is the most forgiving design here, because you have no correct leaf shape to get wrong. Uneven spacing is the effect you want, so the harder you try to space yours evenly the worse it looks. Throw them on, then step back and add one or two where the gaps feel dead.
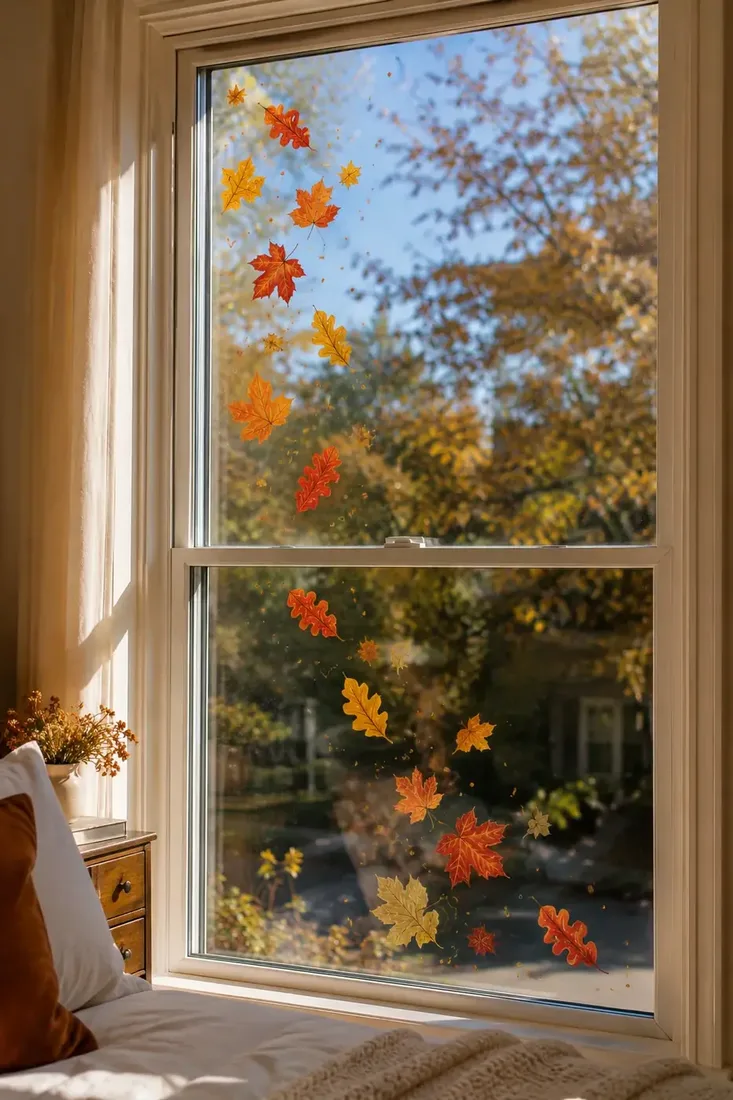
Run a leaf border around the frame
Same shape, different layout. Paint leaves around the edges of the glass and leave the whole centre clear. A border looks like far more work than it is, because you read the repetition as skill. Keep your leaves clustered at the corners and thinner along the middle of each side, and let a few sit inside the frame line so yours does not turn into a rectangle. This one suits a glass door better than anything else here, since it decorates without blocking the view of who is at it.
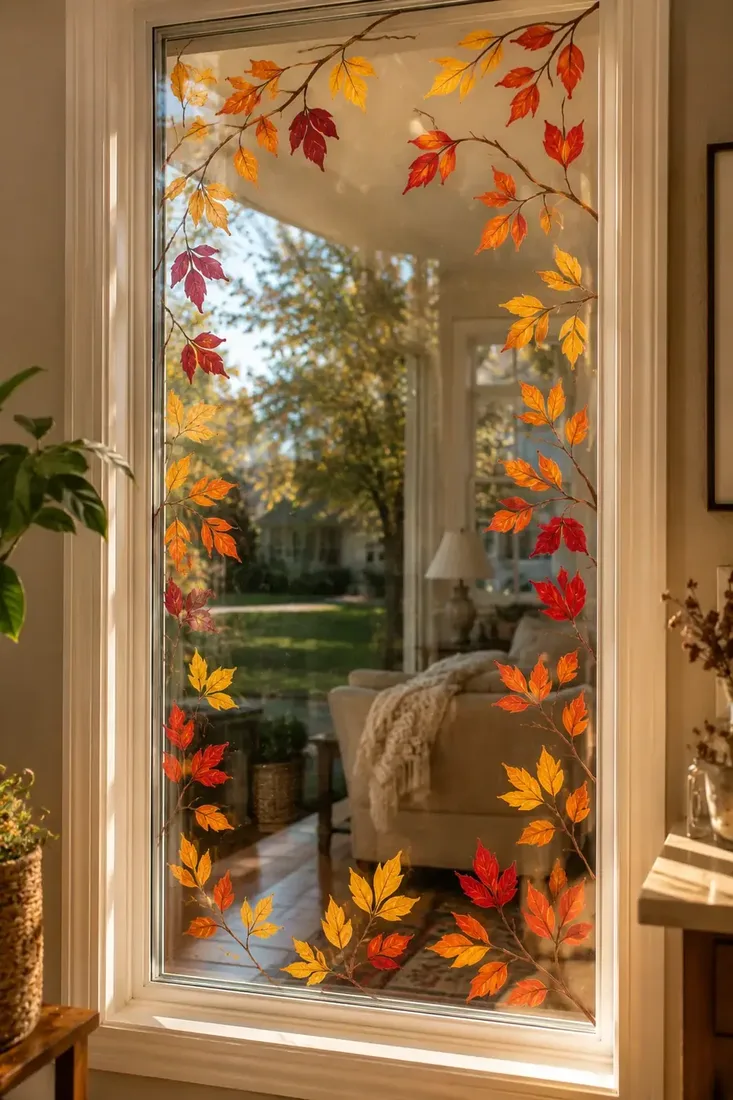
One shape, made large
If small repeated shapes make you nervous, do the opposite. Paint one big thing instead and let it carry your whole window.
Paint a single oversized sunflower
A sunflower is a circle with short strokes around it. Make your centre generous, ring it with petals, then add a stem and two leaves. Because the flower is large, small wobbles disappear at that scale, which is exactly why beginners do better with one big shape than twenty small ones. Put yours low in a corner and let the stem run off the bottom edge rather than stopping neatly, since a shape running out of frame always looks more confident than one floating in your middle.
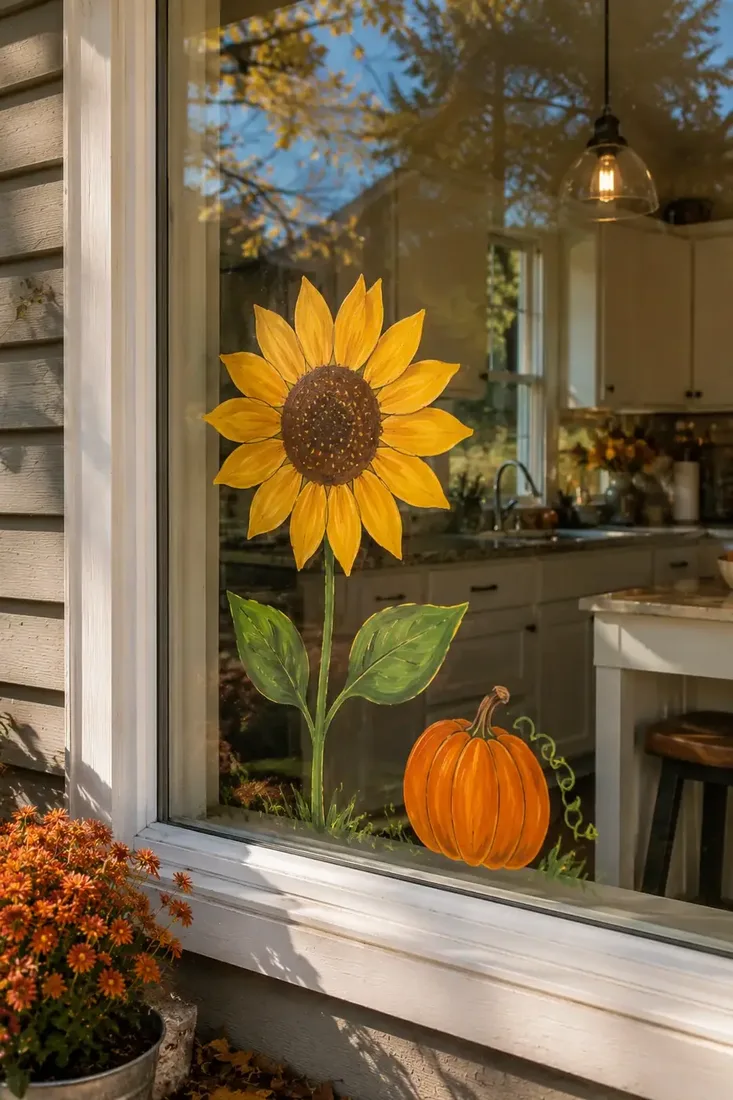
Give one pumpkin a face
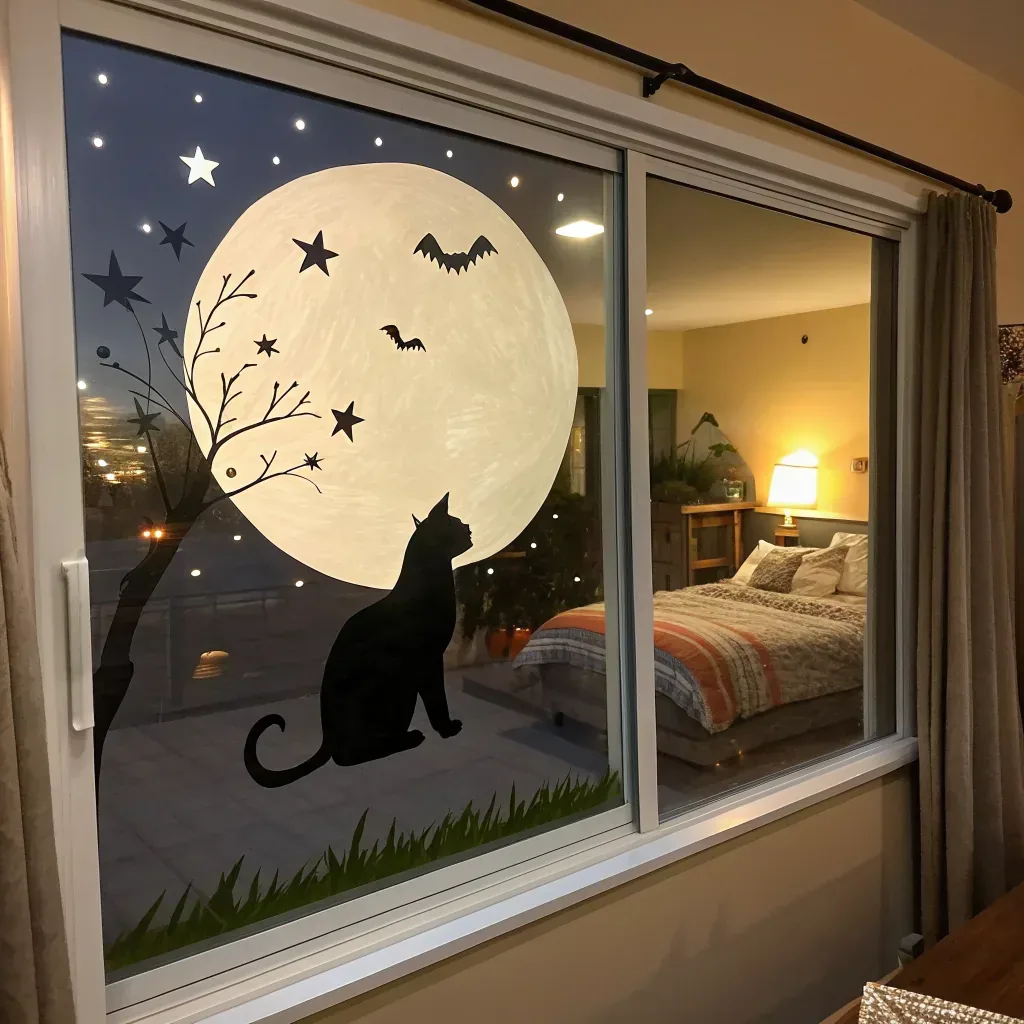
Take the oval you already know how to draw, make it large, and add two triangles for eyes, a smaller one for a nose and a simple curved mouth. You control straight lines more easily than curves on glass, which is why the classic triangle face has survived. Keep yours cheerful rather than sinister, add two or three small bats if you want a hint of Halloween, and leave the rest of your pane empty. Our Halloween window painting ideas go further if you want to lean that way later.
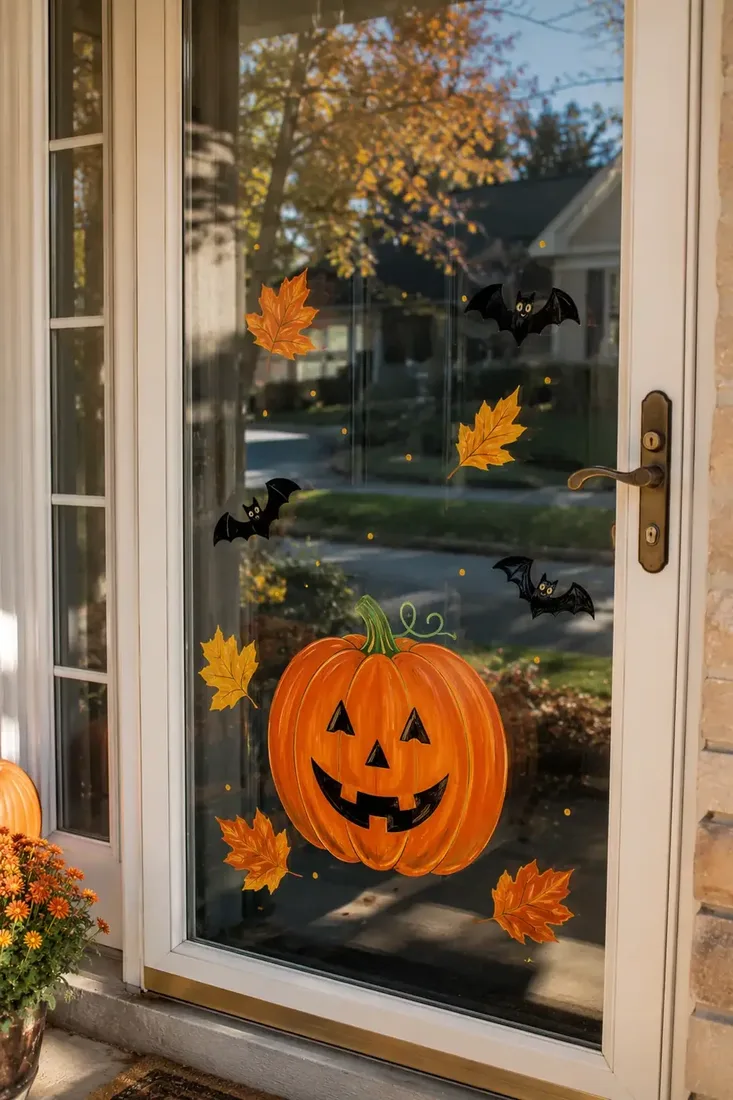
When you want words
Lettering frightens people more than it should. Here is how you get it right.
Let the words carry the whole design
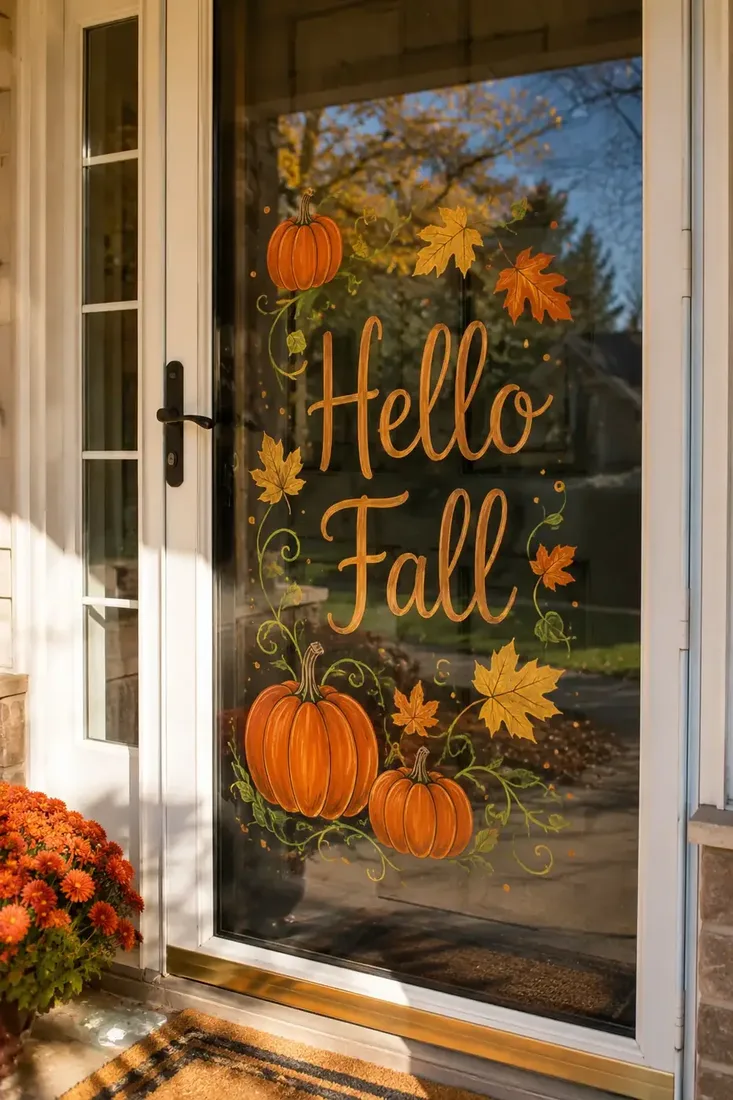
Write Hello Fall large and roughly centred, then put a small group of pumpkins underneath and nothing else. Your lettering fails when you squeeze it into a busy scene, not when the letterforms are imperfect. Sketch the phrase on paper first at the proportion you want, so you can see whether it fits before you are committed to the glass. Block capitals are easier for you than script, and they read better from a distance. If your spacing goes wrong, it will be between words rather than inside them, so start with the gaps.
Combine two easy ideas rather than one hard one
Once you have painted a pumpkin trio and a scatter of leaves, you already own a full design. Put the pumpkins low, throw a few leaves above them, and it reads as a scene without a single new skill. This is how most good windows are actually built, and it is far more reliable than the woodland landscape you were tempted by. Two simple ideas stacked beat one ambitious one every time, and you can add the third next weekend. If small hands want to join in, our fall window painting ideas for kids split the job so nothing gets spoiled.
Which design should you start with?
| If this is your worry | Start with | Why it works |
|---|---|---|
| My lines are shaky | One big sunflower | Wobbles vanish at large scale |
| I cannot draw anything | Falling leaves | No correct shape to get wrong |
| I want it to look like effort | Leaf border | Repetition reads as skill |
| I only have twenty minutes | Three pumpkins | Finished design, six shapes |
| I want words on the glass | Hello Fall lettering | Sketch on paper first, then copy |
| I want Halloween, but gentle | One pumpkin face | Triangles beat curves on glass |
The Three Shapes Formula
- Oval, circle, curved line. If a design needs anything else, it is not a beginner design.
- Two or three colours, no more. A small palette hides an unsteady hand. A large one exposes it.
- Big shapes before small ones. Pumpkins and lettering go down first, stems and leaves after.
- Odd numbers, uneven spacing. Three pumpkins, seven leaves, gaps that vary.
- Let shapes run off the edge. A stem leaving the frame looks deliberate. One stopping short looks unfinished.
- Stop earlier than feels right. Nearly every beginner window is spoiled by the last three additions.
Work through those in order and the design stops depending on your drawing at all, which is the point. For fuller scenes once you are comfortable, see our fall window painting ideas.
Markers or brush paint?
Markers suit you for lettering, outlines and anything needing a clean edge, and they make far less mess on a vertical surface. Brush paint suits your large shapes, soft edges and any design where you want a loose, hand-painted look rather than a drawn one.
You can mix them. Many of the easiest windows use brush paint for the pumpkins, then a marker for your fine stems and lettering once the paint is dry.
Whichever you pick, choose a product labelled for glass, and test it on a hidden corner a day before you paint the window itself. Removal differs a lot between brands, and you want to know that in advance rather than discover it in December.
Frequently Asked Questions
What is the easiest thing to paint on a window for fall?
Three pumpkins. A pumpkin is an oval with a few curved lines down it, and three of them at different sizes make a finished design in about six shapes. Falling leaves are the next easiest, because there is no correct leaf shape to get wrong.
How many colours should a beginner use?
Two or three. A small palette hides an unsteady hand and keeps the window looking deliberate, while a full autumn palette goes muddy on glass and draws attention to every uneven edge.
Are window markers or paint better for beginners?
Markers are easier for lettering, outlines and clean edges, and much less messy on vertical glass. Brush paint is better for large soft shapes. Many people use paint for the pumpkins and a marker for stems and lettering on top.
How do I stop my window painting looking messy?
Stop earlier than feels right. Most beginner windows are spoiled by the last few additions rather than the first few. Keep the centre of the glass clear and resist filling gaps once the main shapes are down.
What if my shapes come out uneven?
Leave them. Real pumpkins lean and real leaves differ, so slight unevenness reads as handmade. Trying to correct a wobbly line usually makes it thicker and more noticeable than the original.
Do I need to sketch before painting on the window?
For lettering, yes. Sketch the phrase on paper at roughly the size you want so you can check the spacing before committing. For pumpkins and leaves you can go straight onto the glass.
This article may contain affiliate links. We may earn a commission at no extra cost to you.