Shake or Shingle: Which Cut Suits Your House?

Add us as a preferred source to see more stories on Google.
Two words, used as though they mean the same thing. They do not.
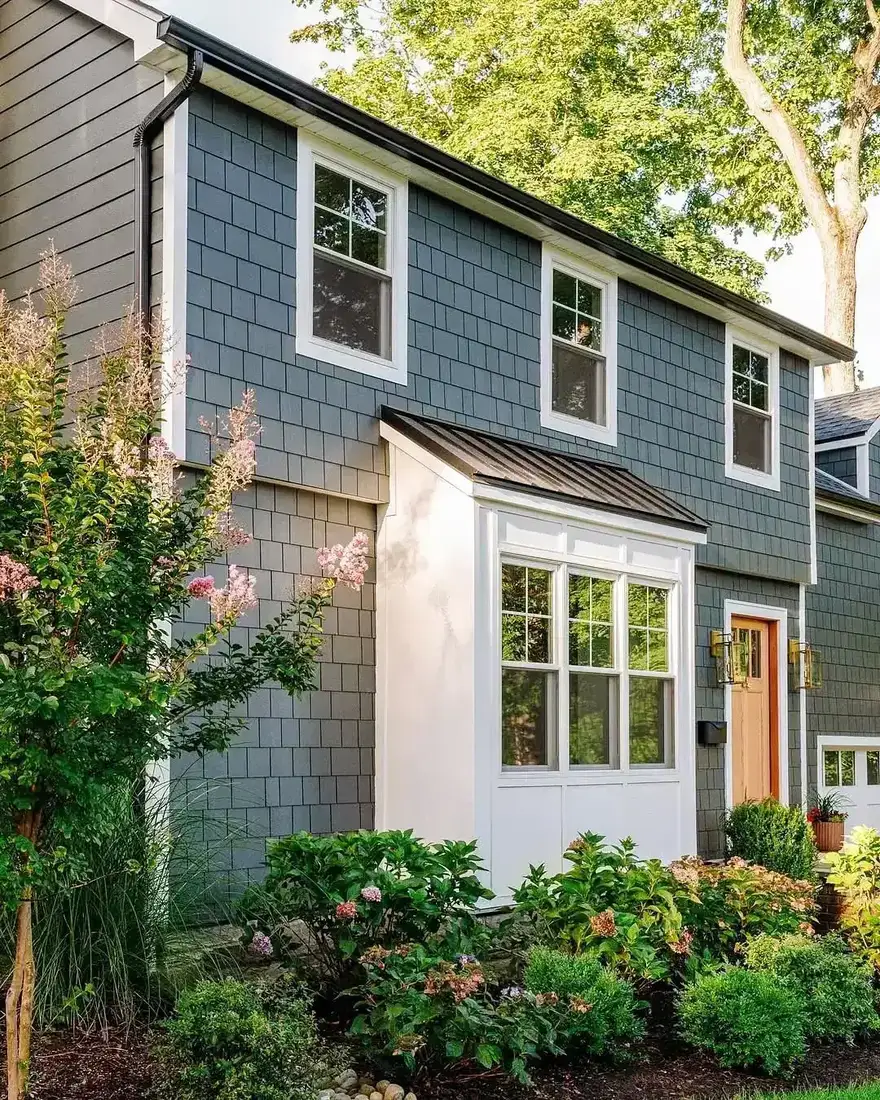
A shingle is sawn. A shake is split. That is the whole difference, and it decides how your house looks from the road.
Nobody sells you the choice that way. You get sold species, grade and price, and you end up picking on cost, then wondering why the finished wall feels rougher or flatter than the one you saved.
These twelve cedar houses show you what each cut actually does to a wall.
What the cut does to a wall
Before colour, before grade, before price, there is one decision. Sawn or split.
Read the shadow, not the sample
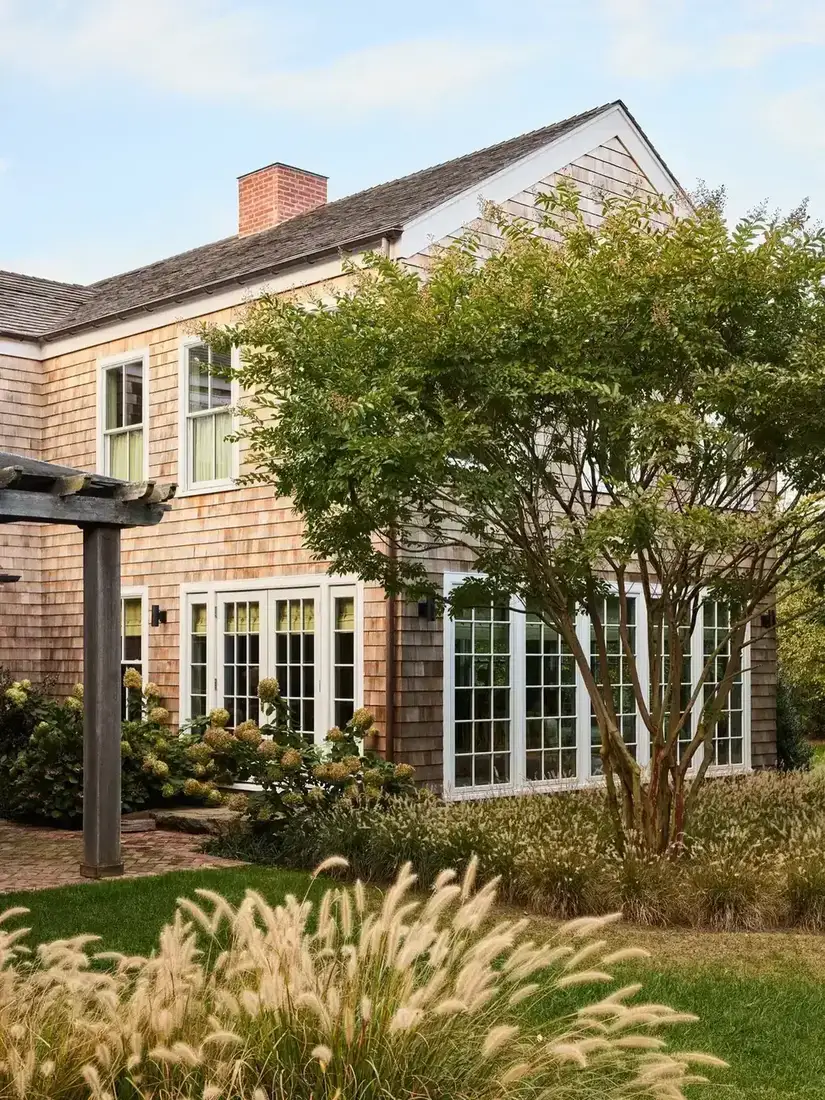
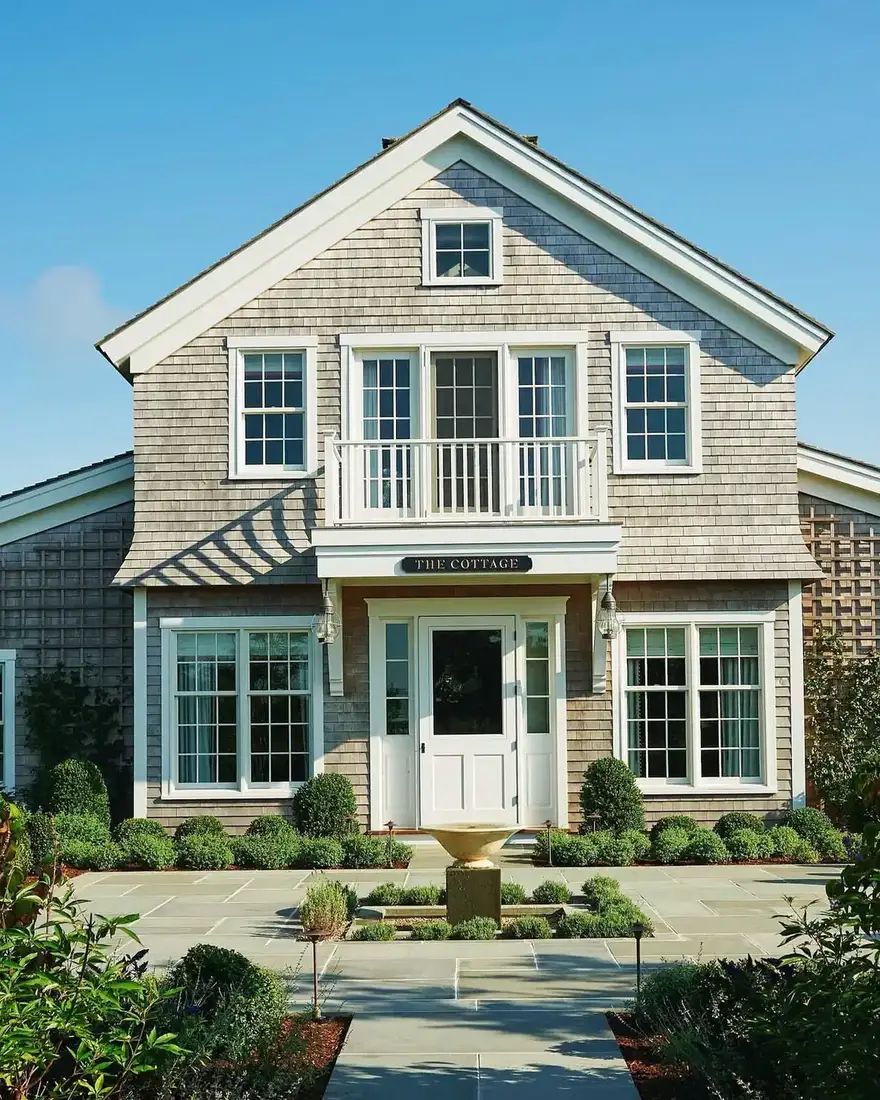
Hold a single piece of cedar in your hand and the two look similar enough. Put a whole wall of each in front of you and they are different buildings. Sawn shingles sit flat and close, so the line between courses is thin and quiet. Split shakes are thicker at the butt, so each course casts a real shadow across the one below. That shadow is what your eye is reading from the kerb, long before you notice the colour. So when you look at a photograph you love, look at the horizontal lines. Thin and even means shingle. Deep and broken means shake.

Match the cut to the house you have
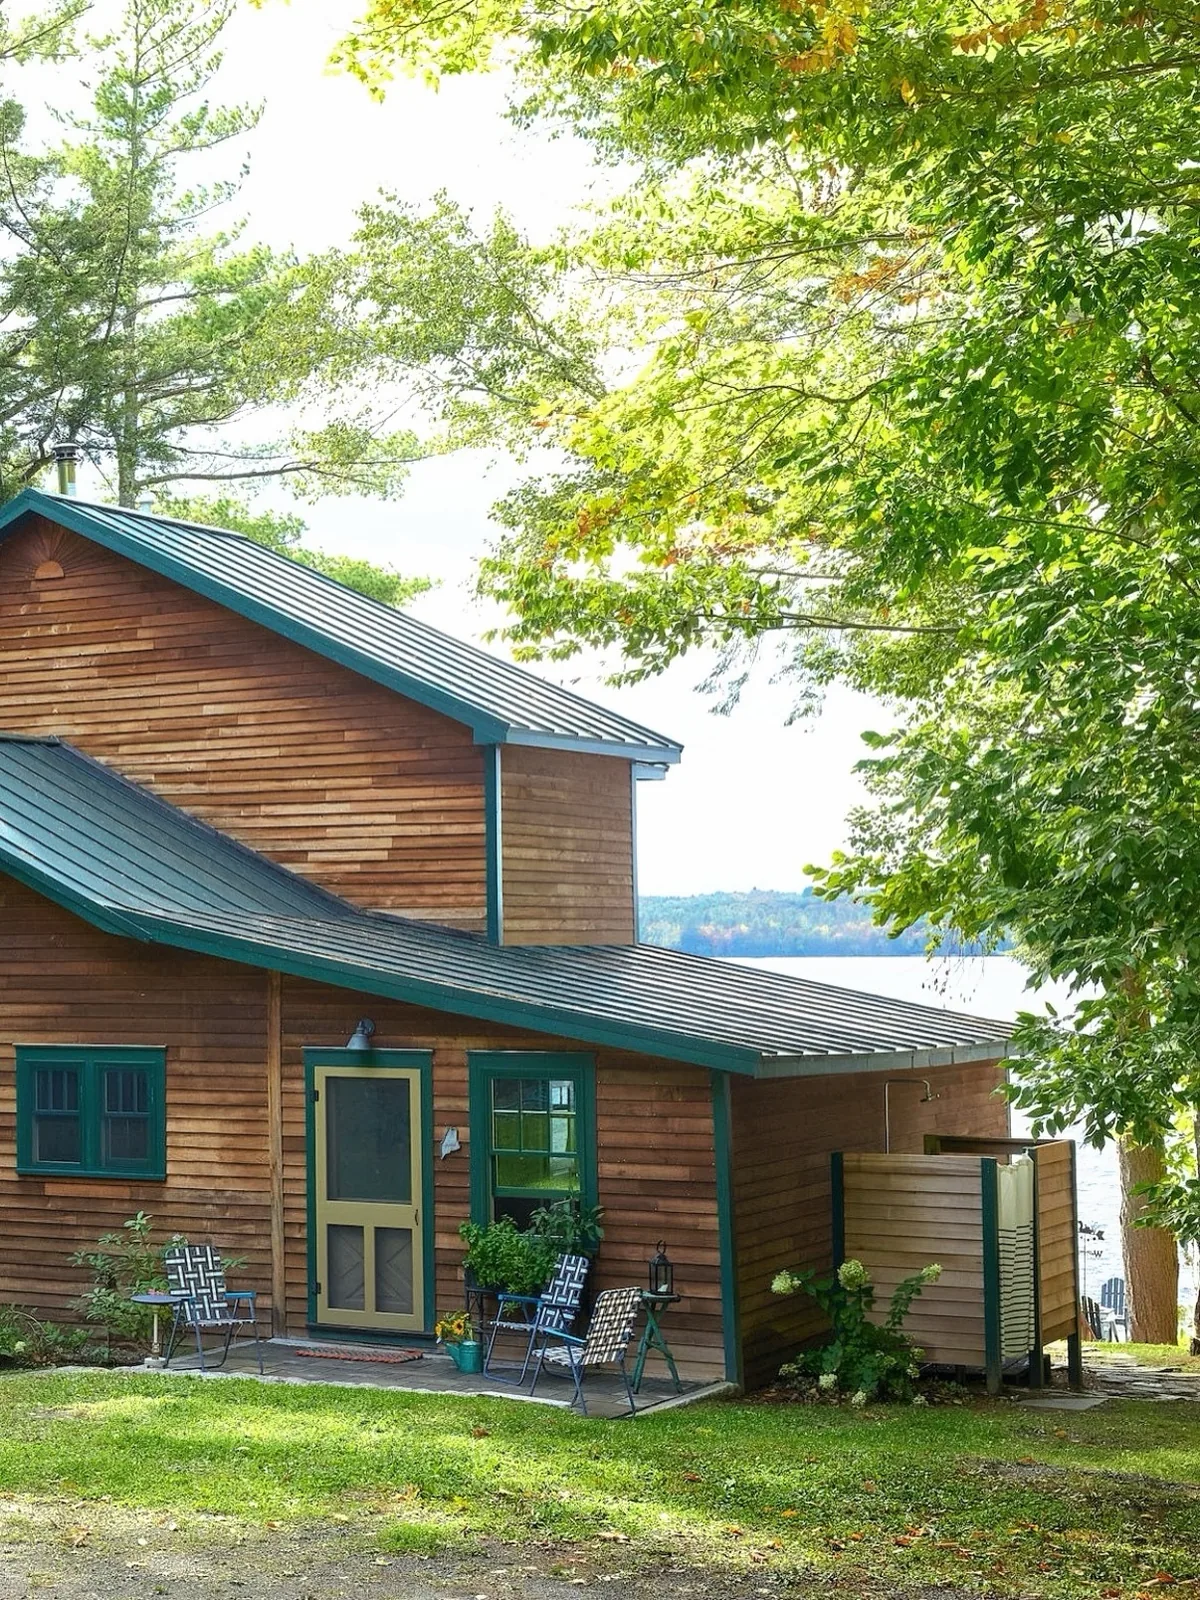
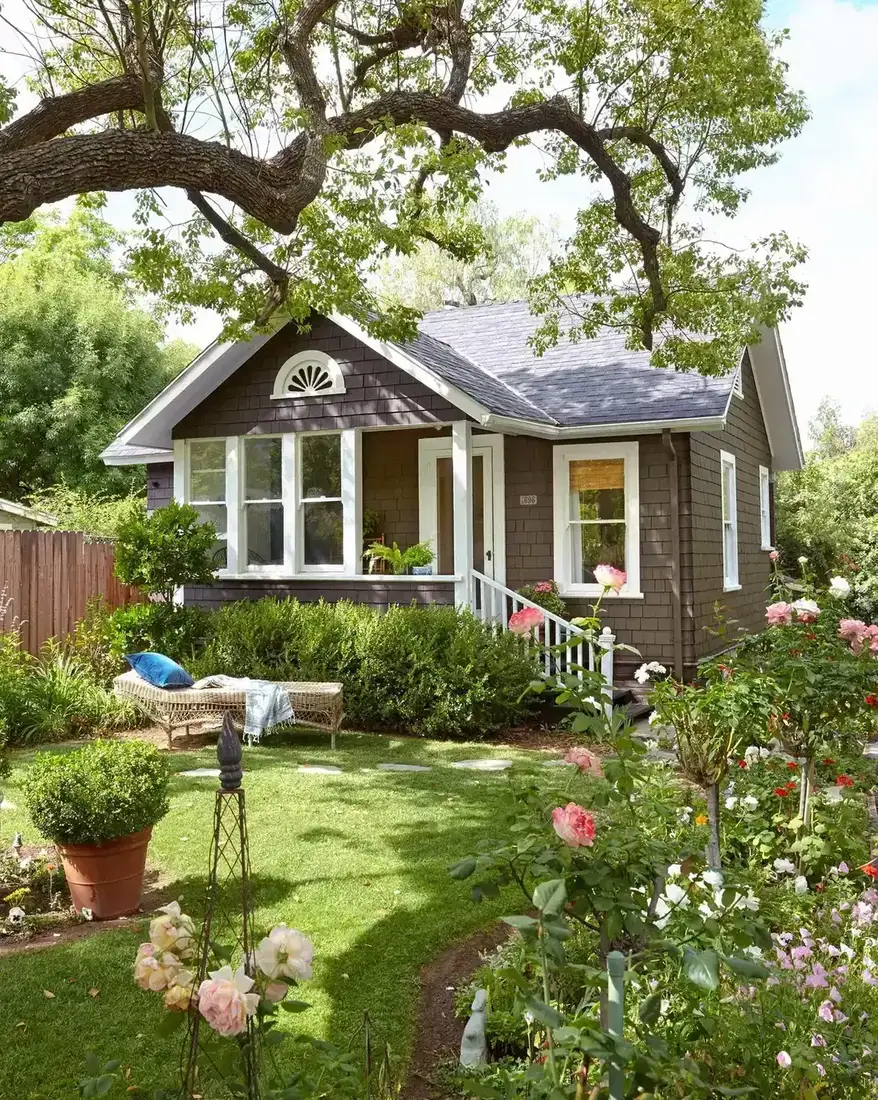
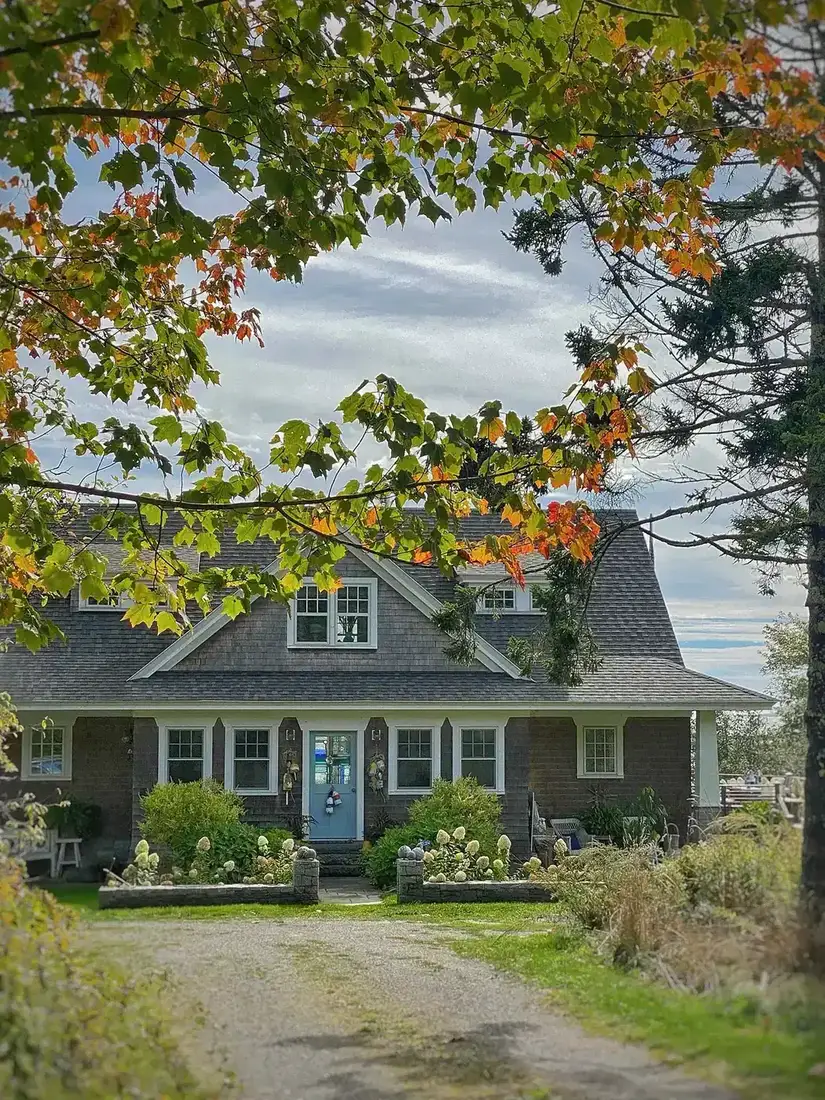
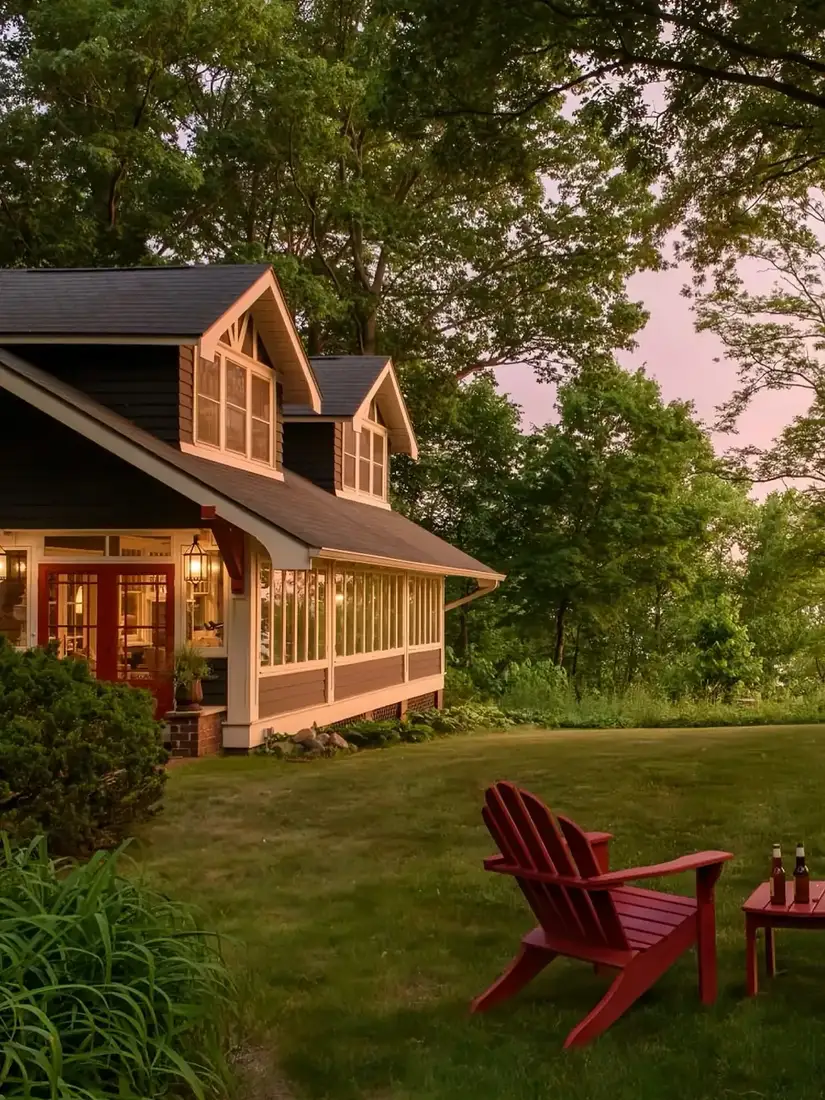
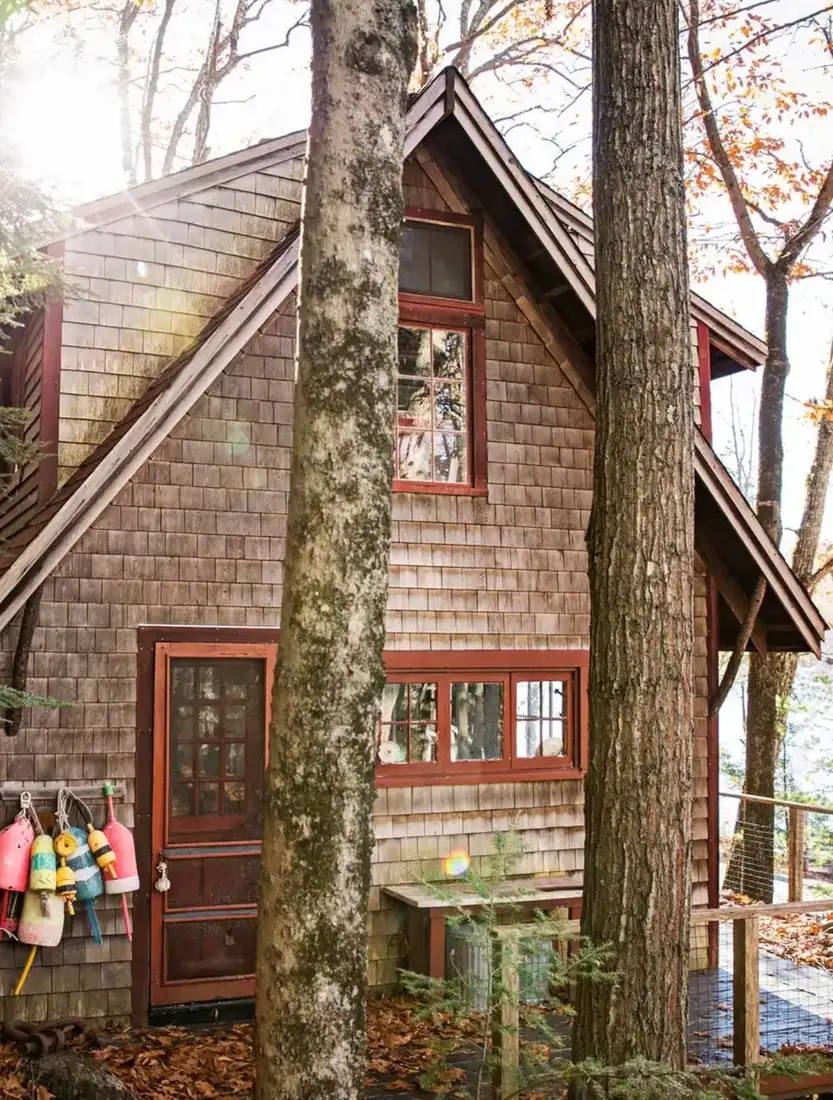
Your house has already made this decision, if you listen to it. A brown shingle bungalow with roses along the path wants the tidy, close-coursed look, because everything else about it is neat. Drop rough split shakes onto a trim little house and you get a costume, not a cottage. The reverse is just as true. A rambling lakeside place with deep eaves can carry the roughness and would look thin in smooth sawn courses. So ask what the rest of your house is doing. Formal windows and crisp trim want shingles. Heavy timber and generous overhangs want shakes.
Forget the idea that one lasts longer
This is where most advice goes wrong. Shakes get sold as the tougher product because they are thicker, and shingles get sold as the tidier one. Thickness is not what kills cedar. Water sitting behind it is. A well-detailed shingle wall on a ventilated batten will outlive a shake wall nailed flat onto board, every time. So do not let anyone talk you into a cut on durability grounds. Choose rustic or refined, which is a real difference you can see, then put your money into the fixing detail, which is the part that decides how long any of it survives.
The gap behind the wall
Everything that goes wrong with cedar goes wrong out of sight. This is the part nobody photographs.
Insist on a ventilated gap behind the cedar
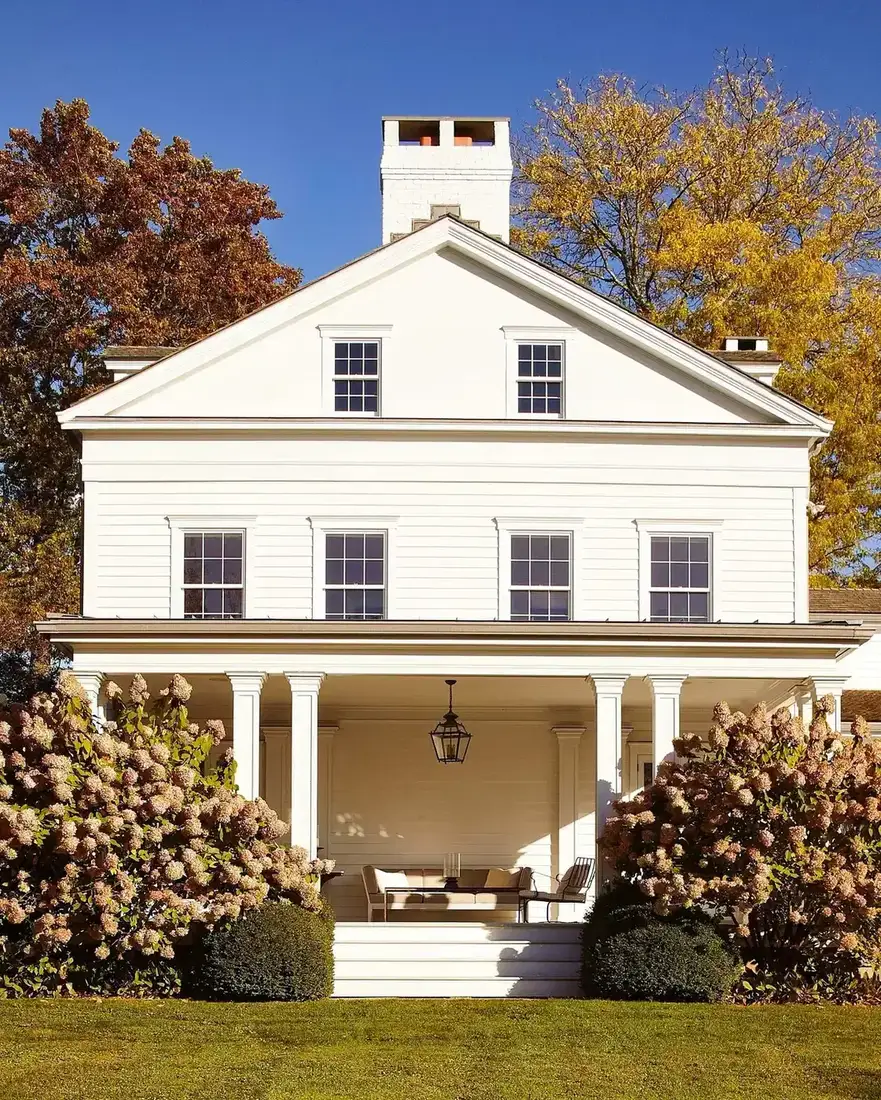
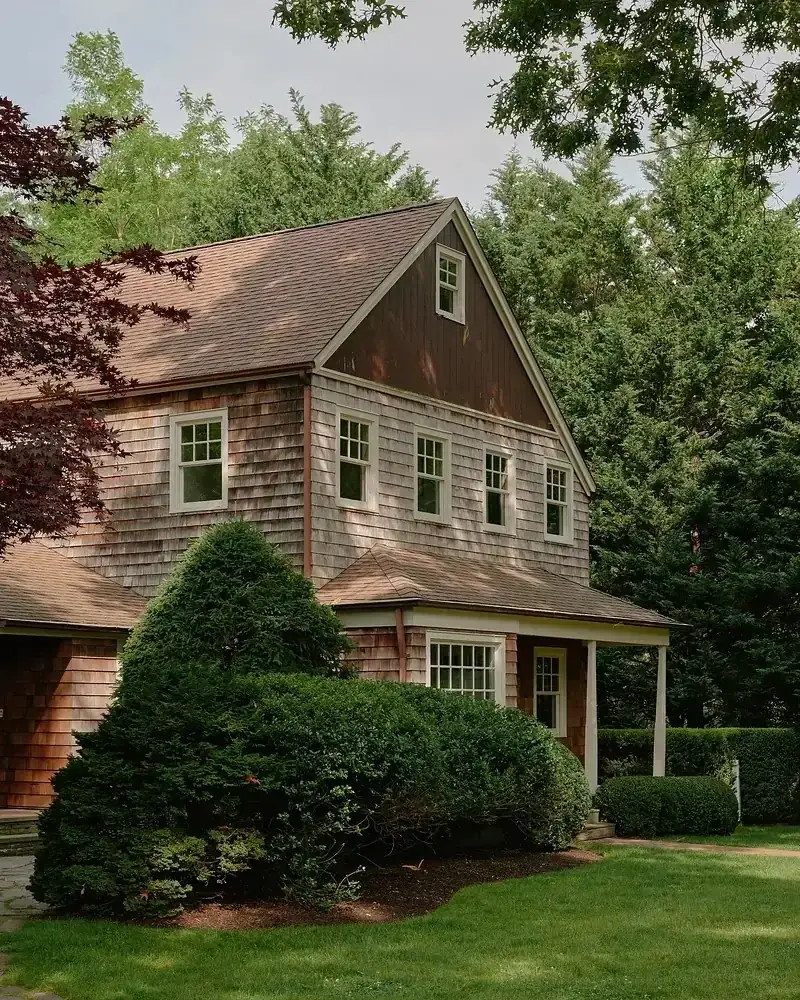
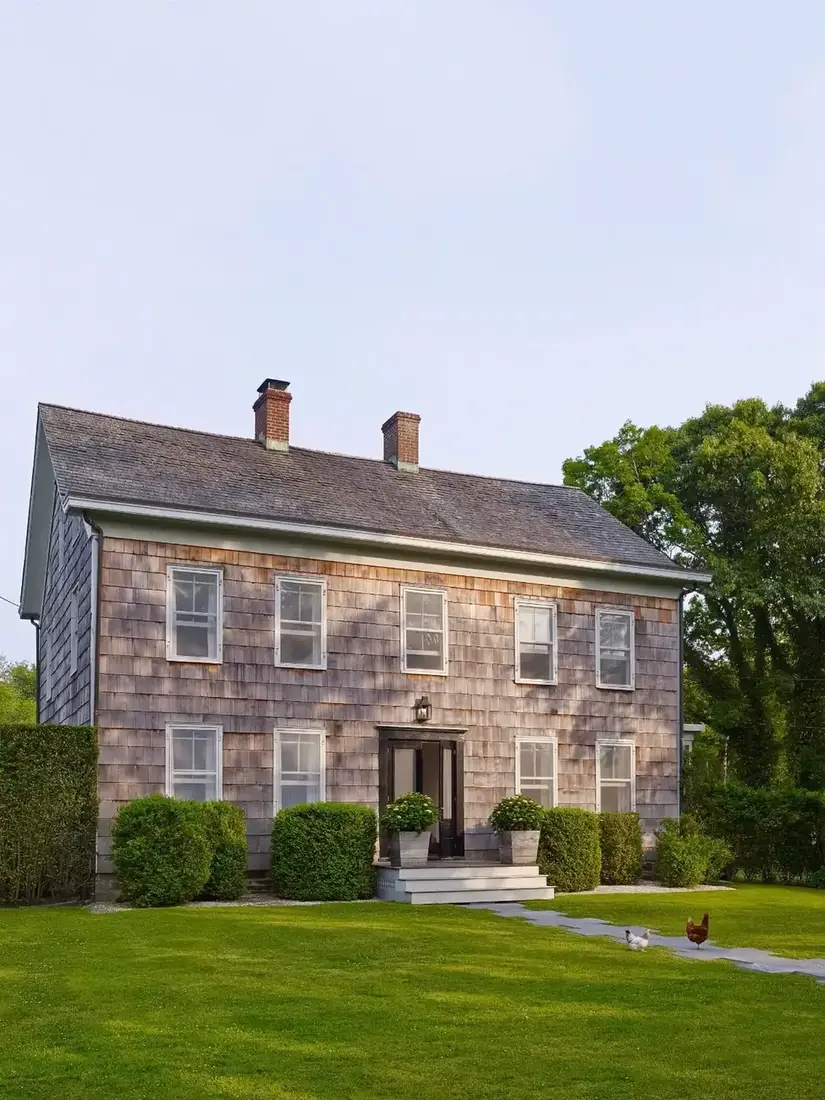
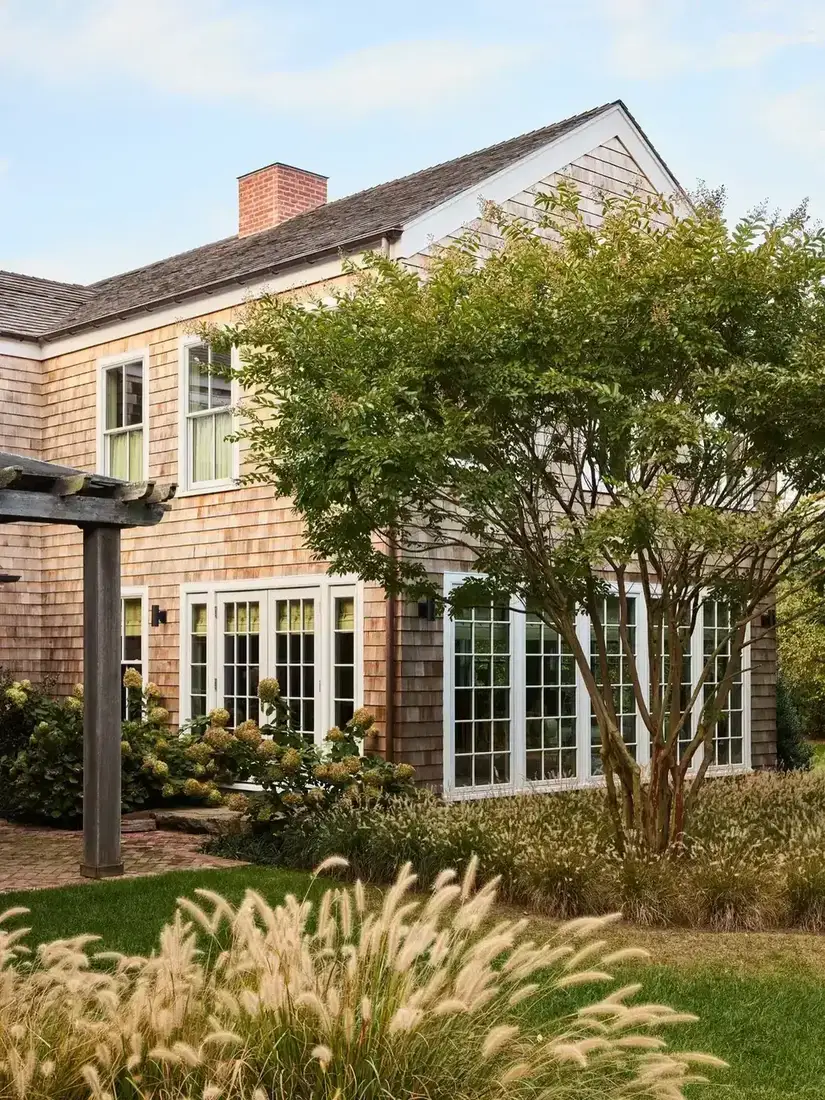
Look at the gambrel across its wide green lawn. What is keeping that wall alive is something you cannot see. Cedar takes on moisture and gives it back, and it has to do that from both faces. Fix it straight onto solid sheathing and the back face never dries, so the timber stays damp, the fixings work loose and the finish lifts. Both shakes and shingles need battens holding them clear, with air able to move up behind and out at the top. Ask your builder to show you that detail on the drawing. If it is not drawn, it will not be built.
Specify stainless nails and refuse substitutes
Cedar is acidic. Ordinary steel reacts with it, and you get a dark tear running down from every fixing within a season or two. Galvanised is better and still not reliable once the coating gets nicked by a hammer. Stainless steel is the answer for shakes and for shingles alike, and it is a small line on a big quote. This is the cheapest mistake to avoid and one of the most visible when it goes wrong, because those stains sit in a grid across your whole wall and no wash will take them out. Put it in writing before the order goes in.
Treat curling edges as a moisture message
Cupping is when the edges of a piece lift and the middle stays down. Most people blame the timber and go back to the supplier. Usually the timber is fine. Cupping tells you one face is drying faster than the other, which means moisture is trapped behind the cladding and cannot get out. So when you see it starting, do not reach for a sander or a coating. Go and look at the base of the wall, the top of the wall and anywhere planting has grown against it. Find where the air stopped moving, and fix that instead. The cedar will settle.
Colour, trim and living with it
Once the cut and the fixing are right, the rest is taste. Here is where taste helps you.
Let the first year be ugly
New cedar comes up orange and dries unevenly, and it looks blotchy for months. That phase is normal and it ends. Left alone, the wall moves through honey and grey to a soft even silver, and the blotches average out as it goes. Coat it in that first year and you lock the patchiness in permanently, which is the single most common regret with cedar. So hold your nerve. Put the ladder away, wait out the awkward stage, and judge the colour once the wall has been through a full round of weather.
Pick trim white with a little warmth in it
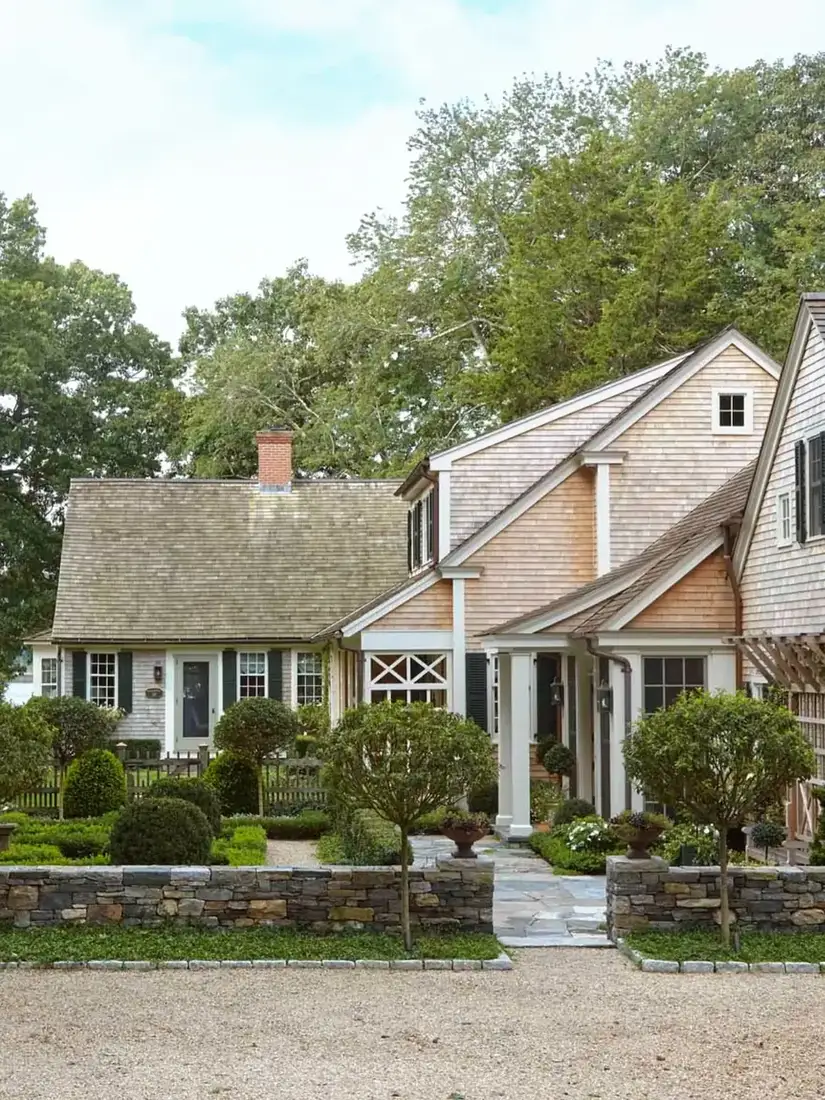
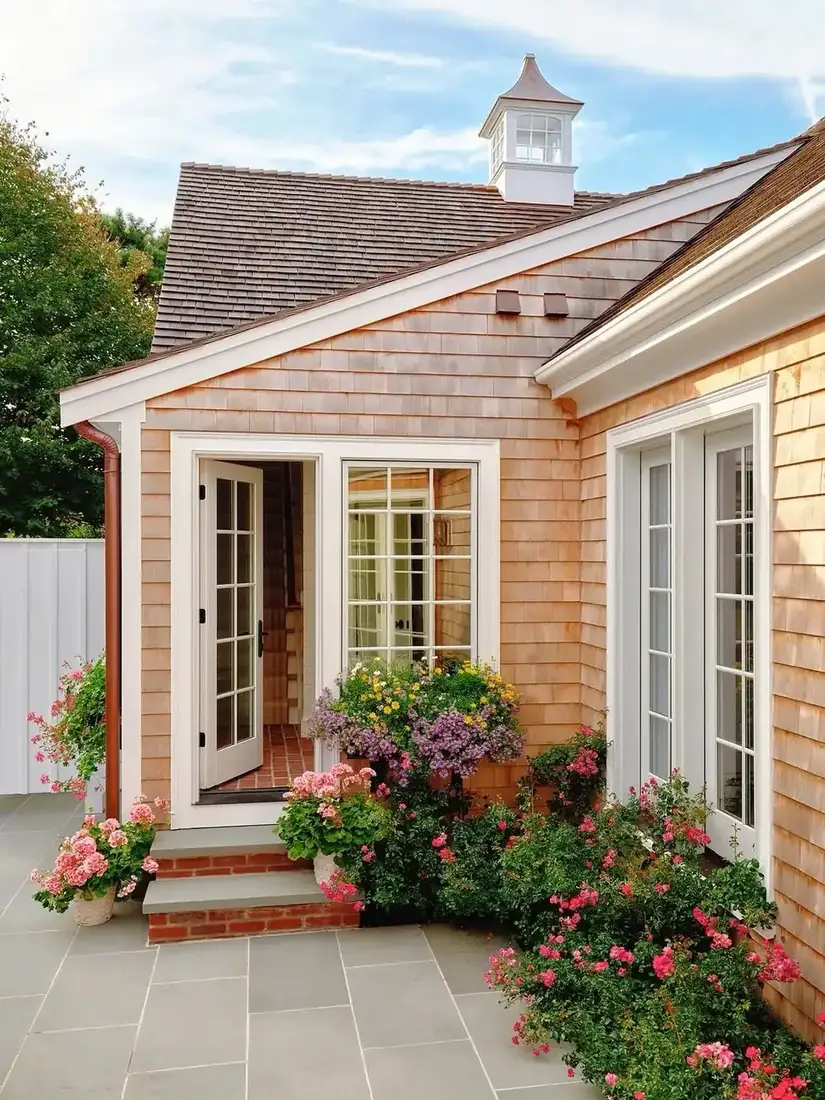
Bright white trim beside weathered cedar goes cold and slightly blue, because silvered cedar is already cool. Notice the cupola and the window frames on the cottage with the rose beds. They hold their own against the wall because there is cream in them. So take your trim sample outside and hold it against a piece of cedar that has already greyed, not against the fresh orange stuff. If the white looks clinical there, warm it. A trim colour that works on day one and fights you in year three is a slow, expensive mistake.
Give the wall room to breathe at ground level
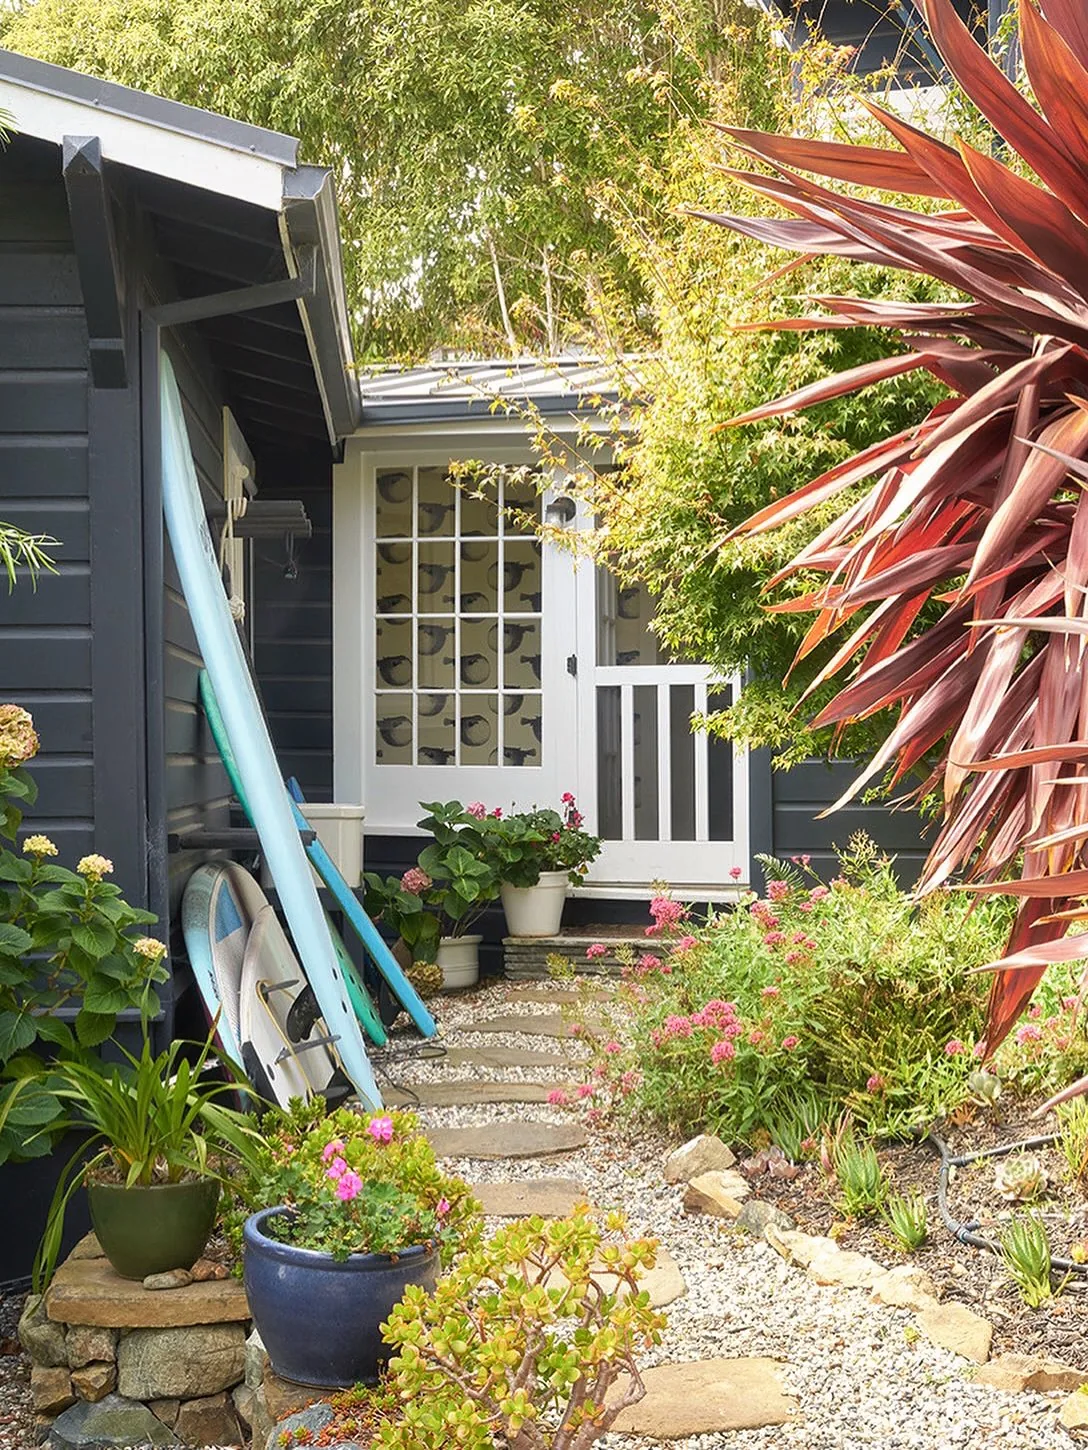
Planting pressed against cedar keeps a strip of wall permanently damp, and that strip is where rot starts. It also stops you seeing the bottom courses, which is where you would notice a problem early. So pull your beds back and leave a clear band at the base. Gravel works, so does plain paving, and either one lets splash drain away instead of soaking in. Your house will look better for it too, because a visible base line gives the wall somewhere to stop. For more on that ground detail, see our stone and clapboard house ideas.
Expect shade and sun to age at different speeds
Cedar under trees stays damp longer and holds green algae. Cedar in full sun silvers faster and more evenly. On a house in woodland you will get both on the same building, and there is no product that makes them match. Rather than fight it, plan a gentle wash on the shaded elevations every year or two and let the sunny ones do their own thing. Understanding that split saves you from stripping a whole house because one wall looked wrong. Uneven weathering is cedar behaving normally, not cedar failing.
Stain dark only if you will restain
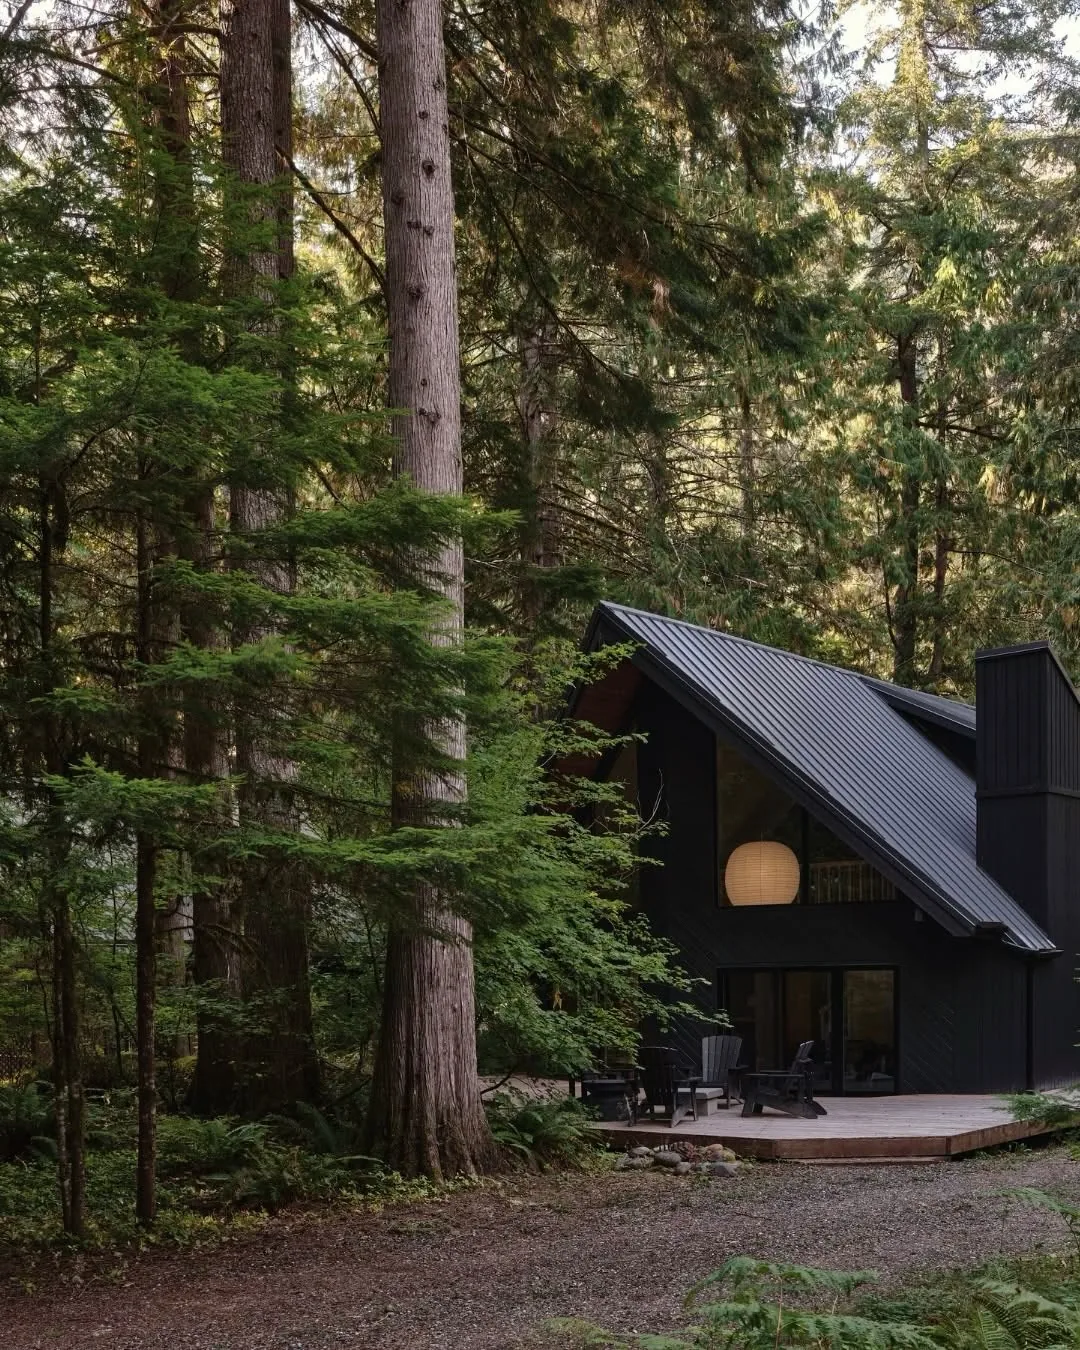
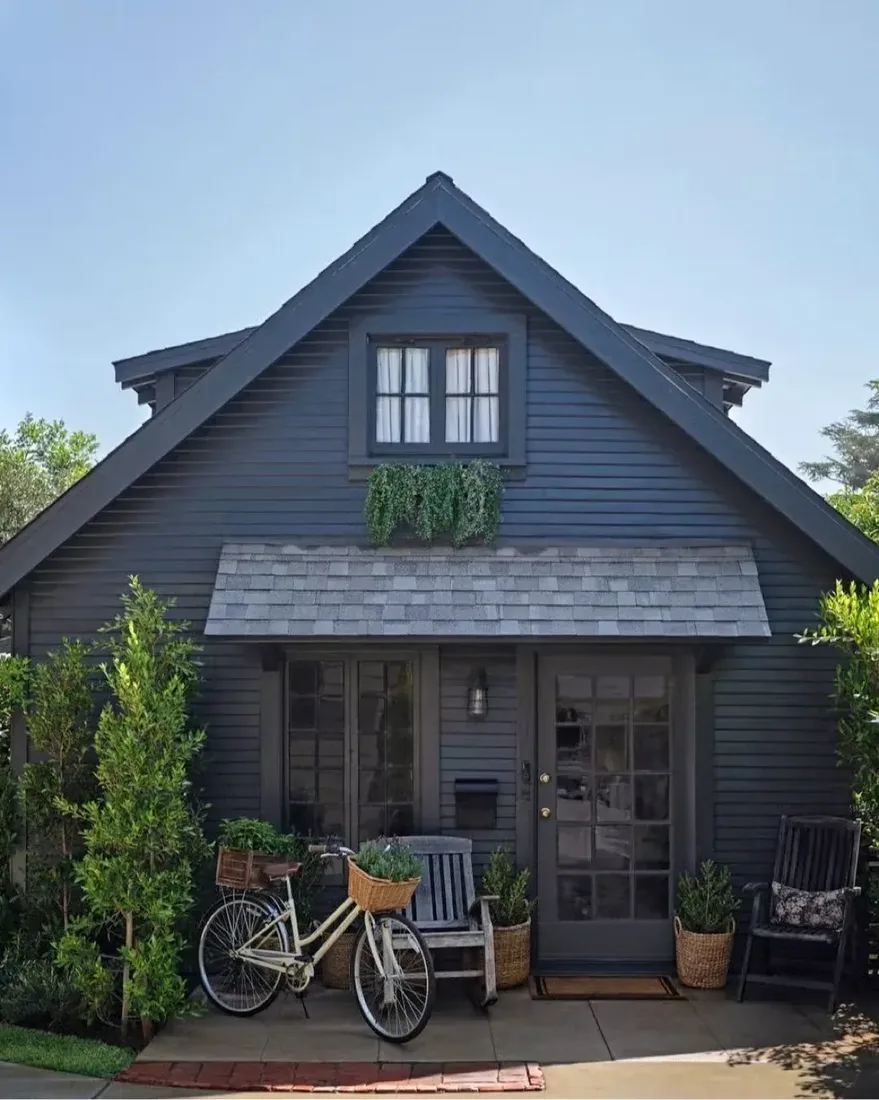
A charcoal cottage looks superb and it is a commitment, not a finish. Dark stain on cedar does not weather away gracefully the way bare cedar does. It fades, then goes patchy, and the only cure is another coat. So before you fall for the dark look, decide whether you are willing to be back on a ladder every few years. If you are, it is a beautiful thing and it hides the odd replaced piece. If you are not, leave the cedar bare and let it silver, which asks nothing of you at all. Our dark shingle house ideas go further into that trade.
Shake or shingle at a glance
| Cedar shingle | Cedar shake | |
|---|---|---|
| How it is made | Sawn on both faces | Split from the block |
| Surface | Smooth and uniform | Rough and variable |
| Shadow line | Thin and even | Deep and broken |
| Reads as | Refined | Rustic |
| Suits | Crisp trim, formal windows | Deep eaves, heavy timber |
| Needs | Ventilated gap, stainless nails | Ventilated gap, stainless nails |
The Cedar Cut Formula
- Sawn or split is the real question. Everything else you are being sold follows from that one answer.
- Read the shadow line in any photo you save. Thin and even is shingle. Deep and broken is shake.
- Let the house choose. Crisp trim wants sawn. Heavy overhangs want split.
- Ventilate behind, always. Cedar must dry from both faces or it will not last, whichever cut you buy.
- Stainless fixings, no substitutes. Everything else stains, and the stains are permanent.
- Read cupping as a moisture message. Find the blocked air path rather than blaming the timber.
Get those six right and either cut will serve you for decades. Cedar is far more forgiving of taste than it is of a wall that cannot dry. There is more on material honesty across our home exterior guides.
Frequently Asked Questions
Is a cedar shake the same as a cedar shingle?
No. A shingle is sawn on both faces, so it is smooth and uniform. A shake is split, so it is thicker and rougher. The difference in how they are made is what makes them look different on a wall.
Which one lasts longer, shakes or shingles?
Neither, reliably. Longevity comes from the detail behind the cladding, not the thickness of the piece. A shingle wall with a proper ventilated gap will outlast a shake wall nailed flat onto sheathing.
Do cedar shingles really need an air gap behind them?
Yes, and so do shakes. Cedar takes up and releases moisture from both faces. Fixed straight onto solid sheathing, the back face never dries and the wall fails early.
What nails should I use for cedar siding?
Stainless steel, for shakes and shingles alike. Cedar is acidic and reacts with ordinary steel, leaving dark stains running down from every fixing.
Why are my cedar shingles curling at the edges?
That is cupping, and it usually means moisture is trapped behind the cladding rather than that the timber was poor. Look for a blocked air path at the base or top of the wall before you replace anything.
Should I stain new cedar straight away?
Leave it alone through the first year. New cedar dries blotchy and then evens out as it weathers. A coating applied early locks the patchiness in for good.
This article may contain affiliate links. We may earn a commission at no extra cost to you.