15 Shingle Ideas for the Side That Weathers Hardest

Add us as a preferred source to see more stories on Google.
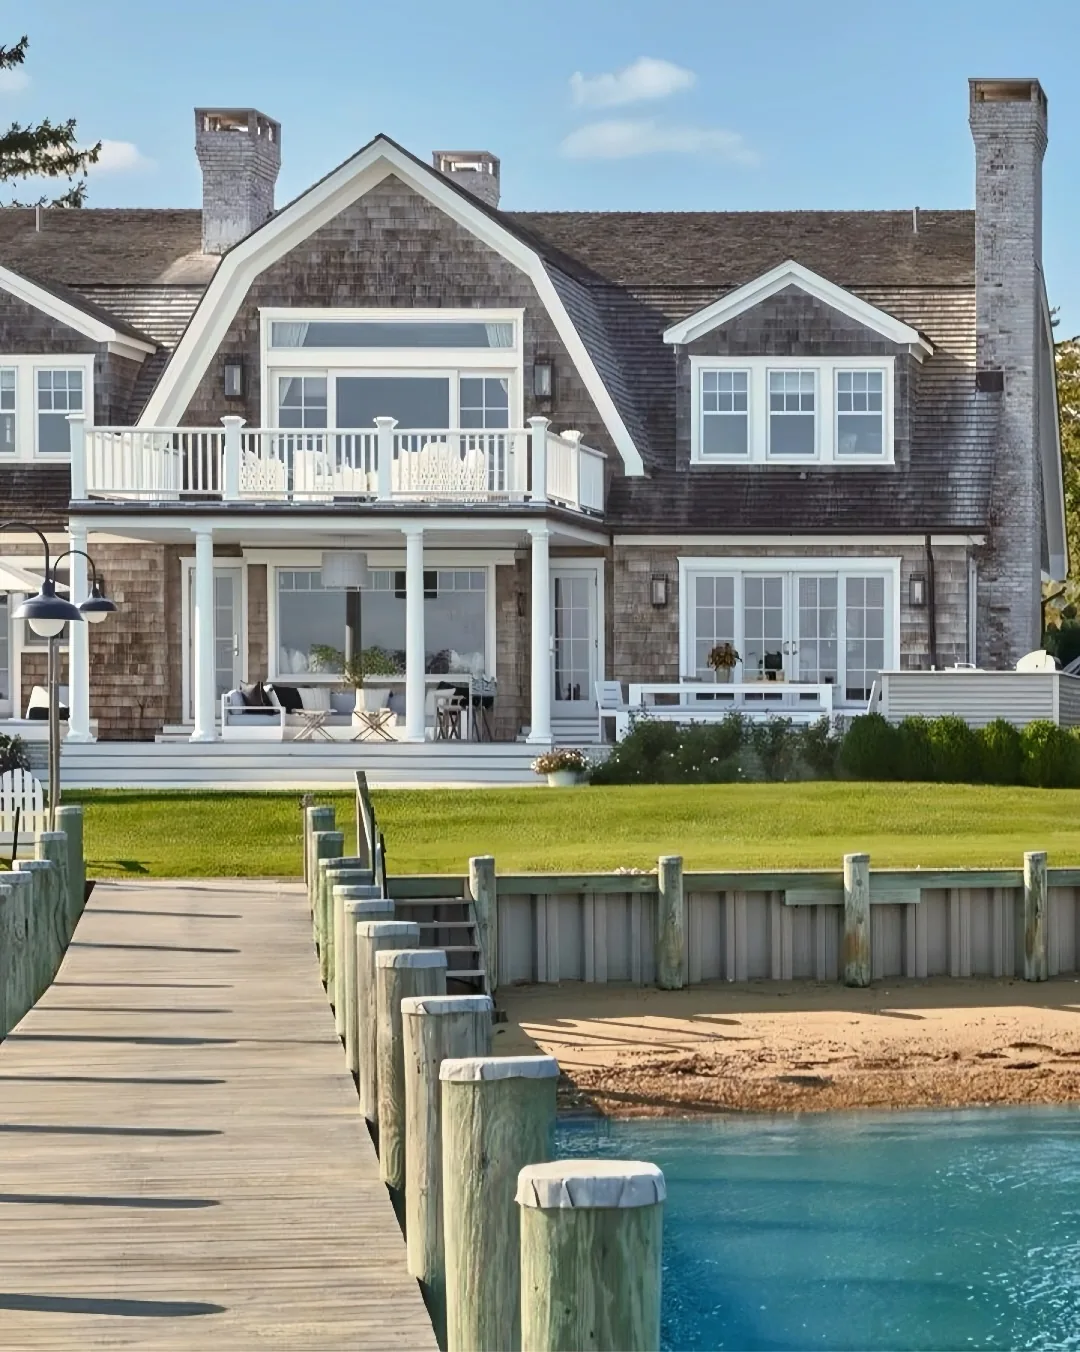
You judged the house from the driveway. The lake judges it from the other side.
Here’s the thing. Your water-facing wall lives in permanent damp shade while your street wall bakes dry, so you own two climates on one house.
Chances are the lake house shingle exterior ideas you saved never mention that split. Five years on, the shore side is green and soft while the road side still looks new, and you’ll wish someone had warned you.
Read your wet side before you side it
Walk your plot at dawn before you pick a single finish. The walls that dry last will decide everything below.
Face the water wall first, not the street wall
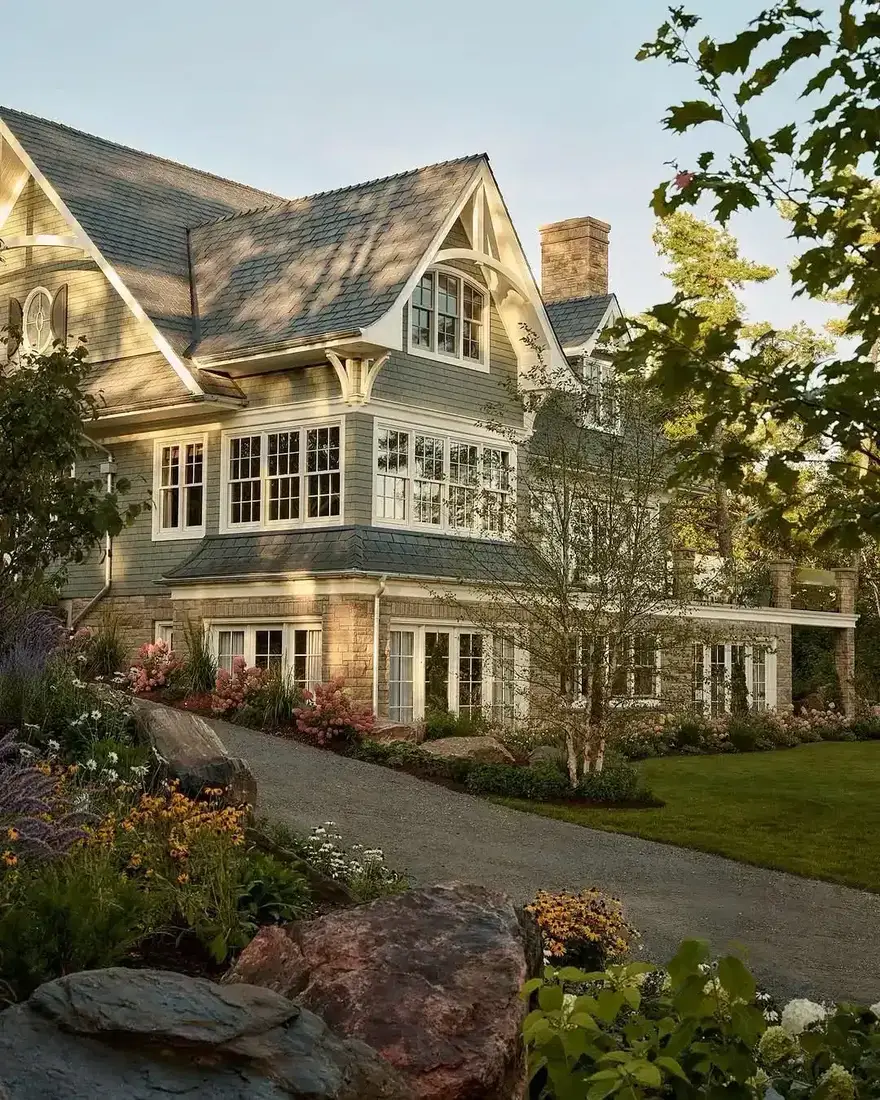
Stand on your dock or your shore path and look back at your house. That elevation gets reflected light off the water, near-constant humidity and the least direct sun of any wall you own. You’ll watch it silver unevenly, hold moisture for days after rain and grow green long before the road side shows a thing.
So start every decision there. Pick your stain, your clearance and your planting for the shore wall, then check that the same choices still suit the sunny side. They nearly always do, because detailing that survives damp shade survives the sunny side too. Detailing picked for a dry sunny wall fails at the waterline within a few seasons, and you’ll pay for it twice.
Give the damp side air, not more plants
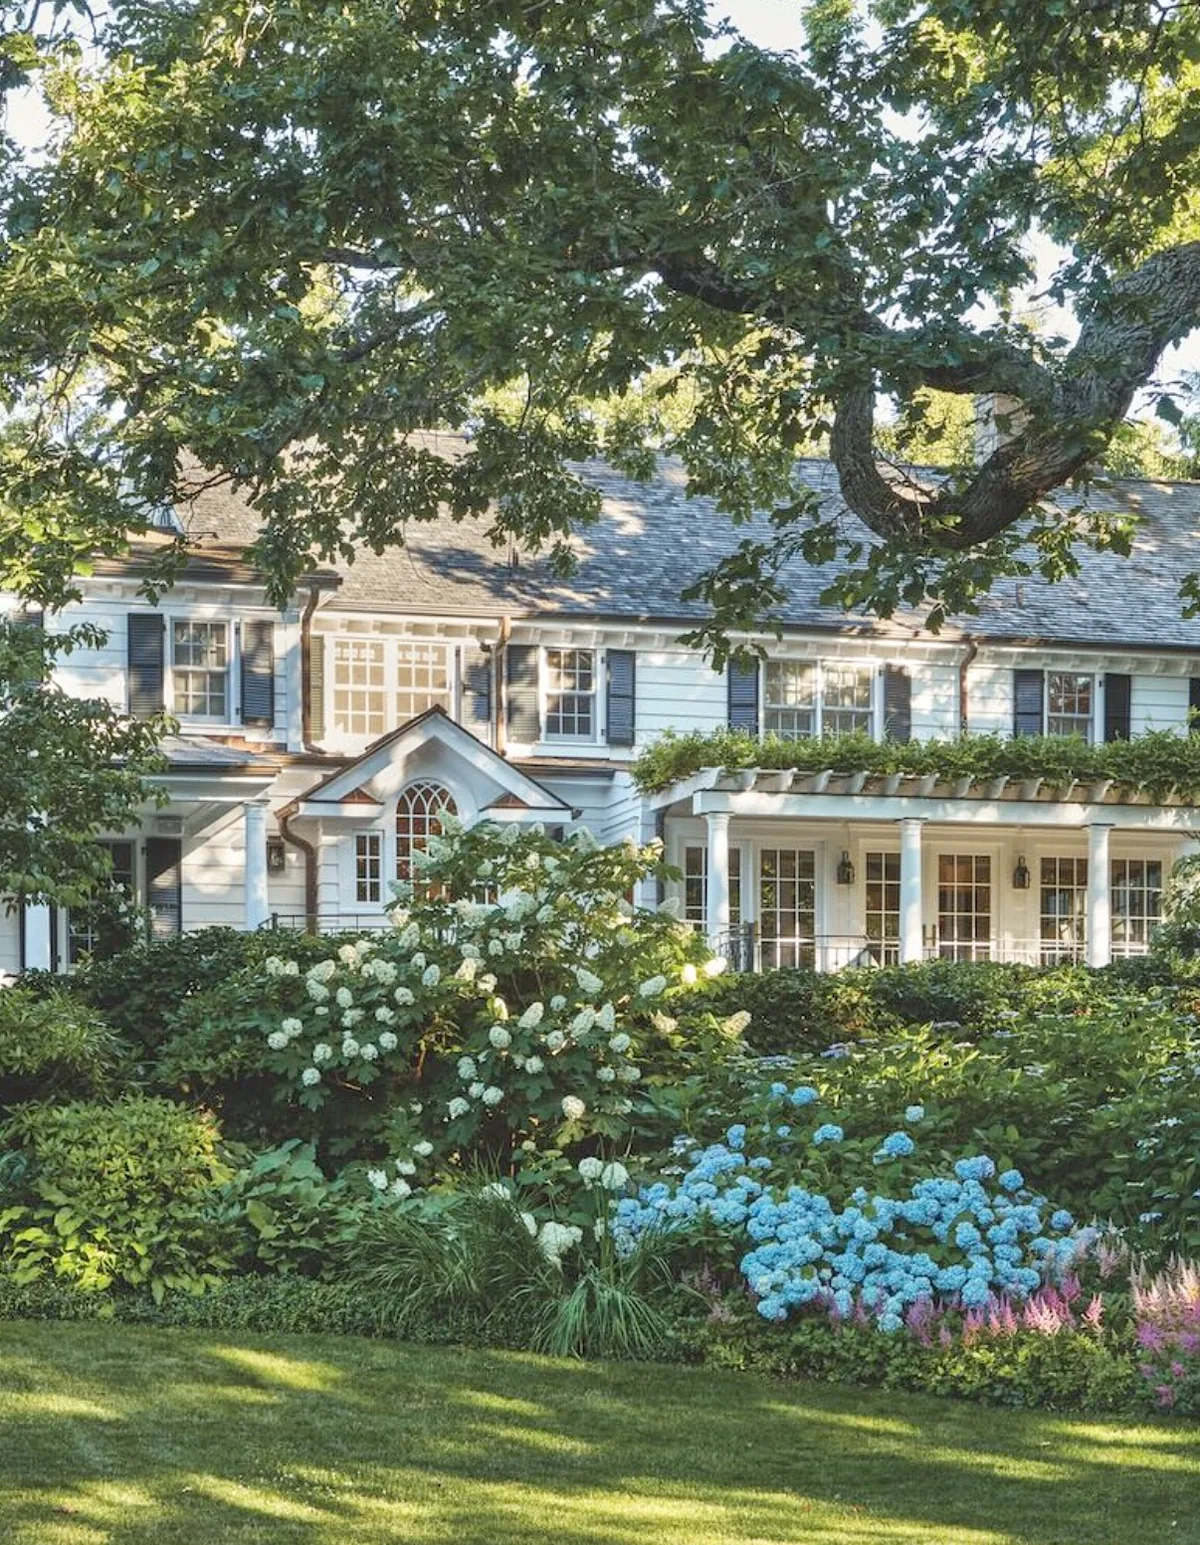
Your instinct at the shore is to plant thickly for privacy, and that’s exactly what keeps the wall wet. Dense shrubs trap humid air against your shingles, block the morning sun that would dry them and hold every rain for an extra day. Algae reads that invitation and moves in first on north and east walls, exactly where you look every morning.
Pull foundation beds back so you can walk behind every shrub with your shoulders square. You’ll know the gap is right when a breeze reaches the wall on a still day. Underplant with low grasses instead of tall bushes where you want softness. Your shingles dry between rains, your stain lasts years longer, and you still get your green.
Cut the shade that never lets the wall dry
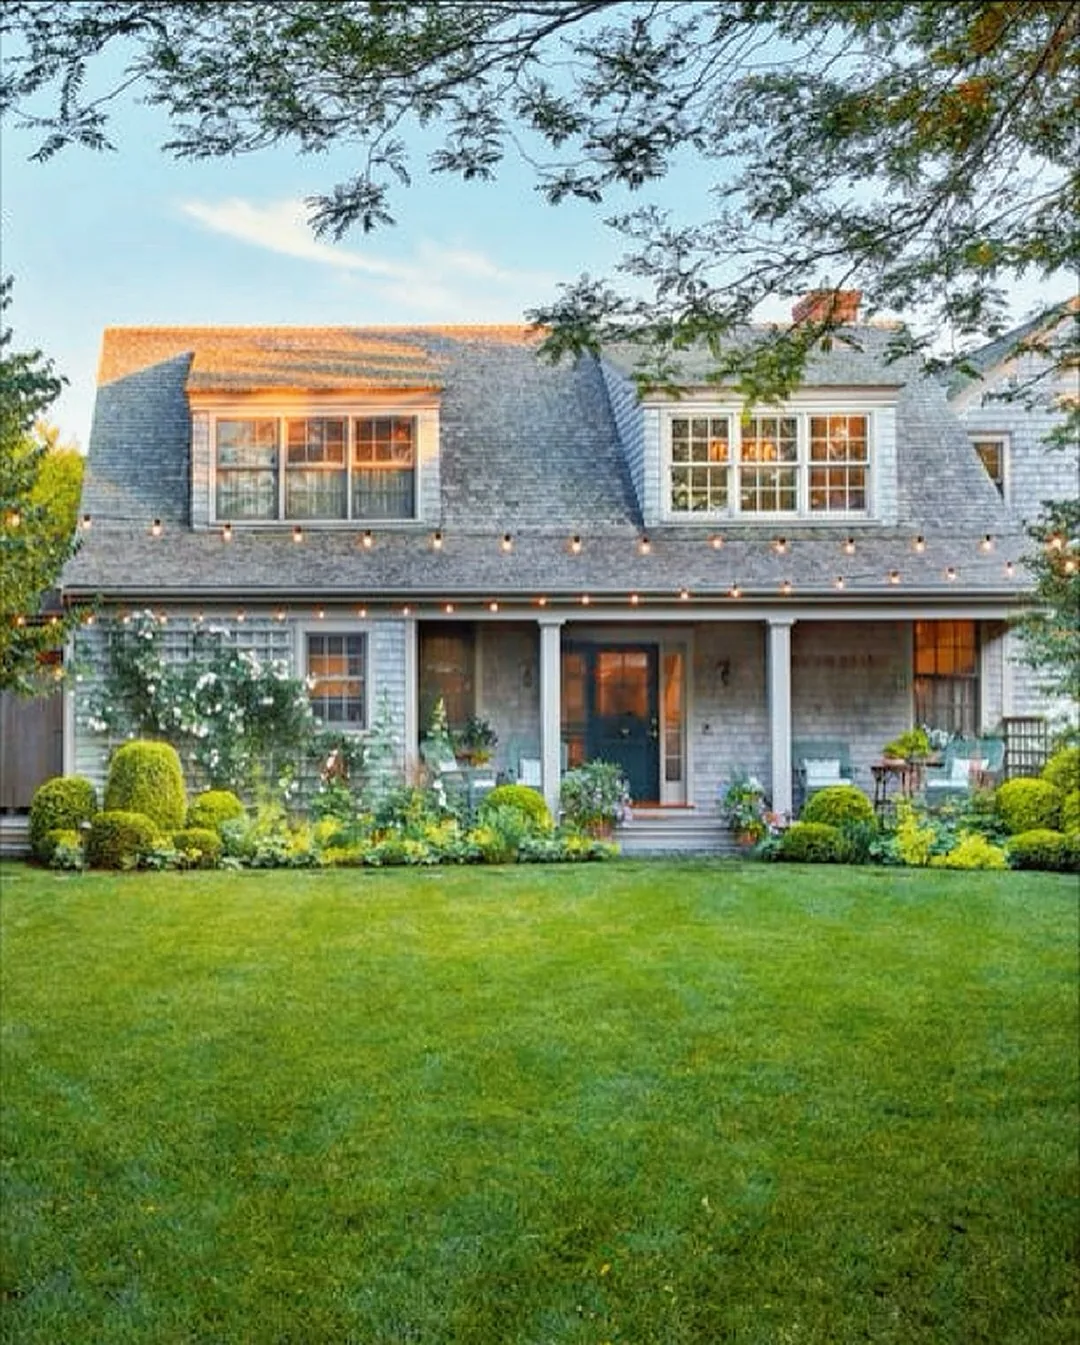
Mature trees are the reason you bought the plot, but a wall that never sees sun never fully dries. Walk the shore side at ten in the morning and again at three, and you’ll see the truth in one day. If the same stretch sits in deep shade both times, your shingles there are living wet, and no stain survives permanent damp.
You don’t need to fell anything you love. Limbing lower branches up and thinning the crown lets dappled light reach your walls while the canopy stays. Aim for dappled shade rather than a cave, and you’ll keep both your trees and your walls. Your grass keeps growing, your shingles get their daily drying hour, and the trees you paid for still frame every view you fell for.
Hold mulch and soil off the bottom course
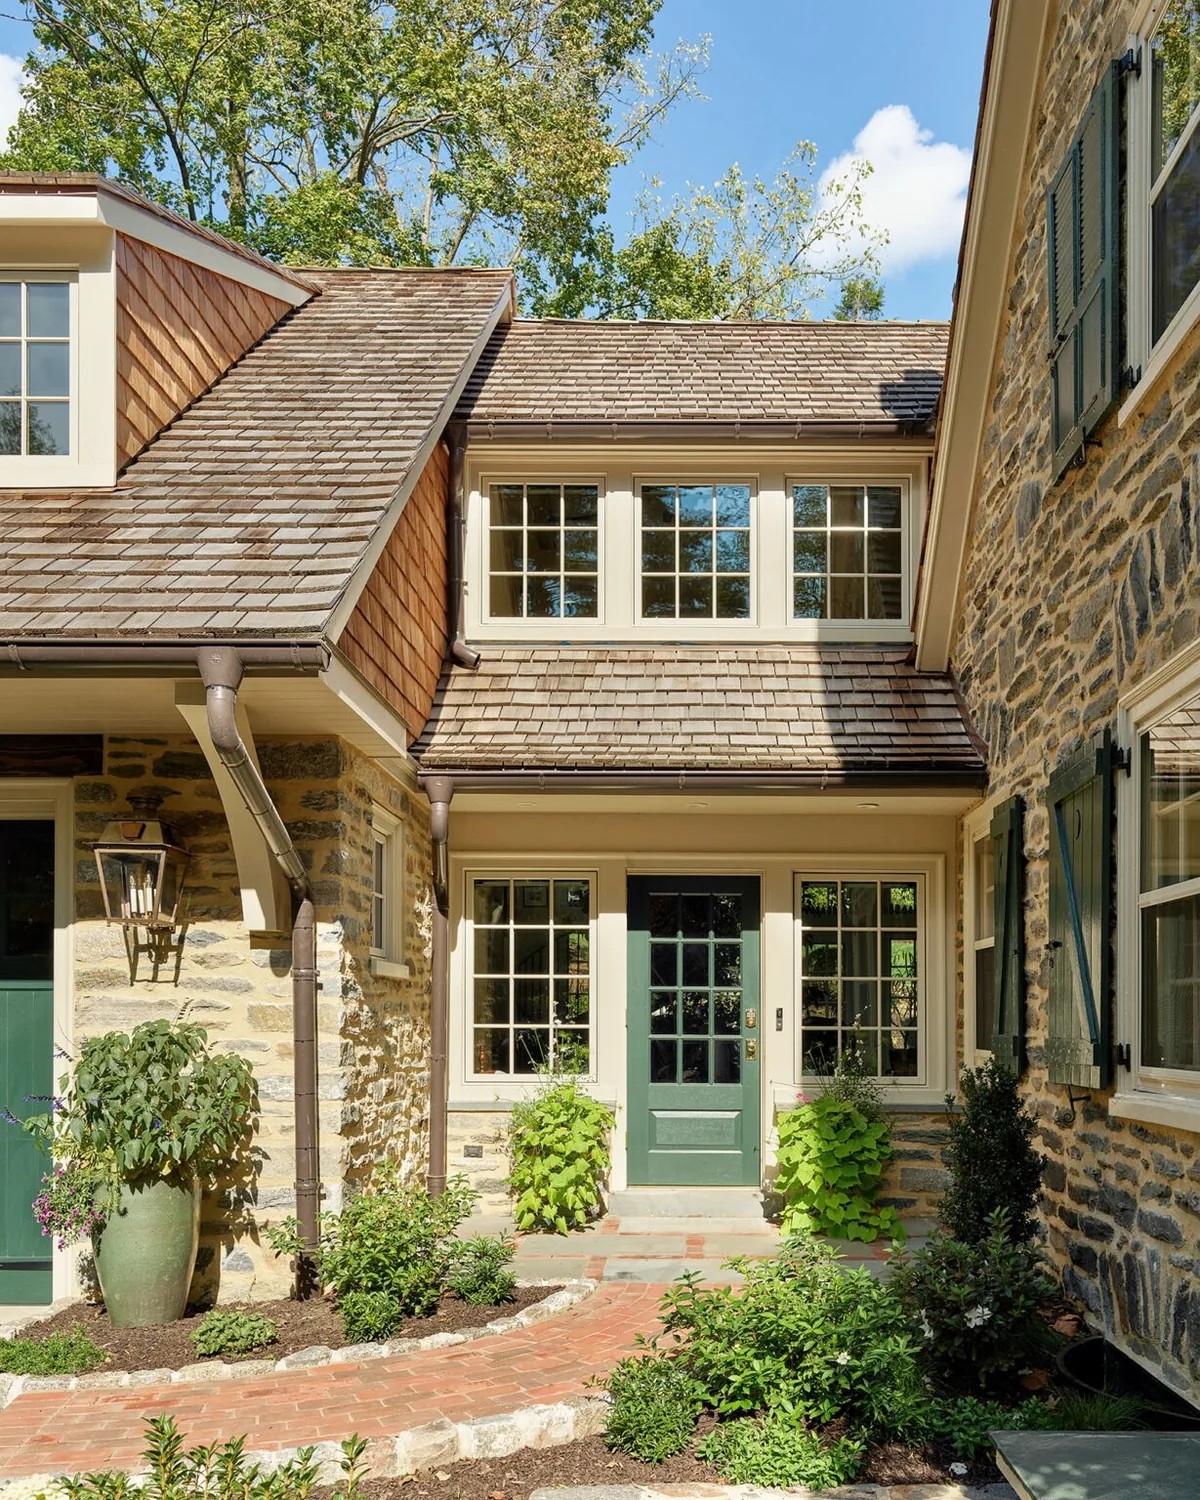
Splashback rots shingle from the bottom up, and the shore side gets the worst of it because the ground there stays soft. Rain hits bare soil or mulch, bounces back up and soaks the lowest courses over and over. Those bottom rows will cup, darken and fail years before the rest of your wall.
Keep soil and mulch several inches below your lowest shingle and lay a gravel band along the foundation so splashing water drains instead of rebounding. Check the gap every spring, because beds creep upward as you top up mulch. It’s a dull job that saves the most expensive rows on your house.
Build for spray, storms and splash
Waterfront weather hits harder and dries slower. Your flashing, fasteners and roof water plan have to match that reality.
Flash like the lake is trying to get in
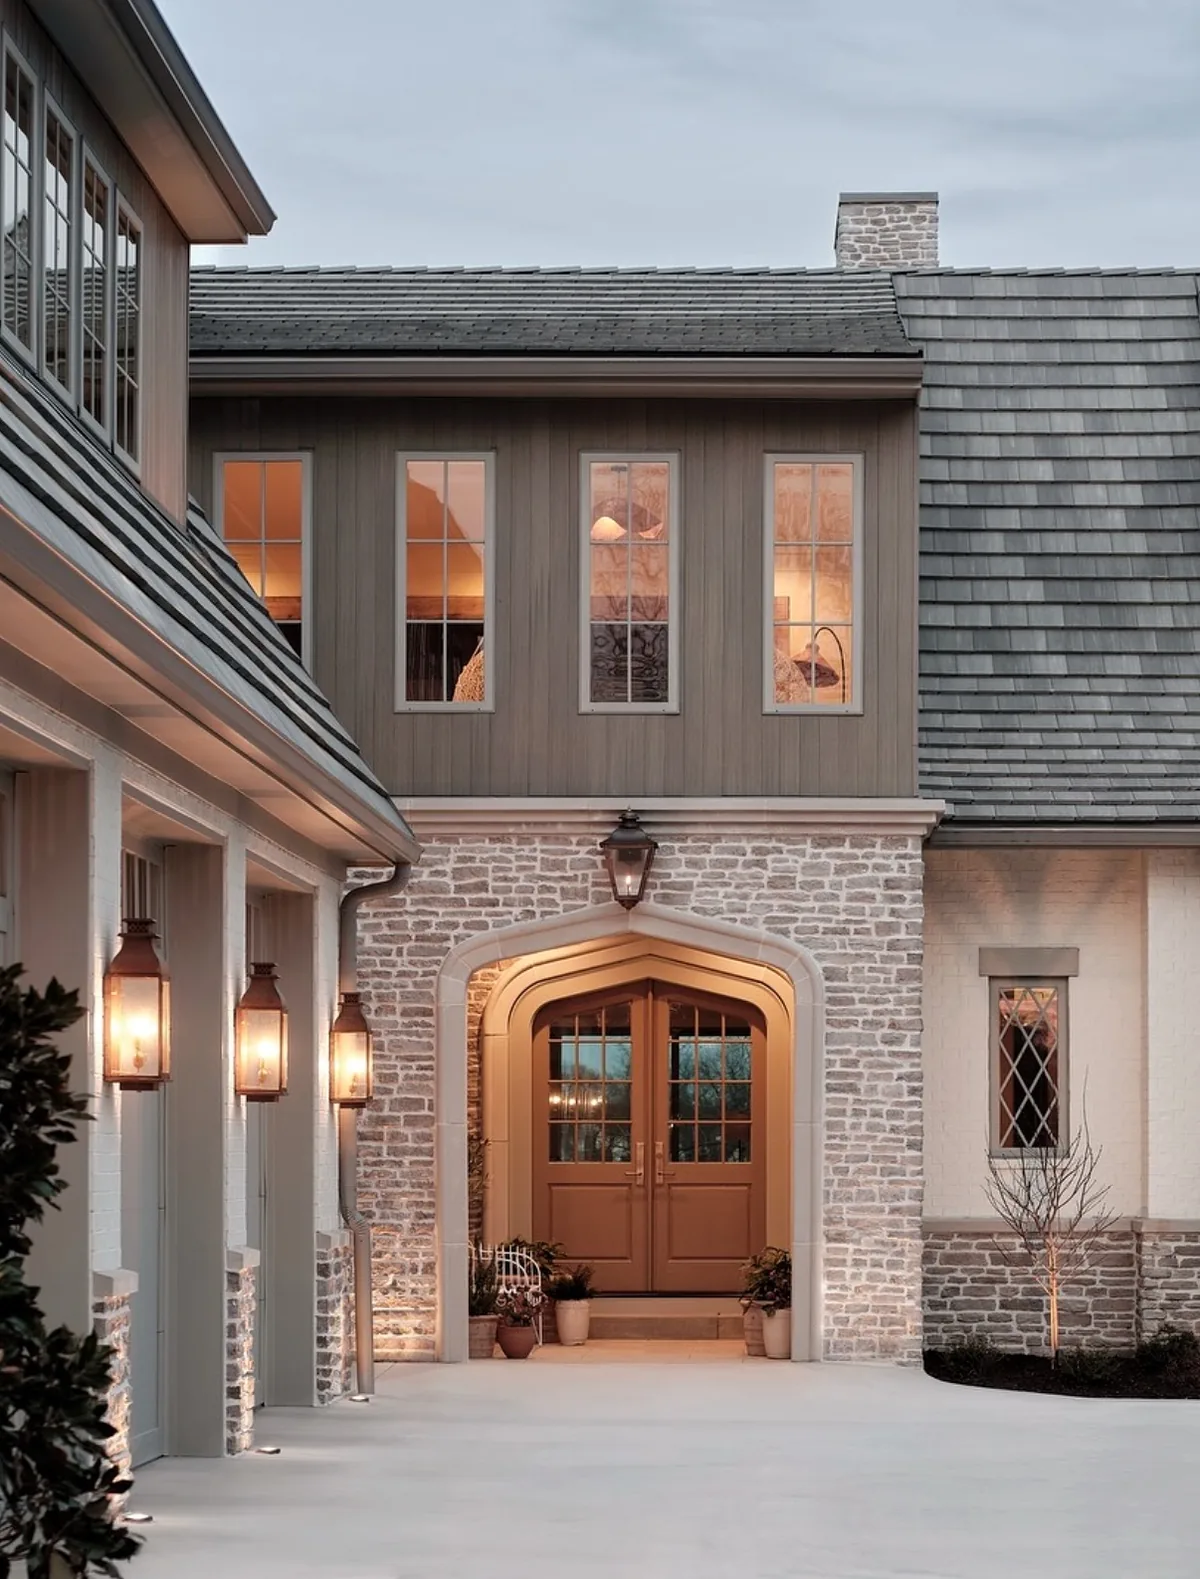
Wind off open water drives rain sideways into every joint your street side never tests. Window heads, door heads, deck ledger boards and anywhere a porch roof meets shingle all need proper flashing with somewhere for water to exit. Caulk alone is a promise your lake will break.
When your contractor says the trim covers it, ask what sits behind the trim. You want metal flashing lapped so each layer sheds onto the one below, with gaps left open at the bottom for drainage. Sealed-shut joints trap the water they were meant to stop, and you’ll find the rot years later behind perfect trim. Open, lapped flashing looks fussier during the build and stays dry for decades after it.

Catch roof water before it hits your shingle
A roof without gutters dumps a waterfall onto the wall below every time it rains, and at the shore that wall is already the slowest to dry. You’ll see the damage as streaked stain, green stripes and soft courses exactly one story below the eaves. The fix costs far less than residing that band, so catch it before you need it.
Hang gutters on every slope that drains toward shingle, and carry downspouts all the way to daylight or a drain, never onto a lower roof or a splash block aimed at your foundation beds. Where you hate the look of gutters, fit a deep drip edge and a gravel bed below to break the fall. Either way, roof water should never wash your walls.
Spend on fasteners that forgive salt and spray
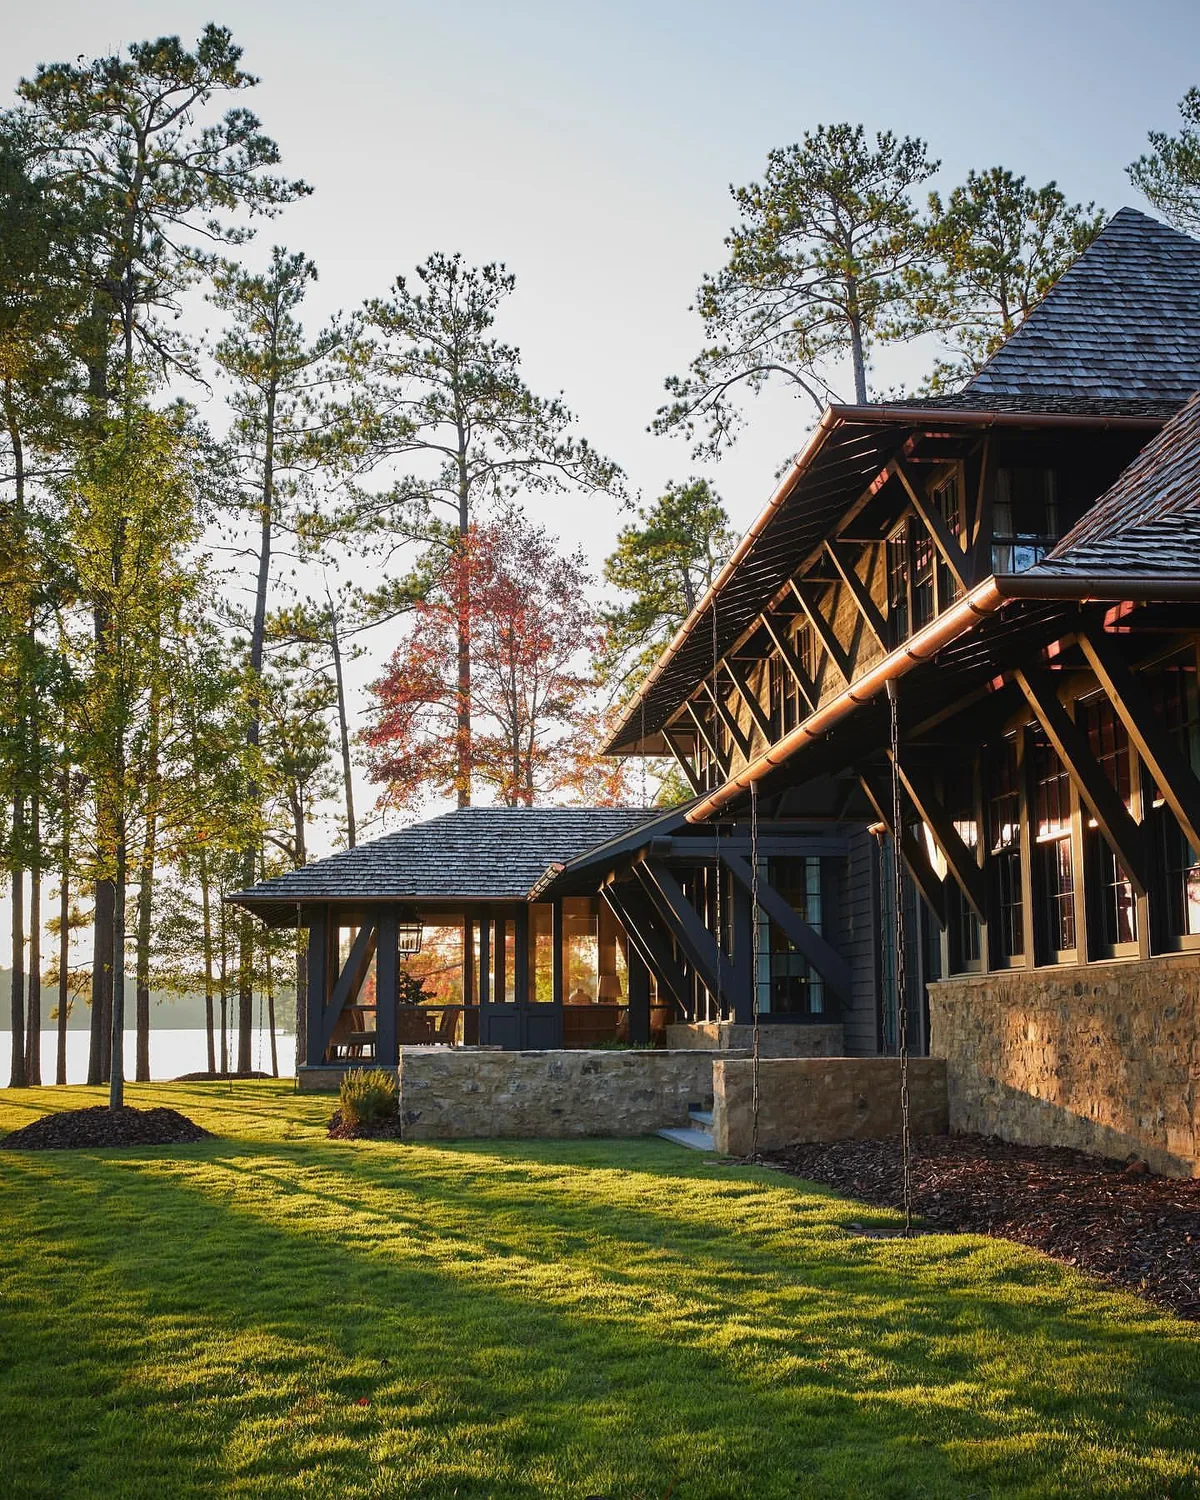
Ordinary steel nails bleed rust down cedar within a season or two near water, and you’ll spot the failure as orange streaks under every nail head. Once the streaks start, only replacing the fasteners stops them.
Specify stainless steel nails for all your shingle and refuse substitutes, even inland, because lake humidity punishes plain steel nearly as fast as salt does. For the full reasoning on metals and what happens when you mix them, see our cedar shake vs shingle guide. The upgrade costs little during siding and a fortune as a repair you’ll pay for one wall at a time.
Stain to hide uneven aging, not to freeze one color
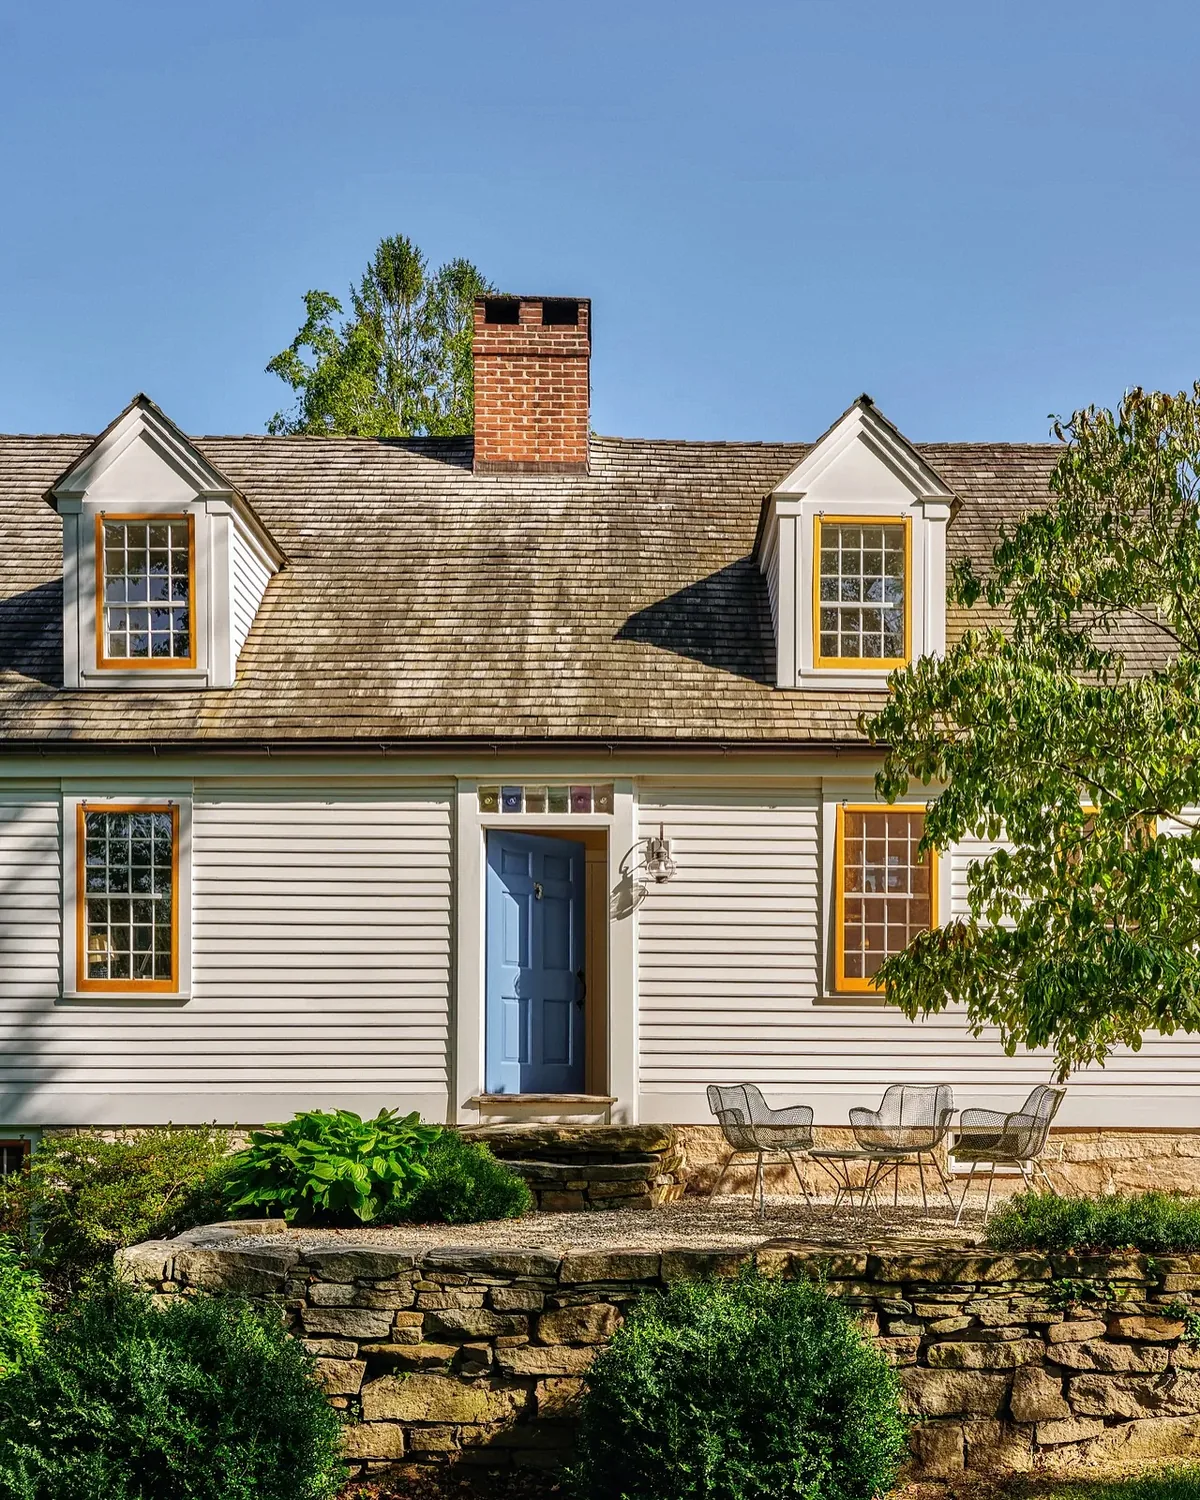
Your two walls will never weather at the same speed, so pick a finish that forgives the difference. A semi-transparent stain in a weathered grey or soft brown evens out the patchwork years while the shaded side catches up, which buys you one calm color sooner.
Skip the urge to seal fresh cedar so it stays honey forever. Sealers trap moisture on the damp side and peel exactly there first, leaving you with a two-tone house and a scraping job you never planned. Stain for the blotchy middle years and let the lake side arrive silver on its own late schedule. You’ll get one calm color across both walls years sooner.
Color that survives the shore
Sun, spray and shade pull every color in different directions. Pick the ones that age gracefully instead of fighting you.
Match your trim white to shade, not sun
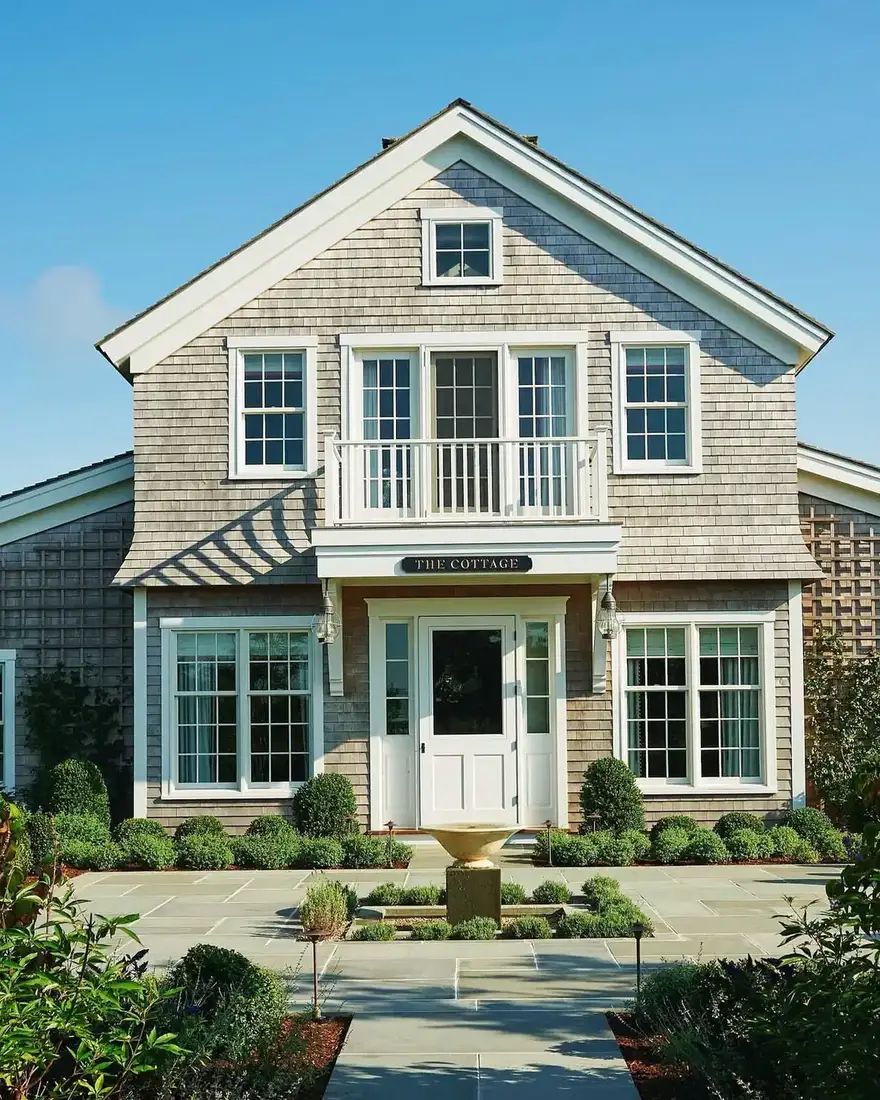
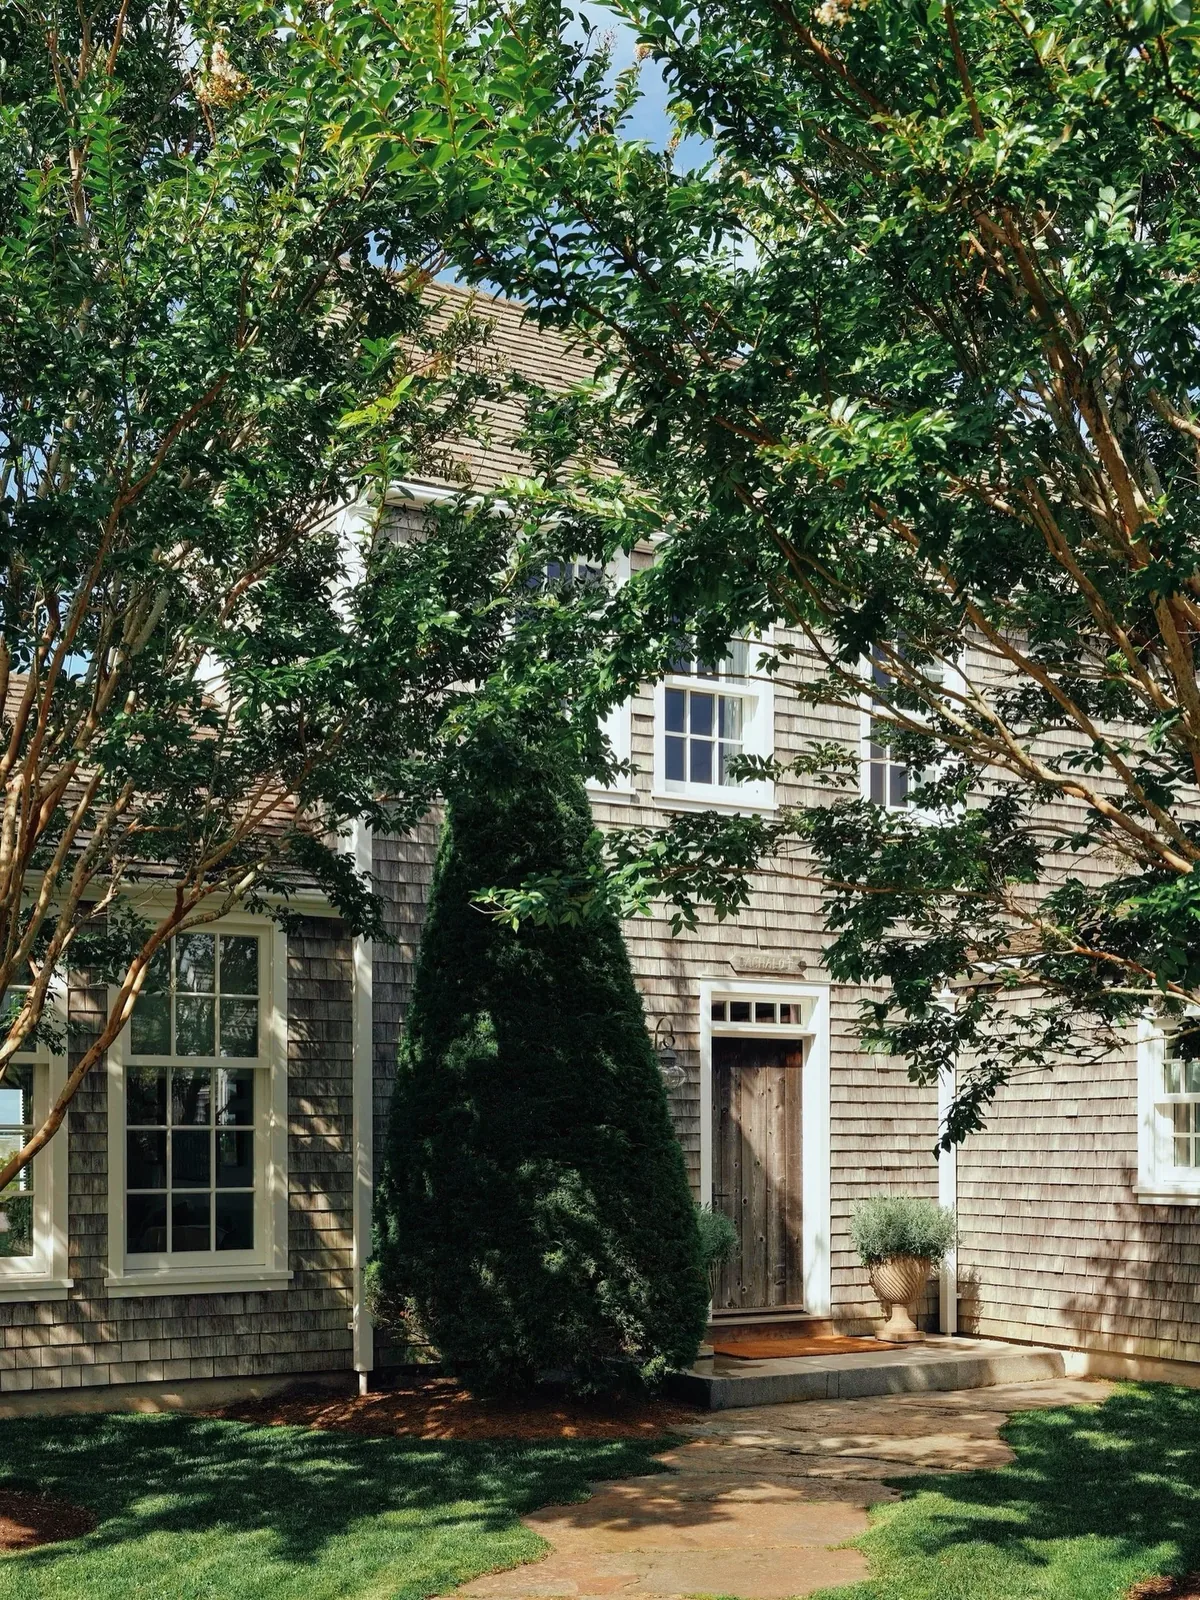
That crisp trim white you chose at noon will glare against silvered shingle in soft shore light. Judge your white on the water side in the morning, when the light is cool and flat, because that’s the light your trim lives in most. A slightly warm white with a little cream in it stays calm in both lights.
Paint a sample board and prop it against the shingle for a full day before you commit. You’ll watch it shift from bright to soft as the sun moves, and you’ll know by evening whether it fights your silver or settles beside it. One board and one day beats repainting every piece of trim on your house.
Let one green door carry the color
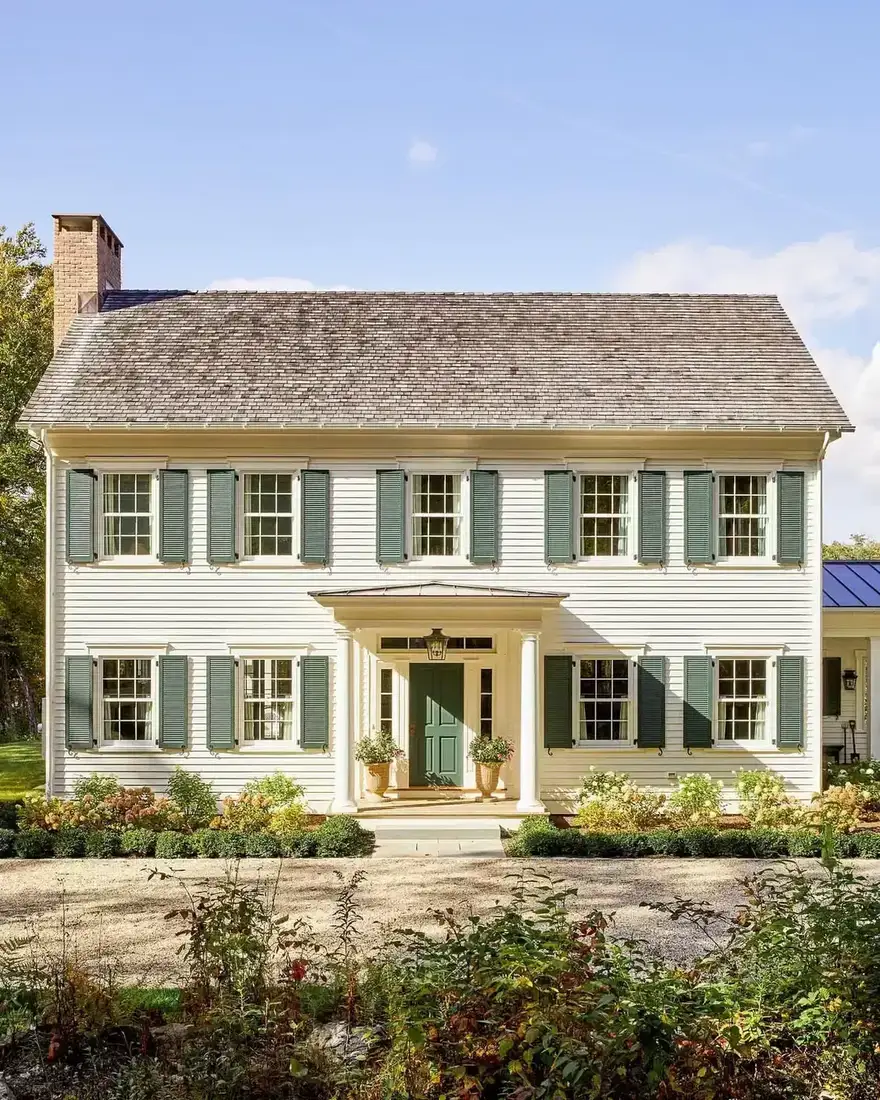
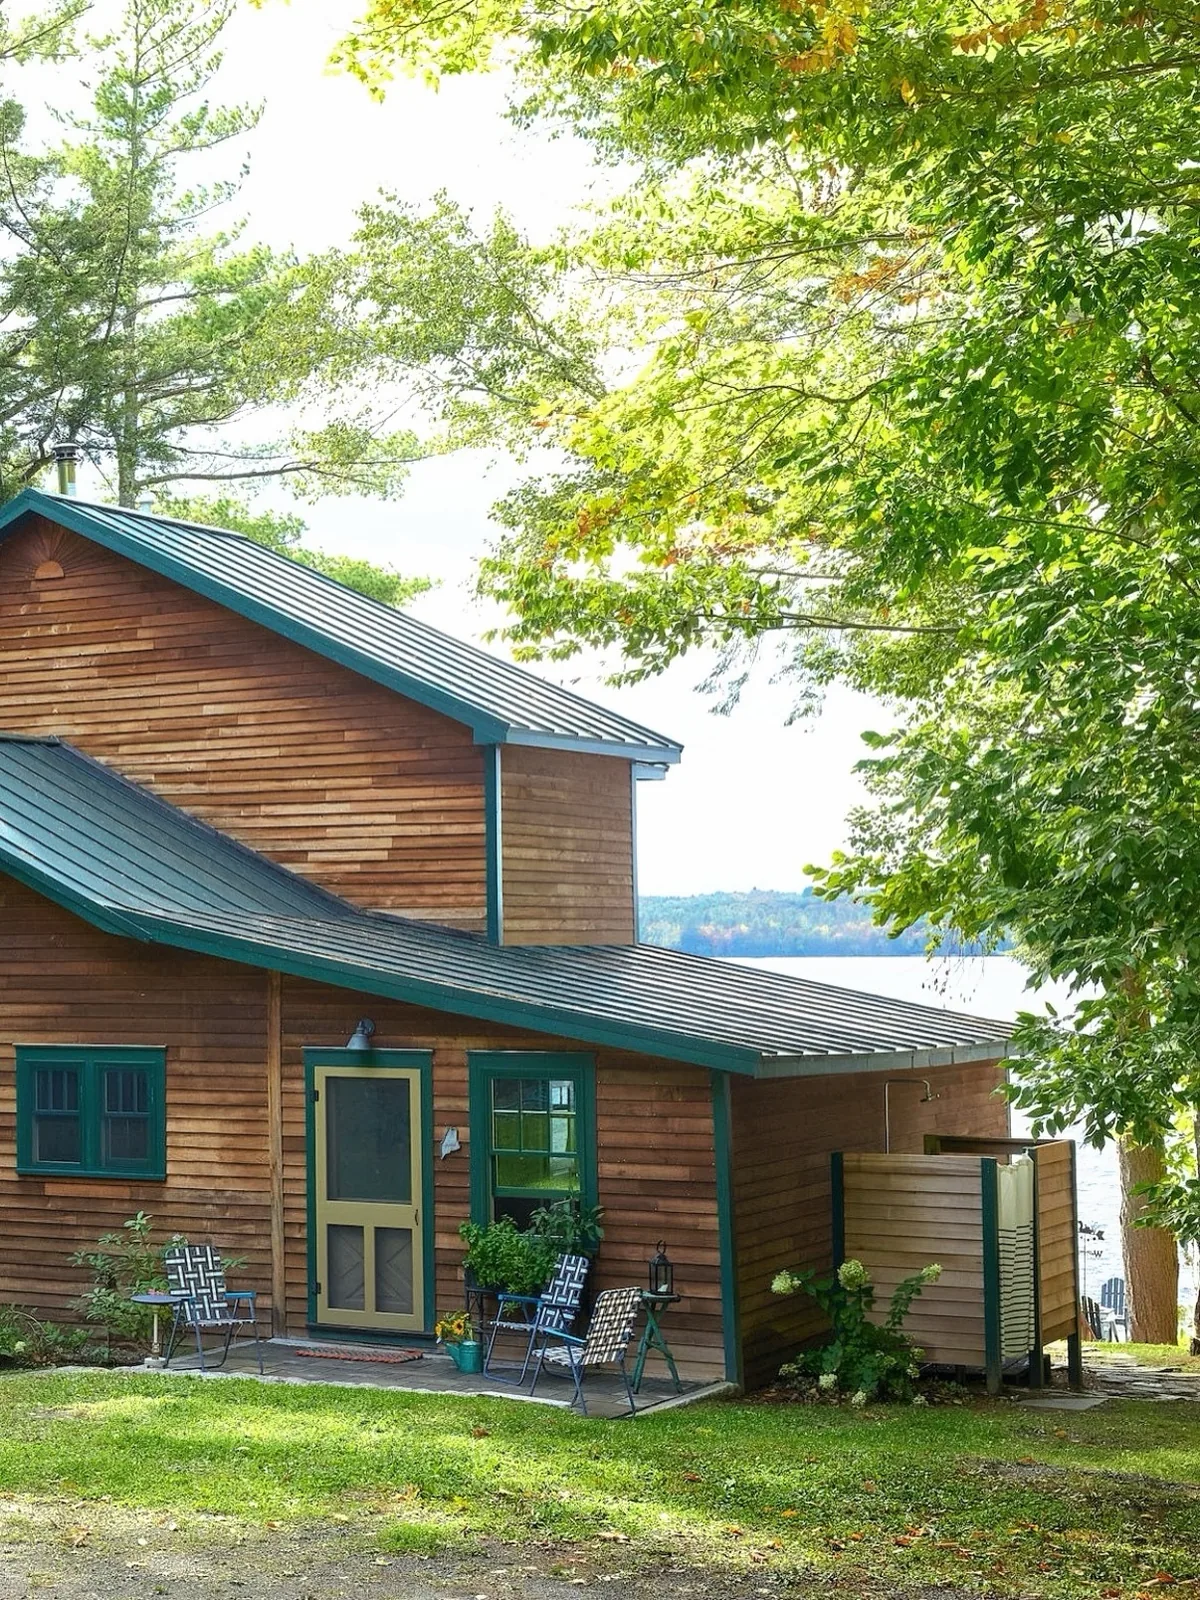
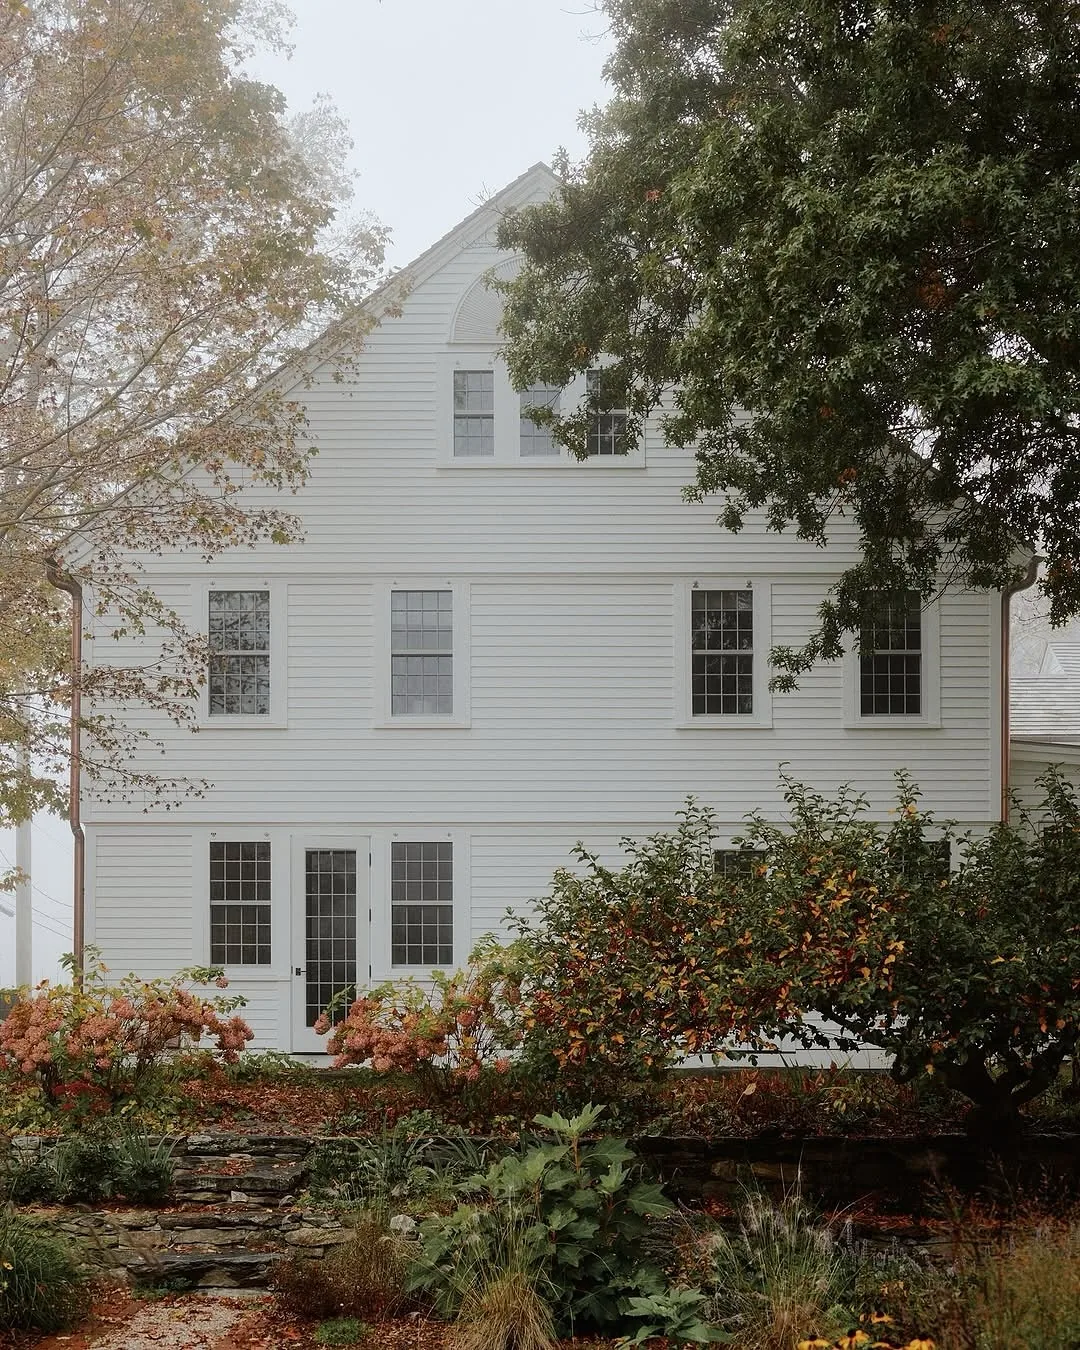
Weathered shingle plus white trim plus a restrained landscape can drift toward grey-on-grey, especially on the overcast shore days you’ll get plenty of. One confident door color fixes the whole composition, and you’ll see it working from the dock. Deep green is the classic because it echoes the pines and the water without competing against either.
Keep everything else quiet once the door speaks, or you’ll turn one good decision into a theme park. Matching shutters, matching planters and a matching bench turn one good decision into a theme park. Let the door stand alone against silver and white, and your whole house gains a focal point that photographs well and ages better than any trendy hue you’d tire of by year three.
Screen the porch you’ll actually live on
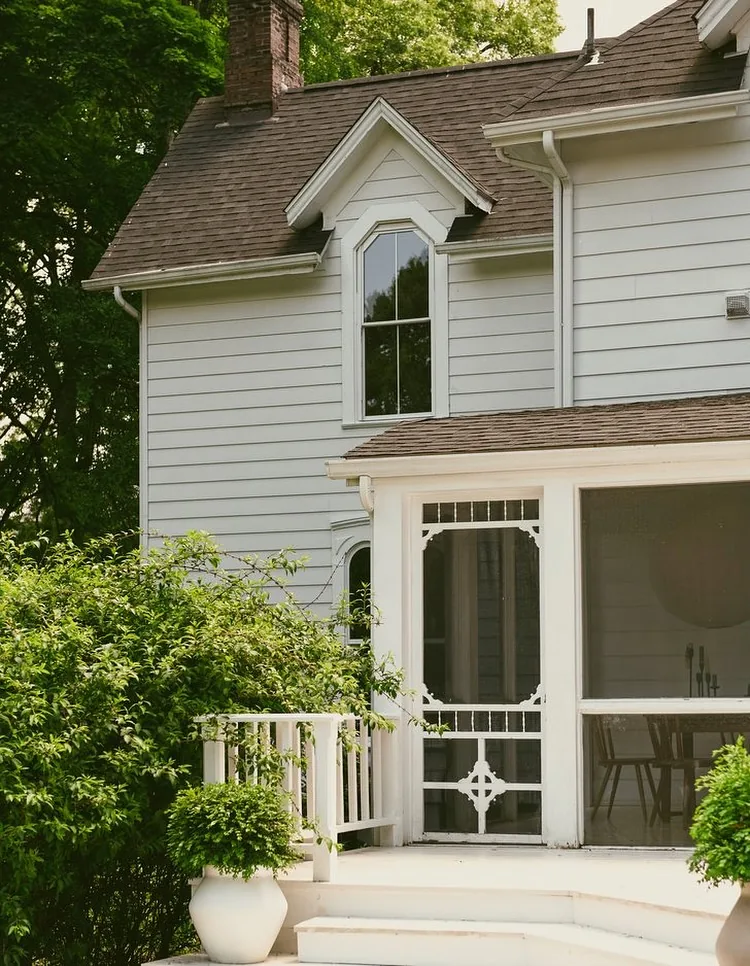
Your best shore hours come with insects, so the porch you screen is the porch you’ll use. A deep screened porch facing the water doubles your living season and keeps your doors open to the breeze without inviting every midge in the county inside for dinner.
Screen generously and frame simply. Floor-to-near-ceiling screens with a mid rail read calmer than fussy divided panels, and they disappear visually so your view stays whole. Add a ceiling fan before you add heaters, because moving air cools a humid evening better than any gadget. You’ll eat out there from May to October and wonder why you ever debated it.
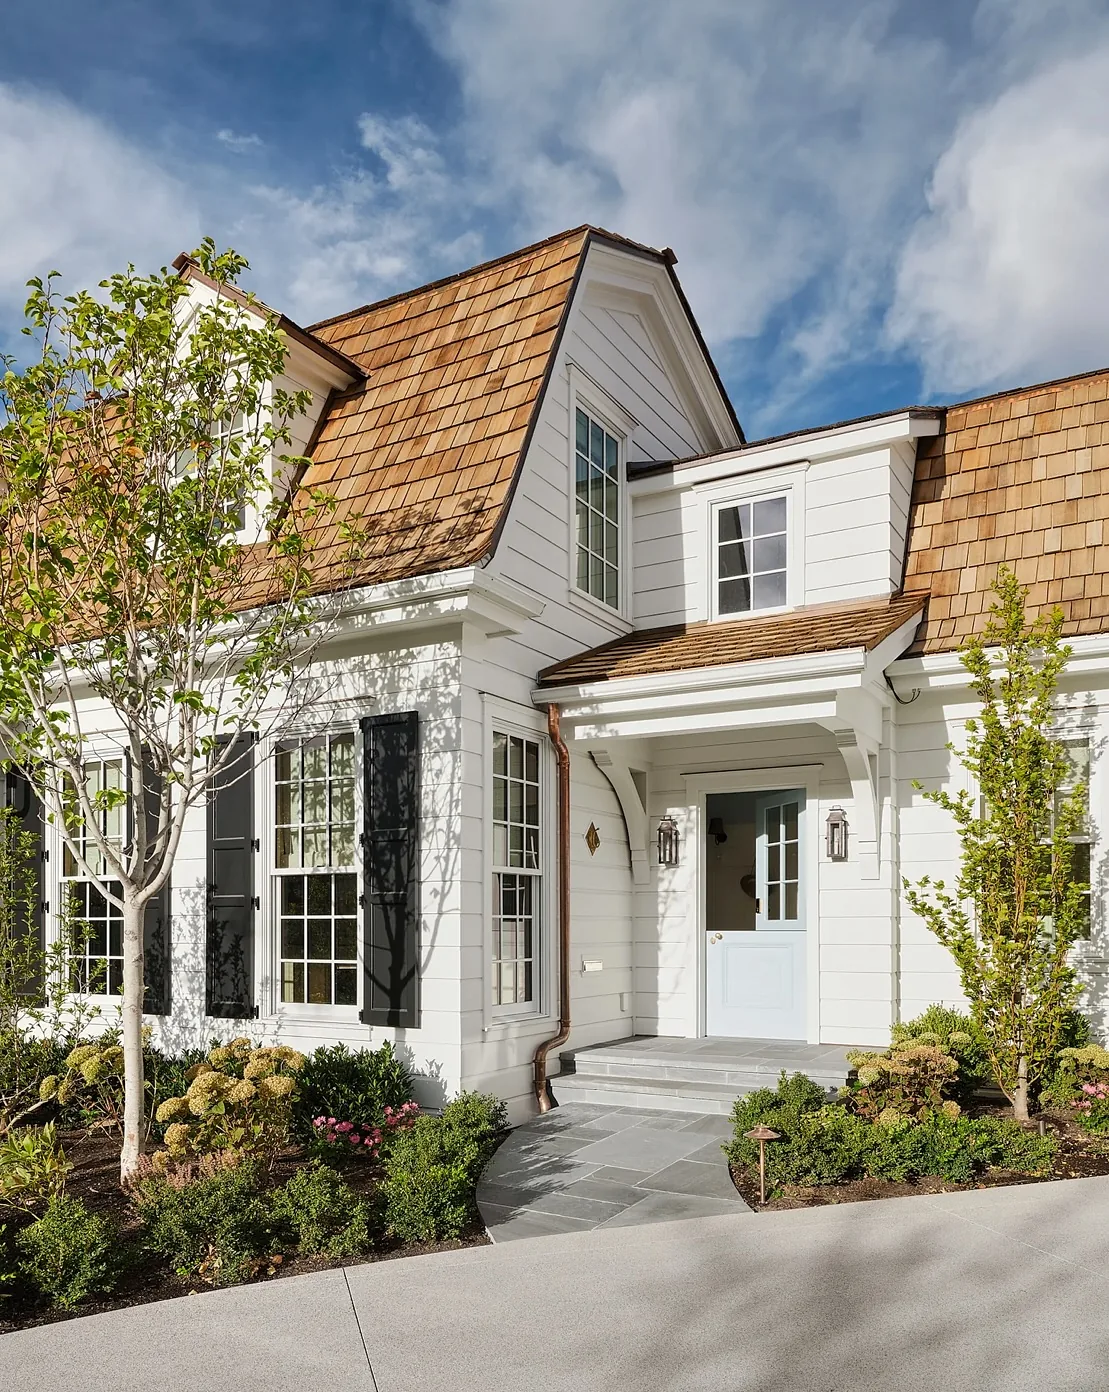
Grounds, light and the long view
The house ends at the walls but the photograph doesn’t. These last ideas tie your shingle to its shore.
Light the path, not the whole shore
Dark skies are half the reason you bought near water, so don’t flood them away. Light your dock path, your steps and your door with low warm fixtures and leave the shoreline itself dark. You’ll walk safely, your windows won’t glare, and you’ll still see stars from your porch.
Point every fixture down and shield the bulb so you see the pool of light, never the source. One glaring floodlight undoes a dozen careful choices and annoys neighbors across water who have nowhere to hide from it. If you only do one thing here, put your path lights on a timer so the shore goes properly dark after midnight.
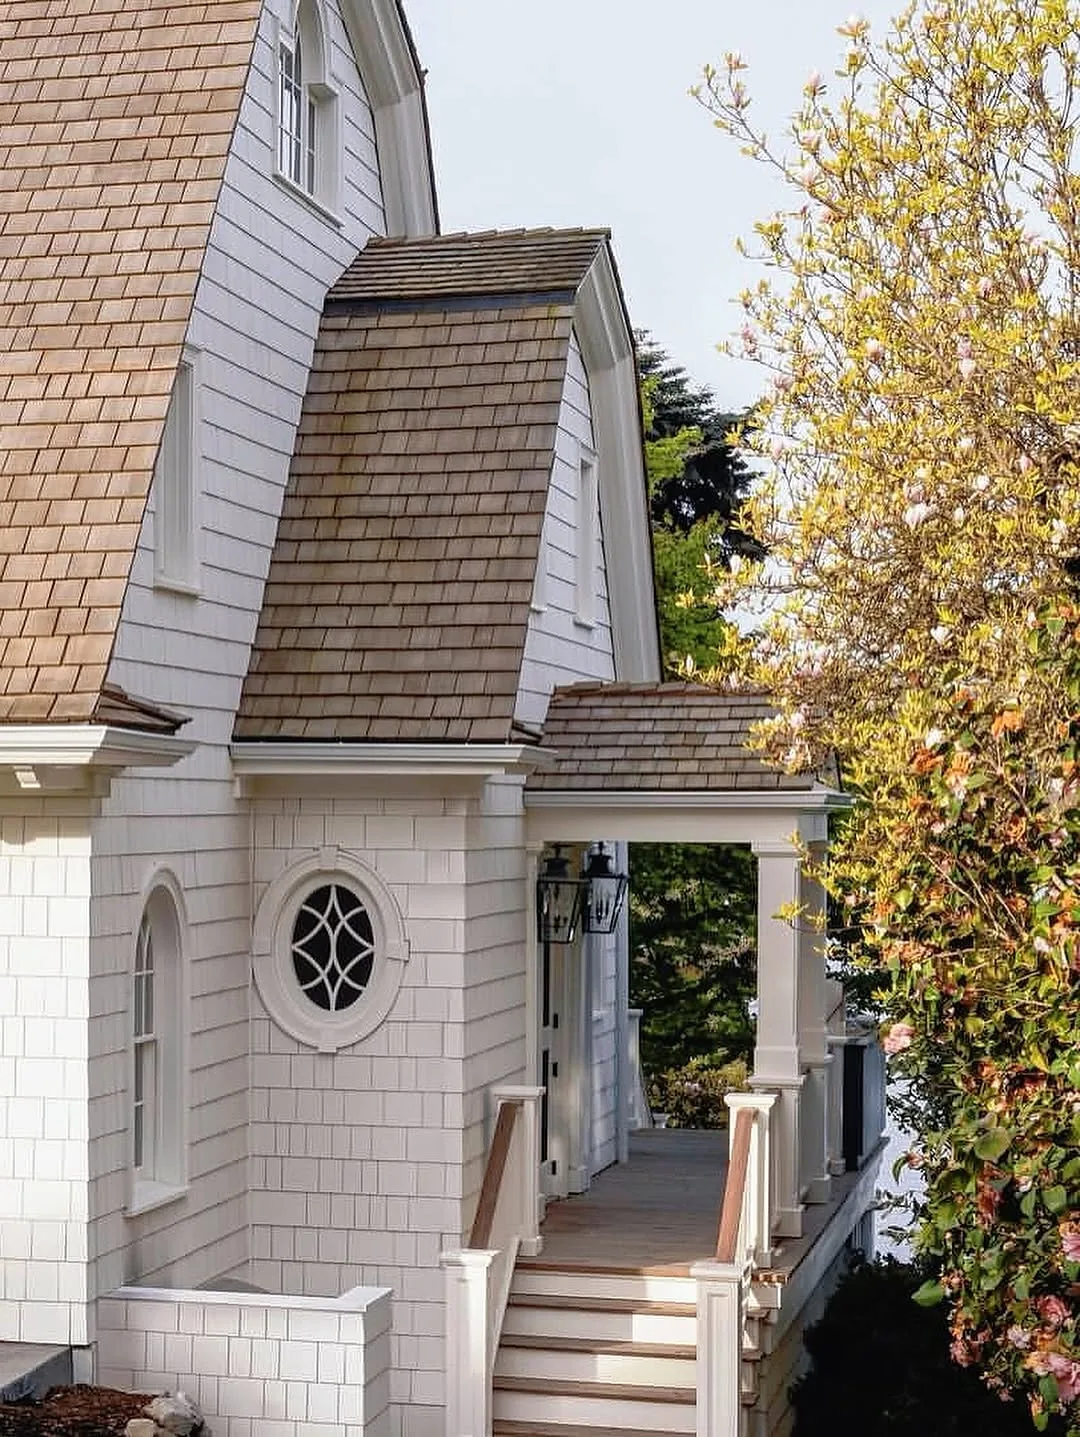
Ground lake house shingle exterior ideas in stone and gravel
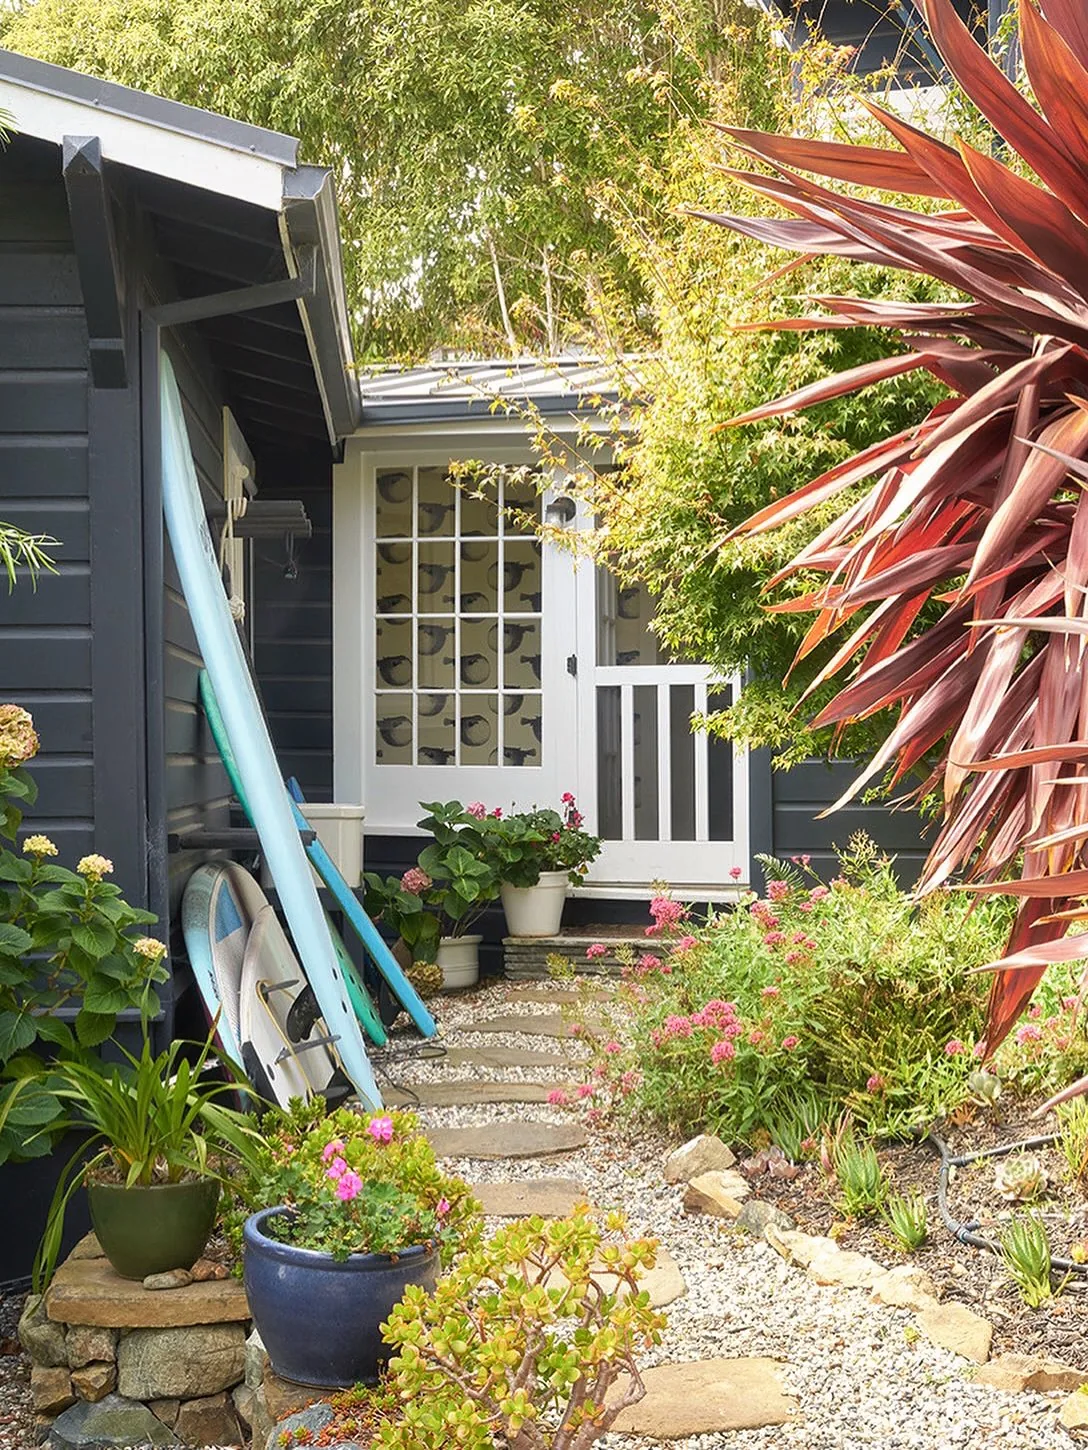
Lawns struggle at the shoreline. Mowers scalp the banks, fertilizer runs toward the water and wet turf dies into mud exactly where guests walk. Stone and gravel solve all three at once: a flagstone path with gravel joints drains between rains, never needs feeding and looks right beside weathered shingle from day one.
Edge your beds with fieldstone rather than plastic or steel so the whole plot reads as one material family. For how stone bases and gravel beds meet shingle walls elsewhere, browse our coastal shingle cottage ideas. You’ll mow less, weed less and watch your path improve every year instead of washing out.

Plant grasses that forgive spray and neglect
Shore wind punishes fussy planting and rewards tough grasses. Ornamental grasses bend in storms, shrug off spray and turn gold in autumn exactly when your silvered shingle needs warmth beside it. A drift of grasses reads intentional where a struggling flowerbed reads neglected.
Mass one or two varieties instead of dotting singles around like specimens, and you’ll get drifts that move together in the wind. Groups of five or seven move together in the wind and give your low cottage the scale it needs against open water. Cut them back once in late winter and leave them alone otherwise. For more waterside planting that frames shingle walls, see the rest of our home exterior guides.
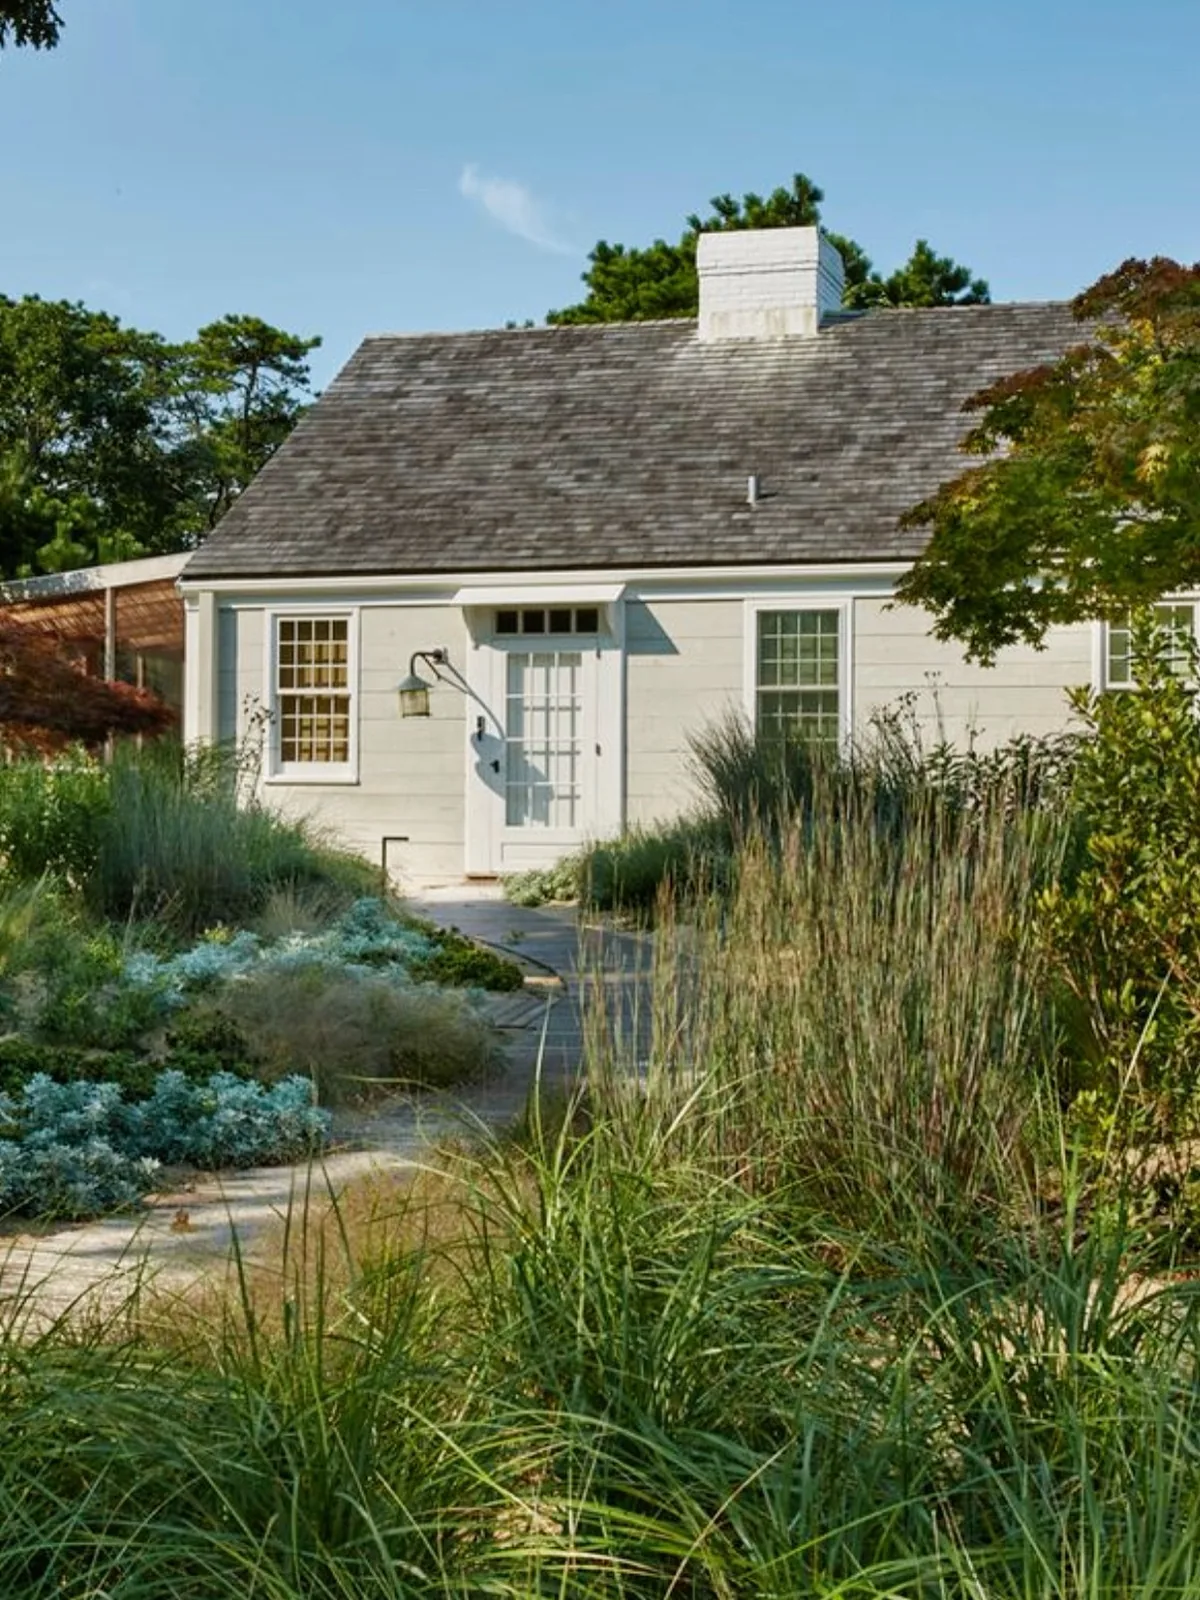
Leave the outbuilding smaller than your ambition
Every shore plot grows a shed, a bunkie or a boat store eventually, so plan its spot now rather than wedging it later. Tuck it where it reads as a smaller sibling to your house: same shingle, same trim white, roof pitch that echoes yours, footprint clearly subordinate.
Resist building it cottage-sized. An outbuilding that rivals your house splits the plot into two competing focal points and doubles the maintenance you’ll do every year. Keep it compact, clad it to match and let it disappear into planting on three sides. Future you, storing kayaks in the rain, will thank present you for leaving the room.
Lake side versus street side at a glance
| Lake-facing wall | Street-facing wall | |
|---|---|---|
| Sun | Shade for much of the day | Full sun for hours |
| Drying | Stays damp for days after rain | Dries within hours |
| Silvering | Slow and patchy, lags years behind | Even silver in two to five years |
| Algae | First and worst here | Rare unless shaded |
| Stain wear | Peels where moisture sits | Fades evenly in sun |
| Detail it with | Wider clearances, gravel beds, gutters | Standard good practice |
| Verdict | Design for this wall first | It forgives nearly everything |
The Lakeshore Shingle Formula
If you strip all fifteen ideas down to a plan, it reads like this:
- Walk the wet side at dawn. The wall that dries last decides your stain, clearance and planting.
- Air beats planting. Cut shrubs back so breezes reach the wall and sun dries it daily.
- Gravel at the base, gutters at the eaves. Roof water should never wash your shingle.
- Stainless fasteners, forgiving stain. Spend where water lands heaviest.
- One green door, quiet everything else. Let a single color carry the composition.
- Plan the outbuilding now. Same shingle, smaller footprint, tucked out of the view.
Get those six right and both sides of your house age into one calm silver. You’ll own the shoreline look instead of chasing it.
Frequently Asked Questions
Should I stain cedar shingles on a lake house or let them weather?
Either works, but stain to even out the patchy years rather than to freeze one color. A semi-transparent grey or brown stain hides the uneven silvering between your sunny and shaded walls. Sealers that promise to hold the honey tone trap moisture on the damp side and peel there first.
Why is one side of my shingle house green?
That wall stays damp longest, usually the shaded shore-facing side, and algae colonizes damp cedar before anything else. Cut back planting so air and sun reach the wall, and wash gently with a soft brush and plain water. Never pressure wash shingle, because the jet drives water behind the courses and scars the wood.
How close can garden beds be to shingle siding?
Keep soil and mulch several inches below your lowest course and leave room to walk behind every shrub. Beds piled against the wall hold moisture, invite splashback rot and hide the early damage. A gravel band along the foundation drains splashing water instead of bouncing it back onto your shingle.
Does salt air damage cedar shingles?
Cedar itself handles salt air well, but ordinary steel nails and flashing do not, rusting and streaking within a season or two near breaking water. Use stainless steel fasteners and keep dissimilar metals apart wherever spray lands.
Do I need gutters on a shingle lake house?
Yes on every slope that drains toward shingle walls. Gutterless eaves dump waterfalls onto the slowest-drying walls you own, streaking stain and softening courses exactly one story down. Carry downspouts to daylight or a drain, never onto a lower roof or toward your foundation beds.
Can I pressure wash weathered shingles?
No. A pressure washer scars cedar, forces water behind the courses and strips the silvered surface unevenly, leaving stripes you’ll see for years. Use a soft brush with plain water for algae, work on an overcast day, and accept that silvering arrives on its own schedule.
This article may contain affiliate links. We may earn a commission at no extra cost to you.