Let Their Bit Be the Best Bit of Your Window

Add us as a preferred source to see more stories on Google.
Painting a window with children goes wrong in one predictable way.
You start something lovely, they want to help, and within ten minutes you are either hovering anxiously or watching your design disappear under a brown puddle. Then everyone is a bit disappointed and the window gets wiped.
The fix is not better supervision. It is dividing the work before you start, so their part is genuinely theirs and cannot be spoiled, and your part is the bit that holds it all together.
These seven designs are built that way. Each one says which job belongs to the grown-up and which belongs to the child.
Designs that split cleanly
Each of these gives you an obvious half and your children an obvious half.
You paint the tree, they paint the leaves
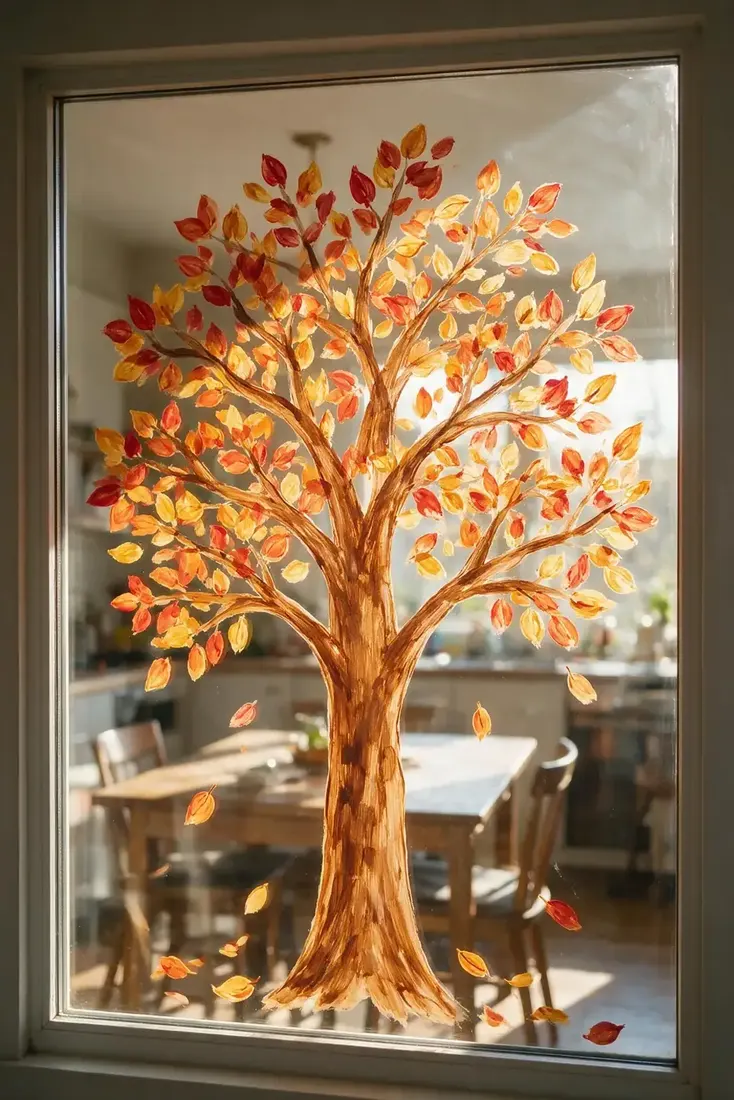
This is the design that works whatever number of children you have, and whatever their ages. You paint the trunk and the bare branches, since that is the part needing shape, then hand the leaves over entirely. They can add as many as they like, in any colour, anywhere on the branches, and your tree will still look right because your structure is holding it. Your three year old can dab. Your nine year old can paint proper leaf shapes. Both add to the same picture without either one spoiling it for you.
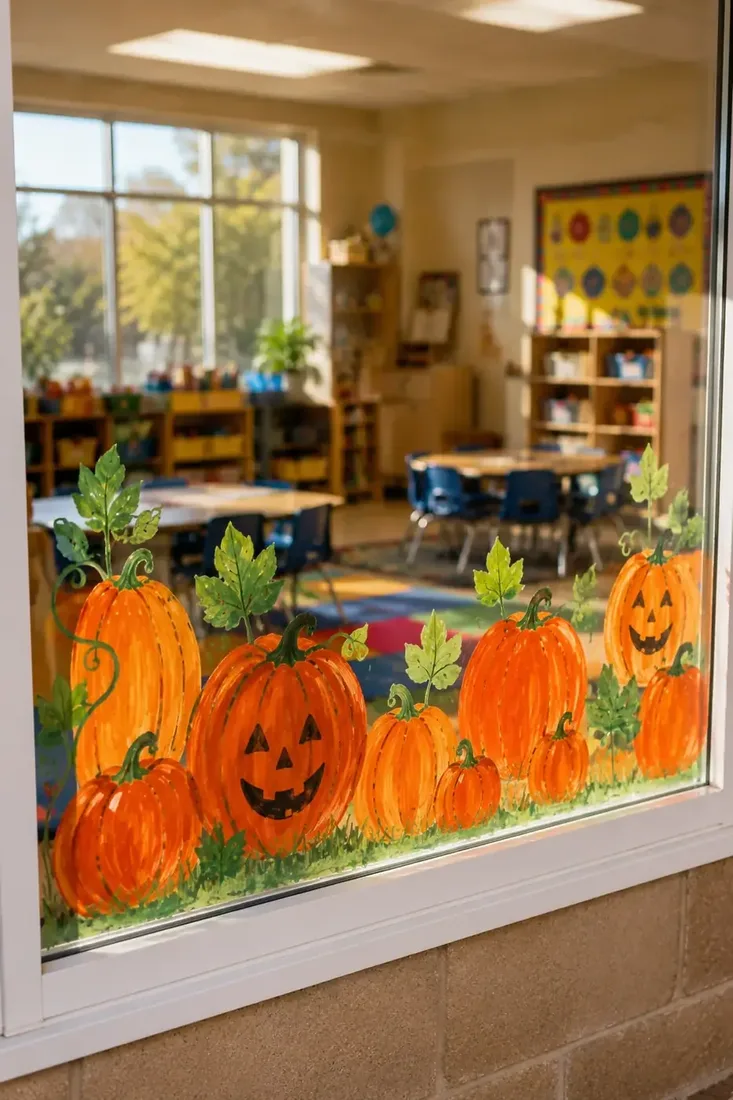
Give every child their own pumpkin face
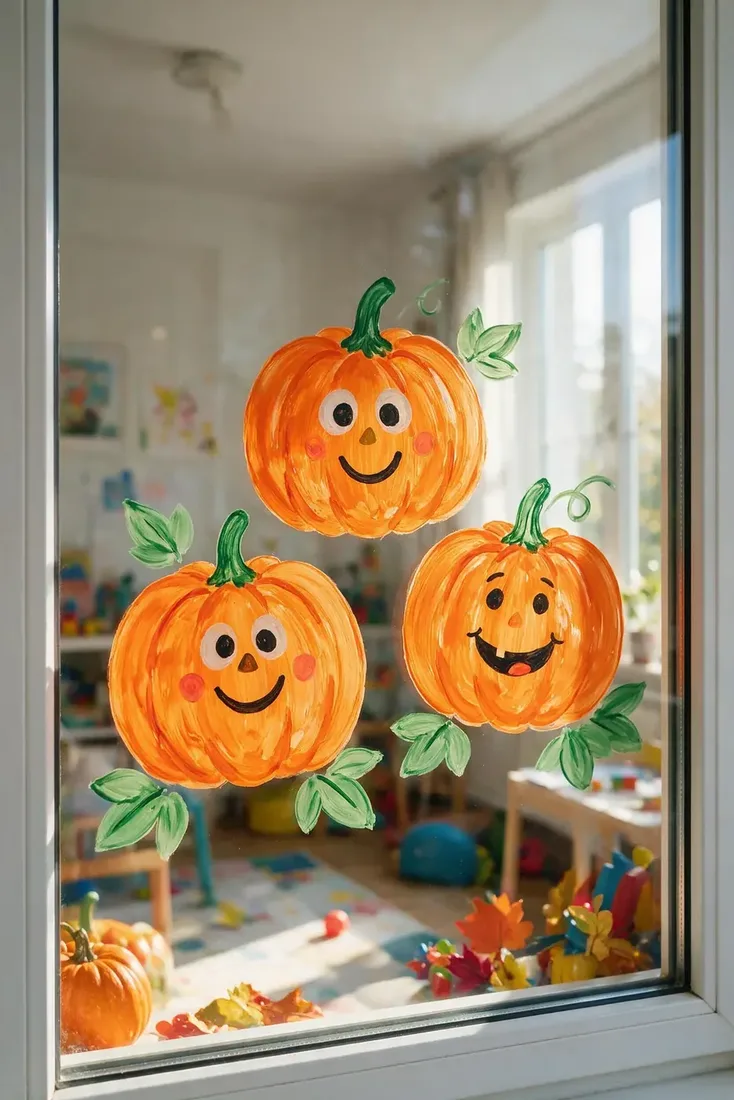
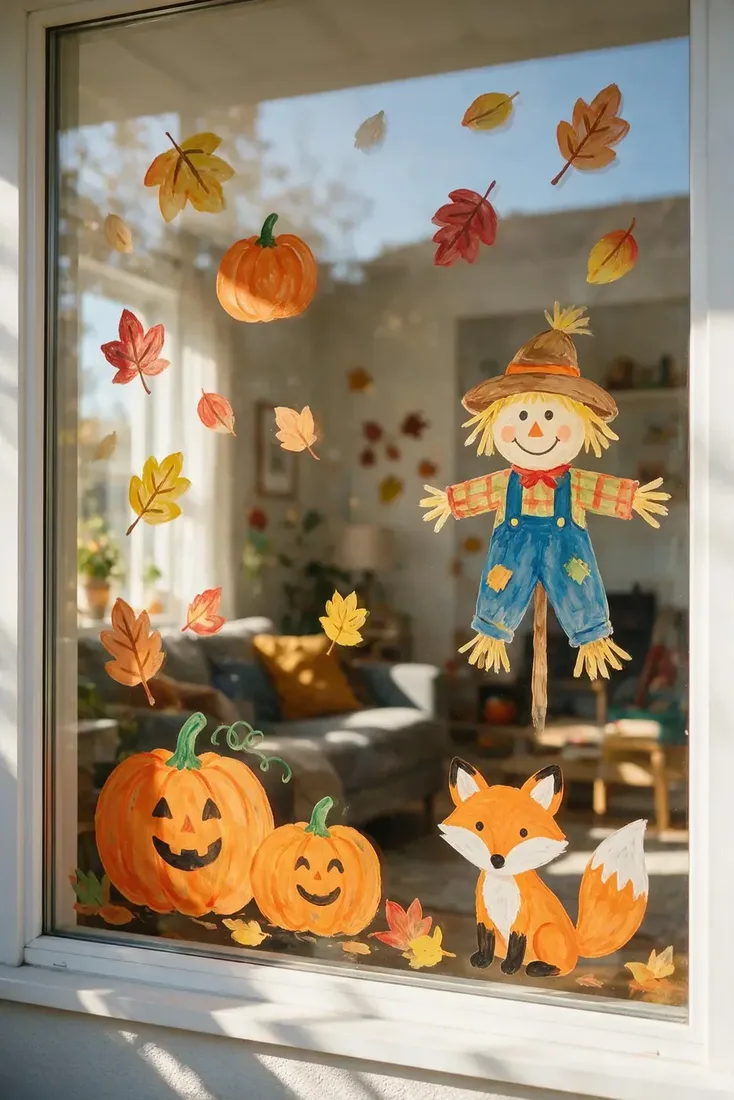
Pumpkins are the easiest shape you can hand over completely. Paint three or four orange ovals along the bottom of your glass, let them dry, then give each child one pumpkin and let them do the face however they want. Sleepy eyes, a silly grin, too many teeth. Your pumpkins stay the same size and sit in a row, so the window looks composed no matter how eccentric their faces get. This also stops the arguing, because everyone can point at their own.
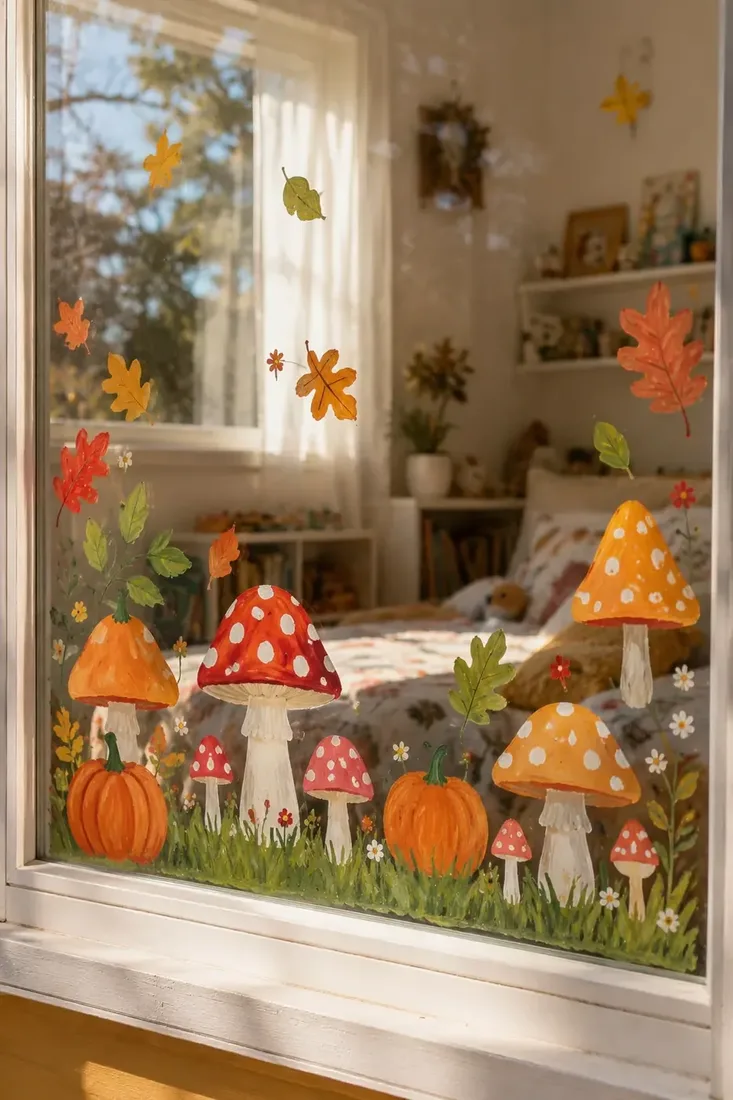
Let them build a mushroom garden along the sill
Mushrooms are a gift if you have small children, because a mushroom is a curved cap on a short stalk and there is no wrong version. Paint a green grass line along the bottom of your window, then let them fill it with mushrooms, flowers and dots. Because everything sits low, they reach it standing up and you are not lifting anyone. Red caps with white spots are the favourite, and the dots are the bit that keeps a four year old busy longest.
When one child wants one big thing
Group designs are not always your answer. Sometimes a child wants a picture of their own.
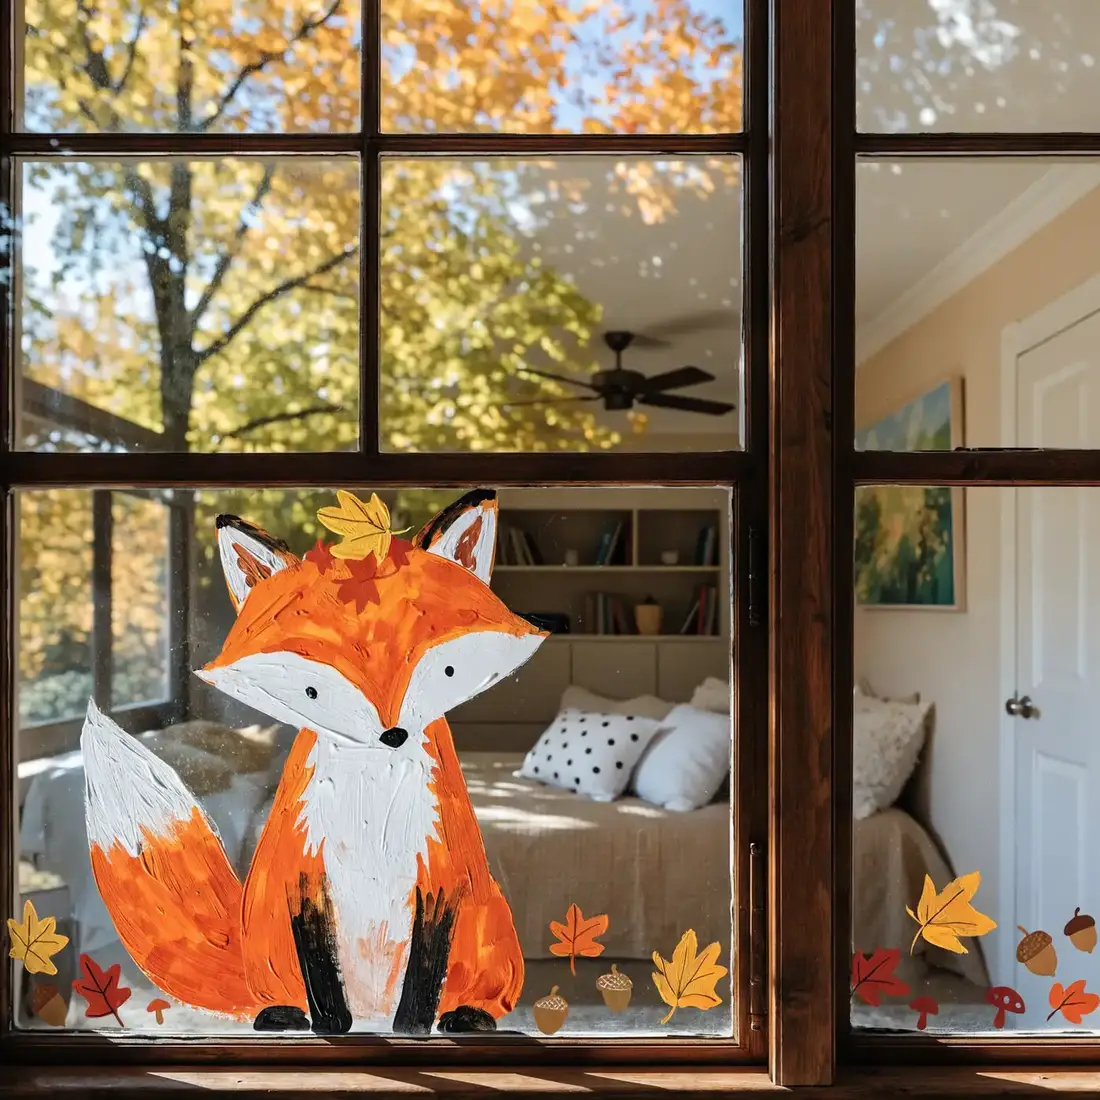
Paint one large animal in their room
A fox, an owl or a squirrel painted large on a bedroom window turns into something your child is genuinely proud of, and it stays up long after the rest of your house has moved on. Keep your animal simple, a body, a head, ears and a tail, then let them choose the colours and add the leaves around it. Because it is in their room, they get to decide when it comes down, which matters more to children than adults expect.
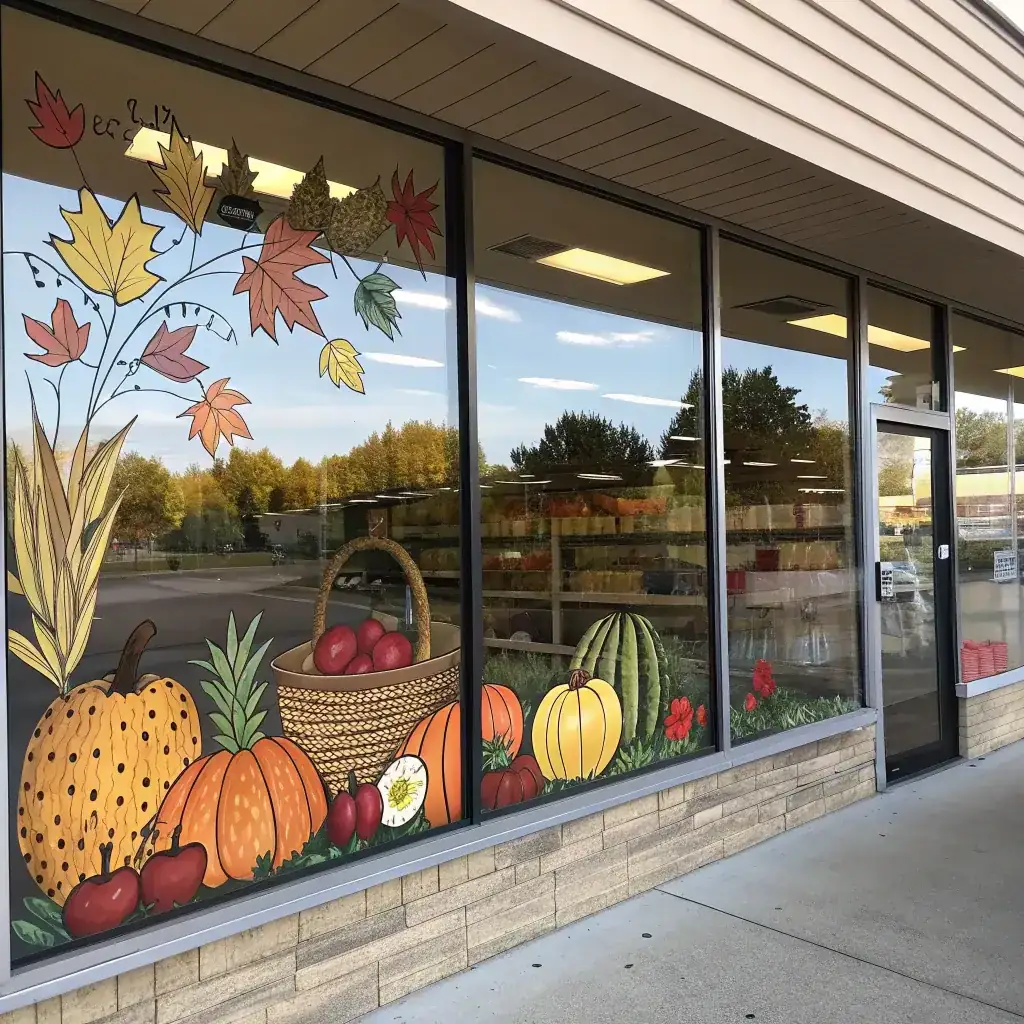
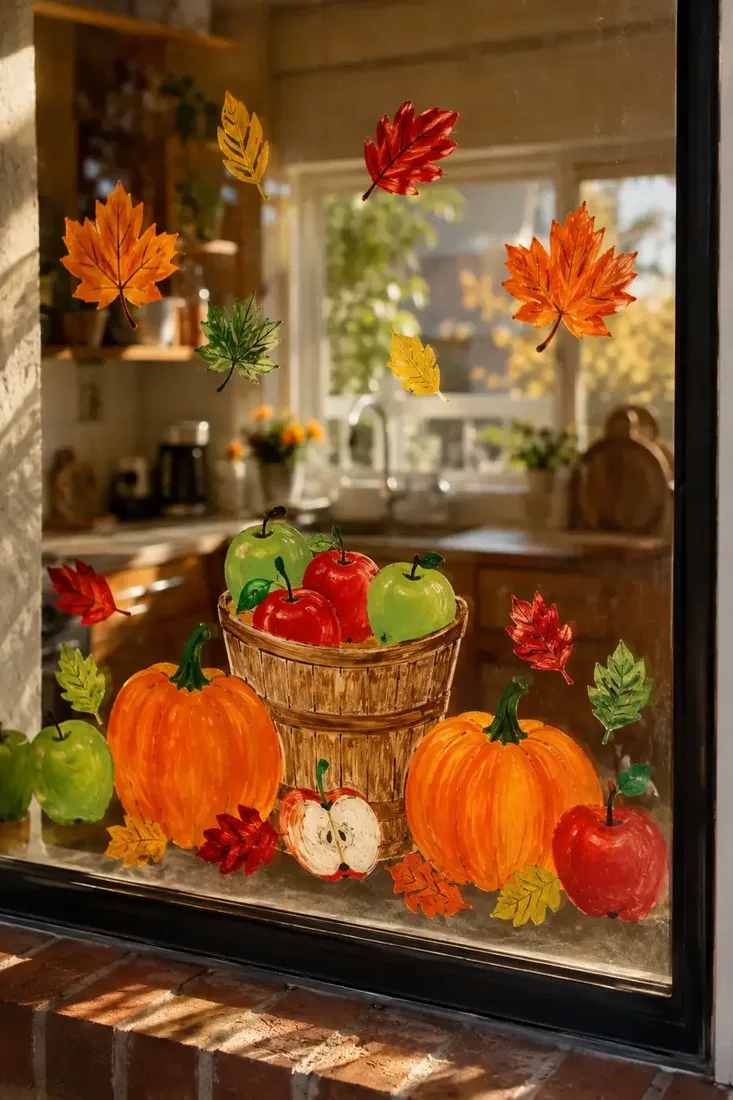
Build a harvest basket they can keep adding to
Paint a basket shape and let them fill it, one piece of fruit at a time, over as many days as you like. Apples are circles, pumpkins are ovals, and neither has to be neat. Choose this one when you want the activity to last a week rather than an afternoon. It works well in your kitchen, where they see it at breakfast. When the basket is full, they can start on the leaves falling around it.
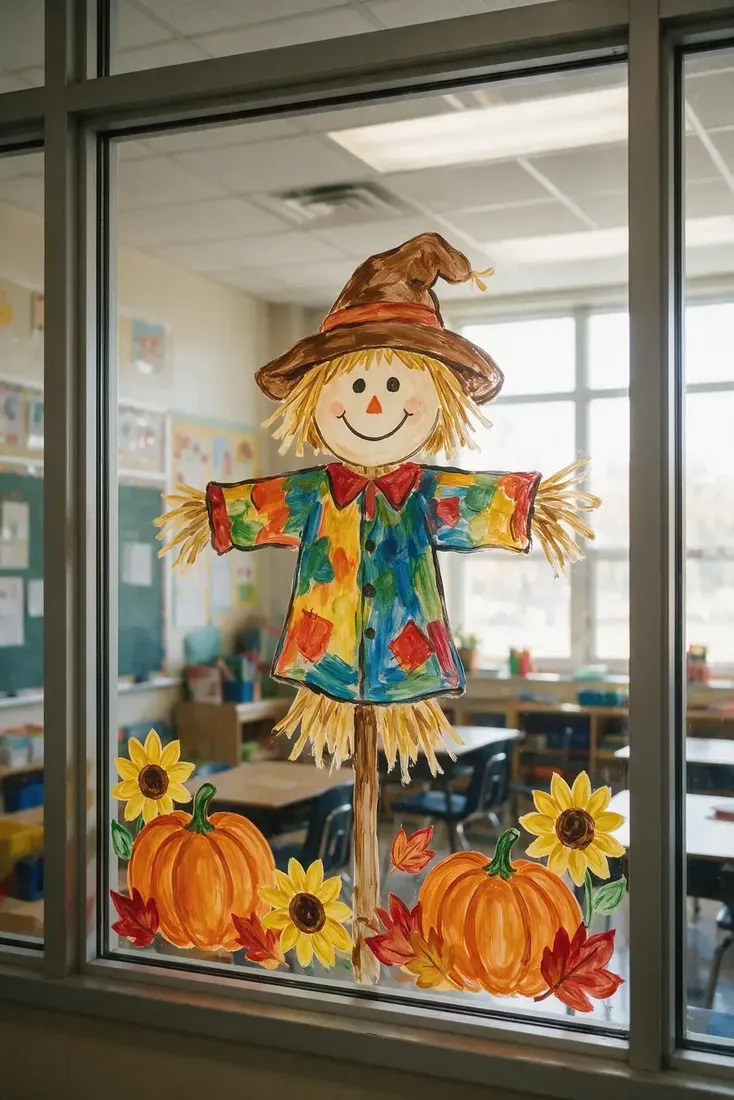
Make a scarecrow and let them dress it
You paint the scarecrow’s shape, the hat, the body, the arms, then hand it over. They decorate the clothes with patches, stripes, spots and buttons, which is exactly the detail they enjoy and you find fiddly. Add sunflowers and pumpkins at the bottom for anyone who finishes early. A scarecrow also gives you something to talk about while you paint, which keeps your younger ones at the window longer than a plain pattern does.
Let the scene grow over several days
The window you end up happiest with is rarely the one you finished in one go. Start with a scarecrow or a pumpkin, add a fox the next day, then leaves, then something nobody planned. They come back to it because it is unfinished, and you avoid the tired, whiny stretch at the end of a long craft session. Take a photo each evening. Your sequence of pictures usually becomes as good a memory as the window itself.
Splitting the job by age
| Age | Their job | Your job |
|---|---|---|
| Two to three | Dabbing leaves, dots, filling shapes | Everything with an outline |
| Four to five | Pumpkin faces, mushrooms, simple fruit | Trunks, baskets, scarecrow shapes |
| Six to eight | Whole small shapes, their own pumpkin | Layout, and anything that must line up |
| Nine and up | A section of the window on their own | Agreeing the plan, then staying out of it |
| Mixed ages | One patch of glass each | Deciding who gets which patch, first |
The Divided Job Formula
- Decide the split before the paint comes out. Outlines yours, filling theirs.
- Give each child their own patch of glass. Shared scenes end in painted-over feelings.
- Work low. If they cannot reach it standing, you will be holding someone for an hour.
- Choose shapes with no wrong version. Mushrooms, leaves, dots, faces.
- Let it take a week. Unfinished is a feature, not a problem.
- Photograph it before it comes down. The window is temporary. The picture is not.
Hold to those and the activity stops being something you supervise and becomes something you do together. For simpler shapes to start from, see our easy fall window painting ideas. For a whole group rather than one or two children, our fall window painting ideas for classroom divide the work differently again.
What paint should you use with children?
Use a washable paint or window marker clearly labelled for glass, and check the manufacturer’s cleaning instructions before you start rather than after. Markers suit your older children, who want control. Brush paint suits the younger ones, who want to cover ground.
Test a hidden corner of the glass first, especially in a rented home or on an older window, and stay with younger children throughout.
Lay an old towel along your sill, keep a damp cloth in your hand rather than across the room, and dress everyone for mess. Painting a vertical surface means drips, and a drip that reaches a windowsill has usually already reached a sleeve.
If you want the same activity on a bigger scale, our fall window painting ideas cover full-window designs for the rest of the house.
Frequently Asked Questions
What age can children start window painting?
Around two, if you give them dabbing jobs like leaves and dots inside an outline you have painted. By four or five they can handle whole simple shapes such as pumpkins and mushrooms on their own.
How do I stop children ruining the design?
Split the job before you start. You paint outlines and anything that has to line up, they fill and decorate. Give each child their own patch of glass rather than letting everyone work on one shared scene.
What paint is safe for kids to use on windows?
A washable paint or window marker clearly labelled for glass. Check the cleaning instructions before starting, test a hidden corner first, and supervise younger children throughout.
What is the easiest shape for a small child to paint?
A mushroom or a leaf. Both are single curved shapes with no correct version, so nothing a child paints can look wrong. Dots and spots are the next best thing for keeping toddlers busy.
How do I make the activity last longer?
Choose a design that grows, such as a harvest basket or a tree, and add to it across several days. Children return to an unfinished window, and you avoid the tired stretch at the end of one long session.
How do I keep the mess under control?
Work low on the window so nobody is being lifted, lay a towel along the sill, and keep a damp cloth in your hand. Painting a vertical surface always means drips, so plan for them rather than reacting.
This article may contain affiliate links. We may earn a commission at no extra cost to you.