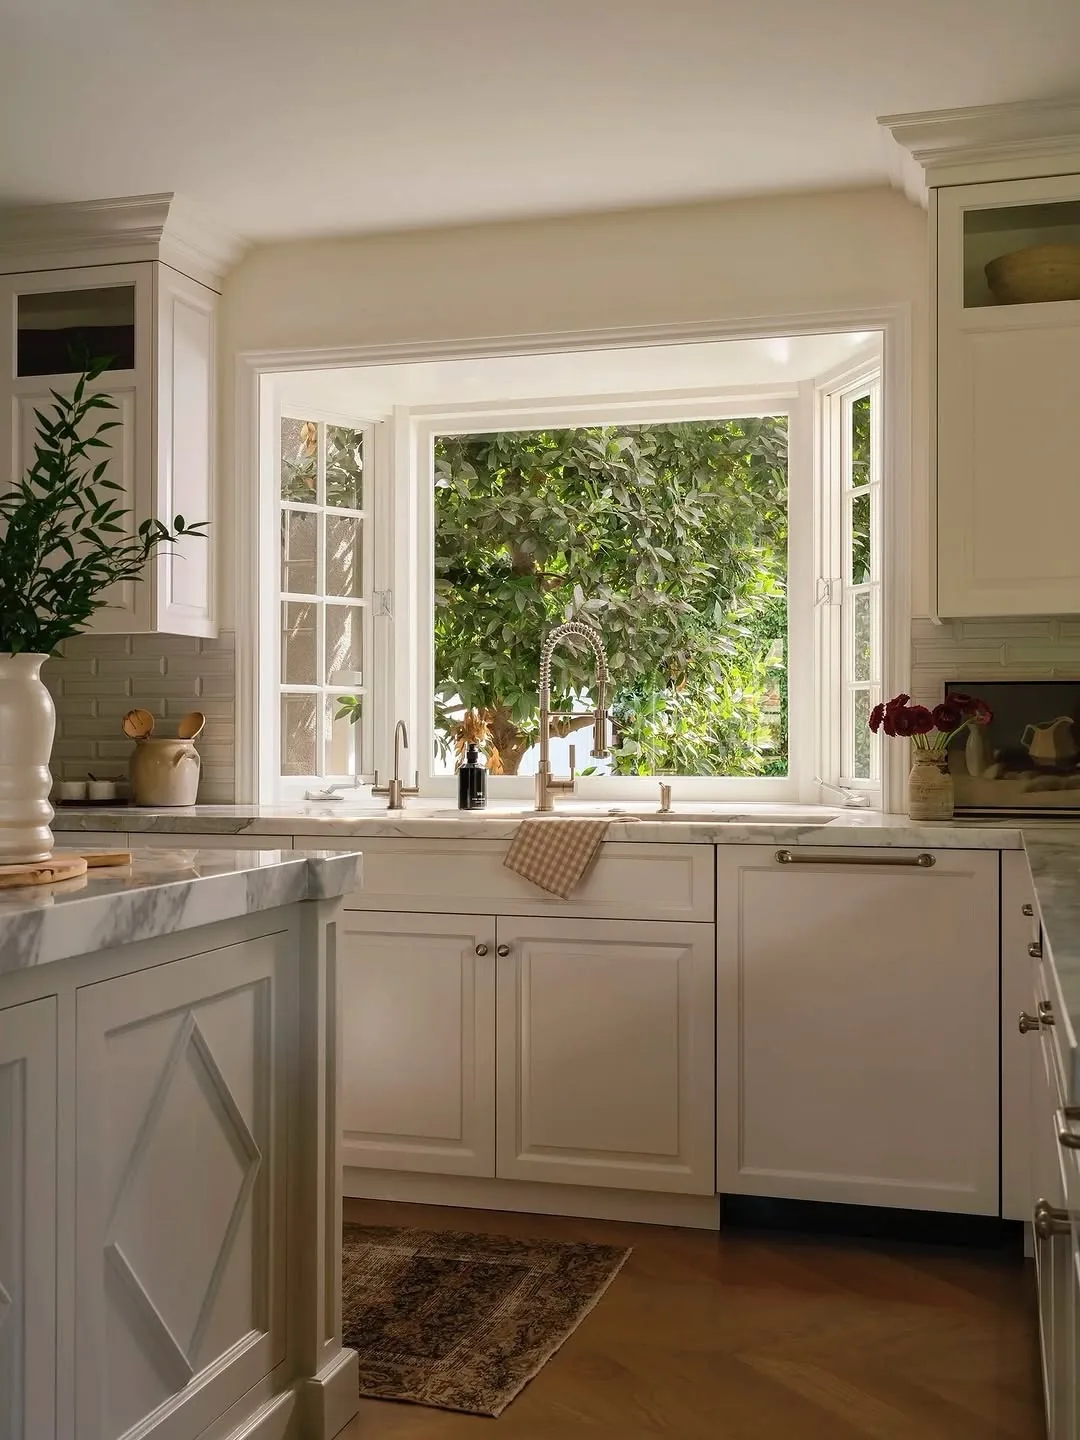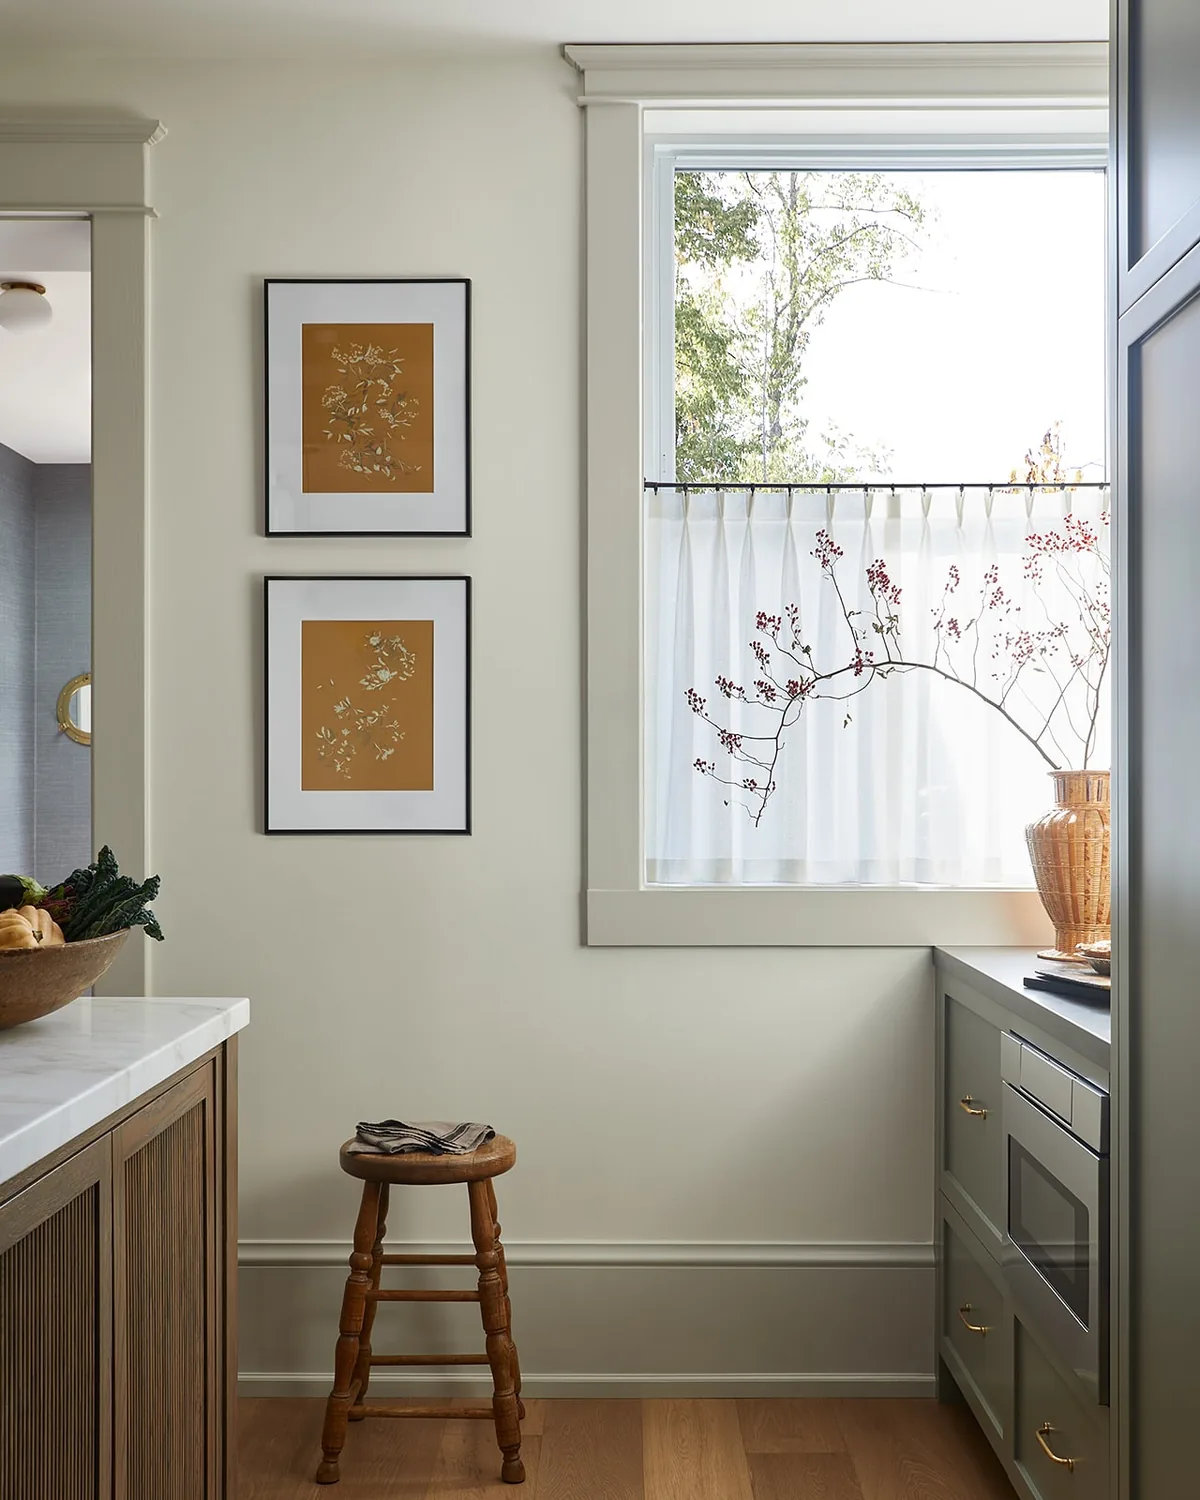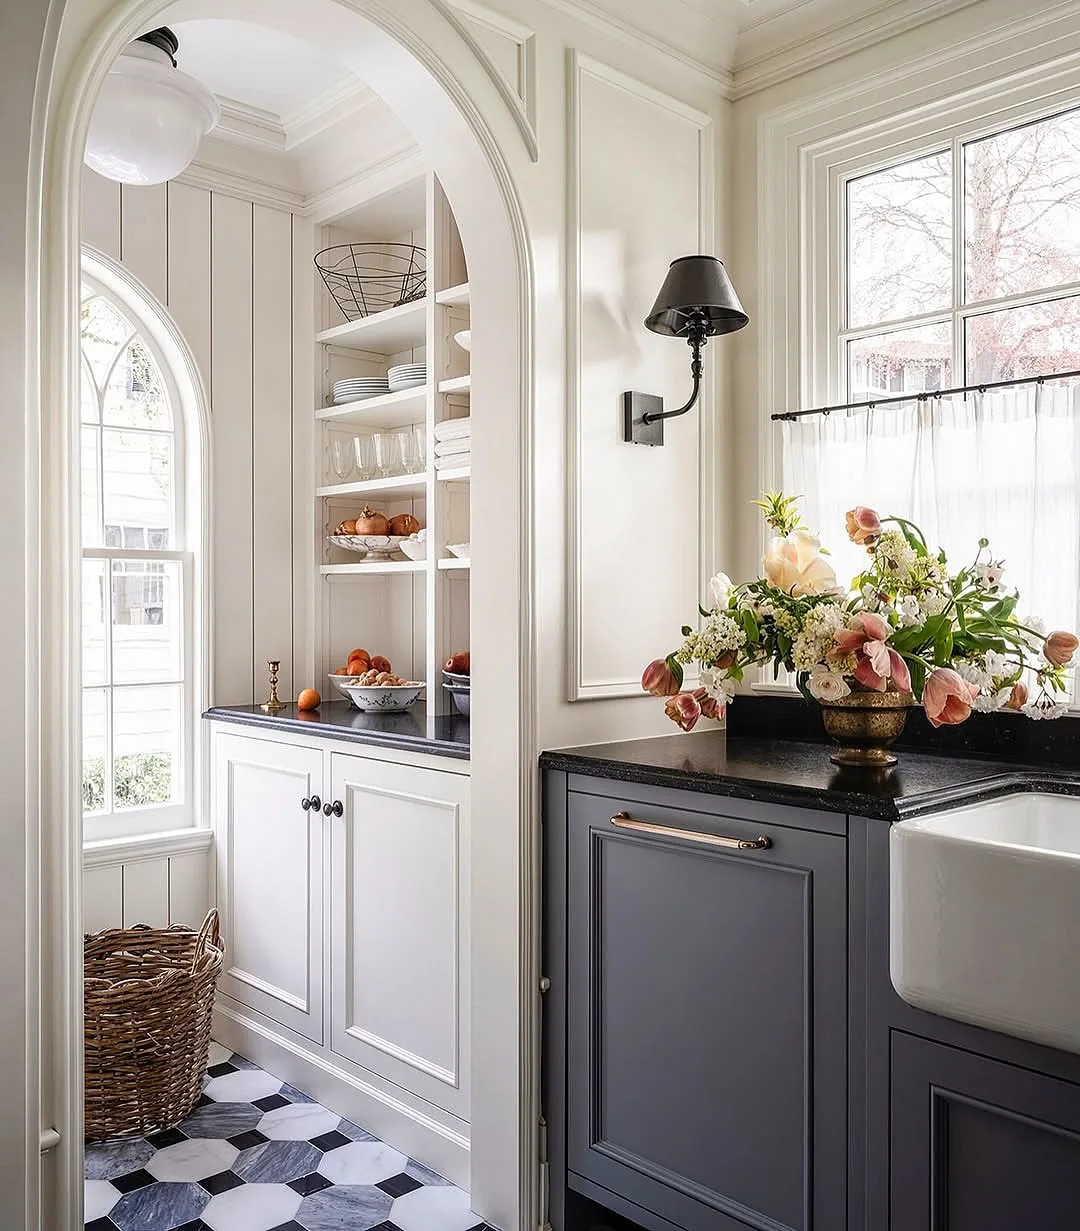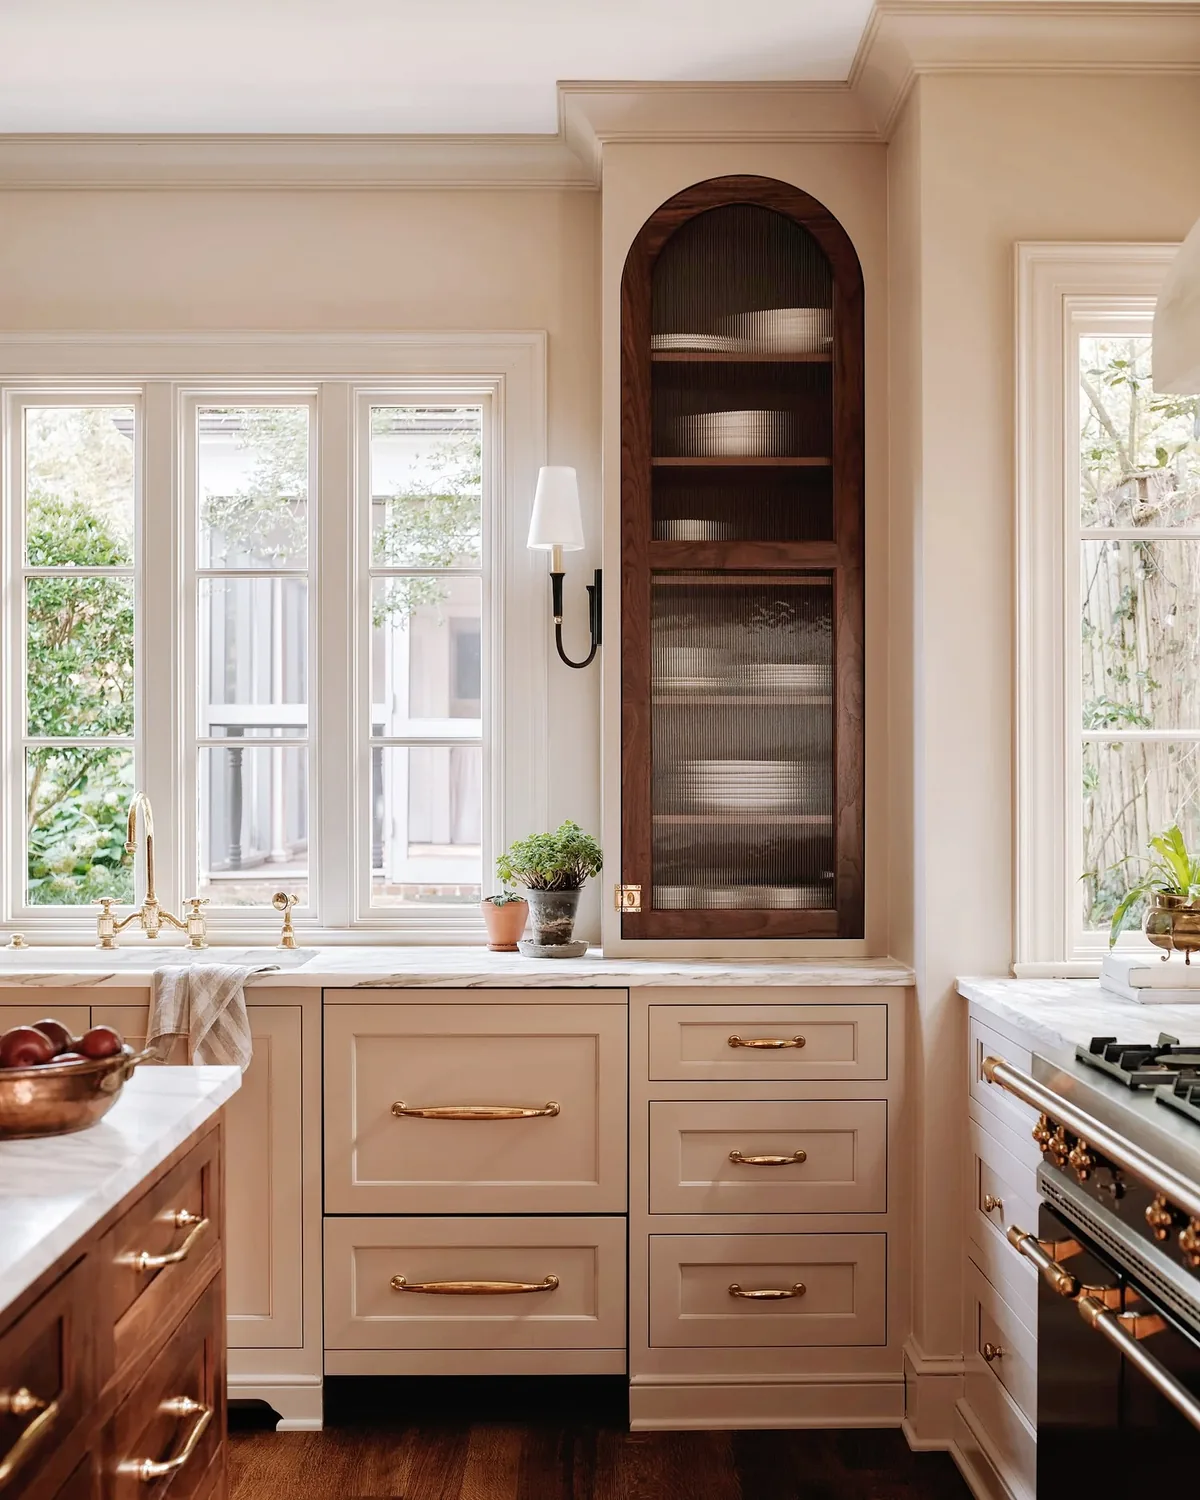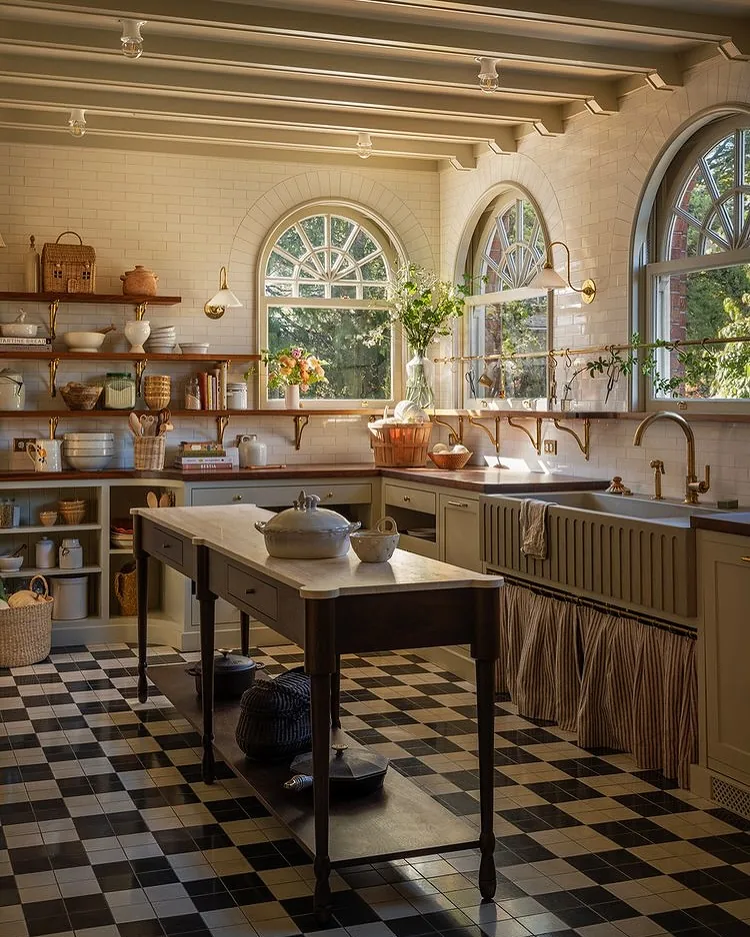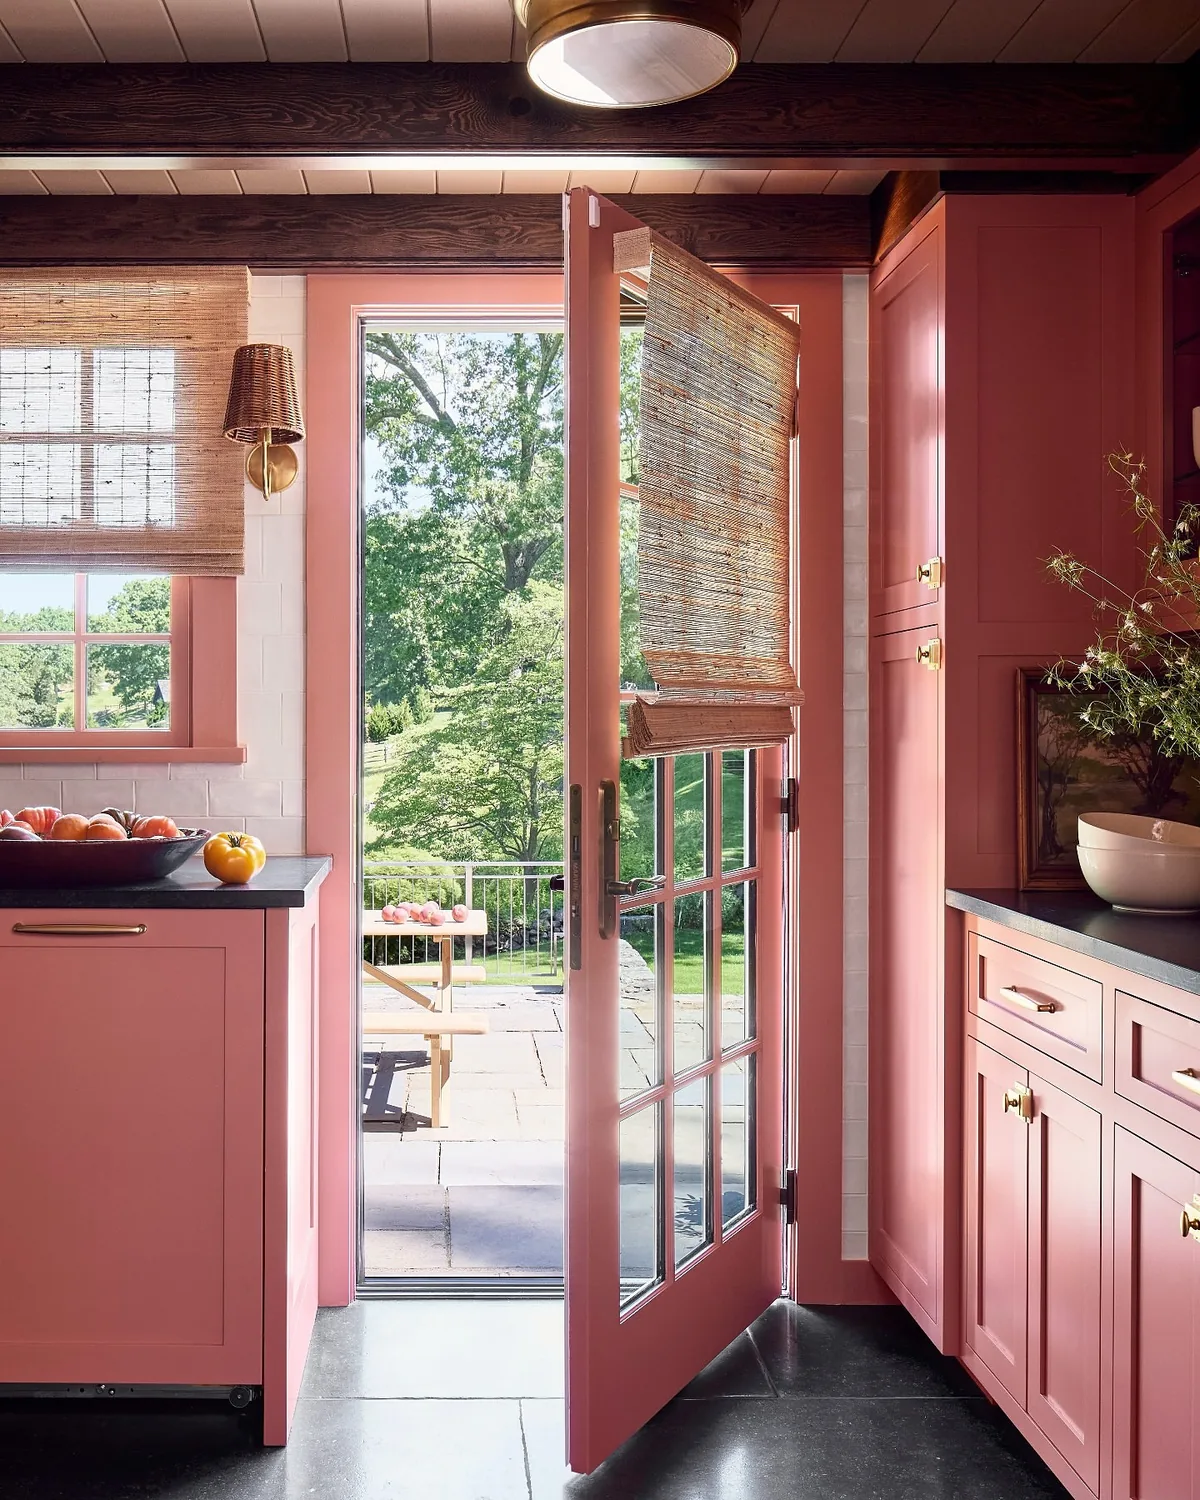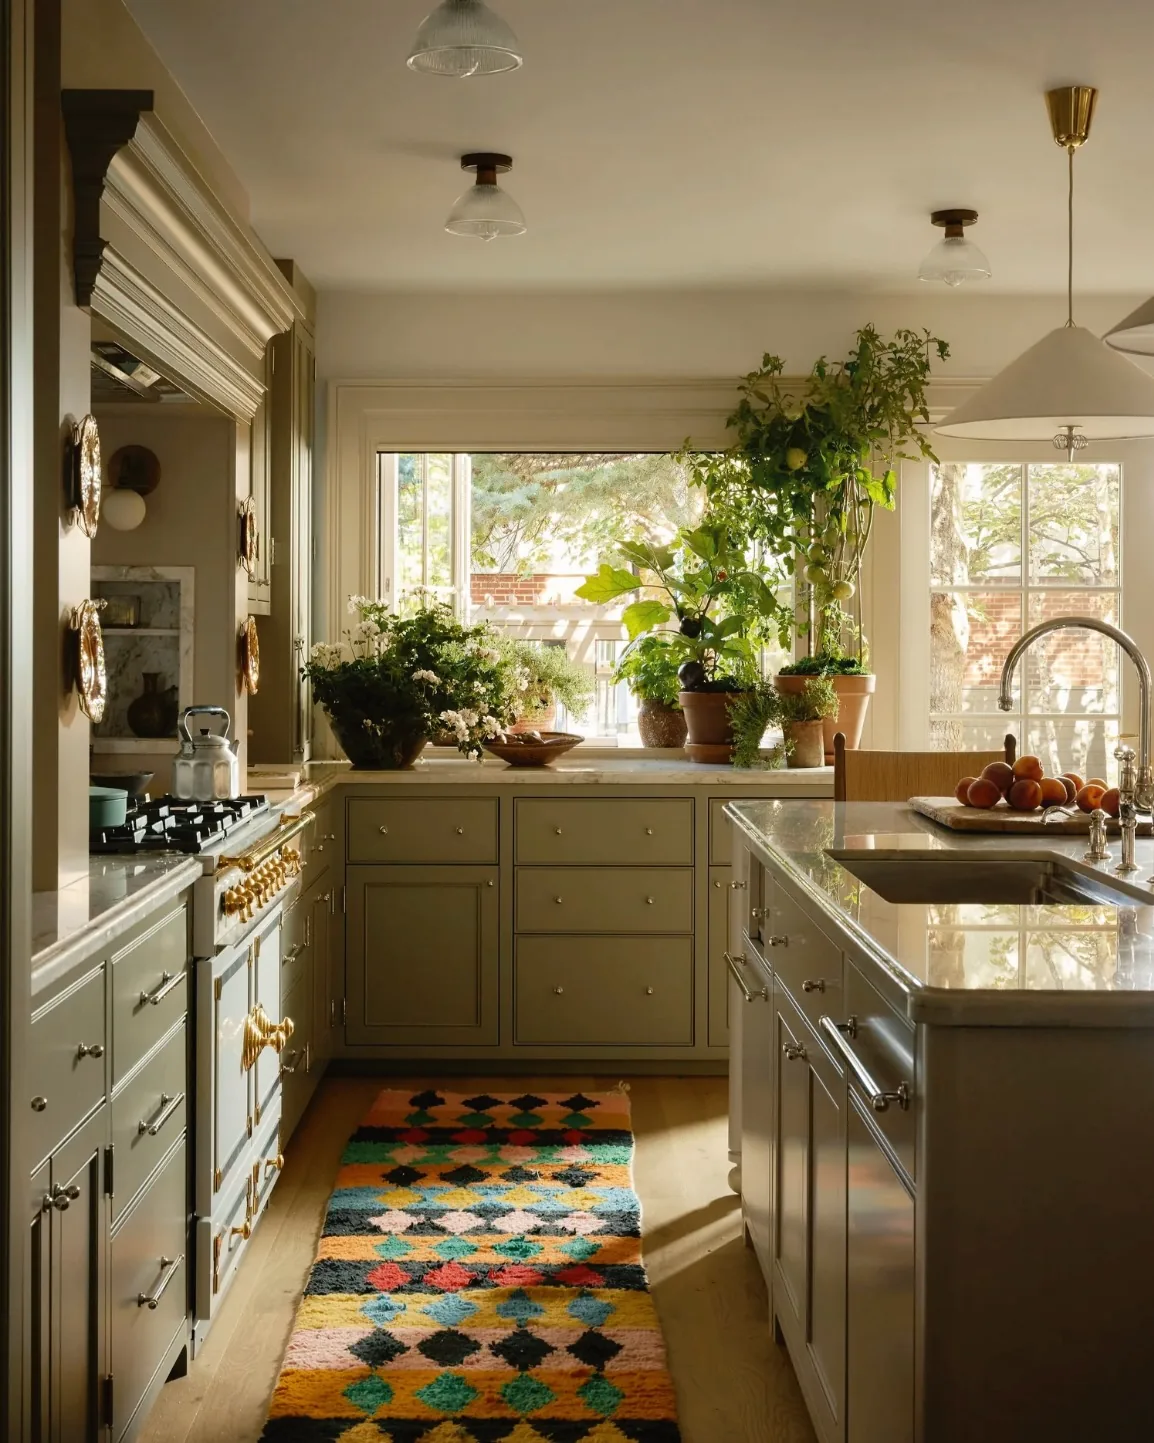
Your Island Is Probably Too Big for Its Room

Add us as a preferred source to see more stories on Google.
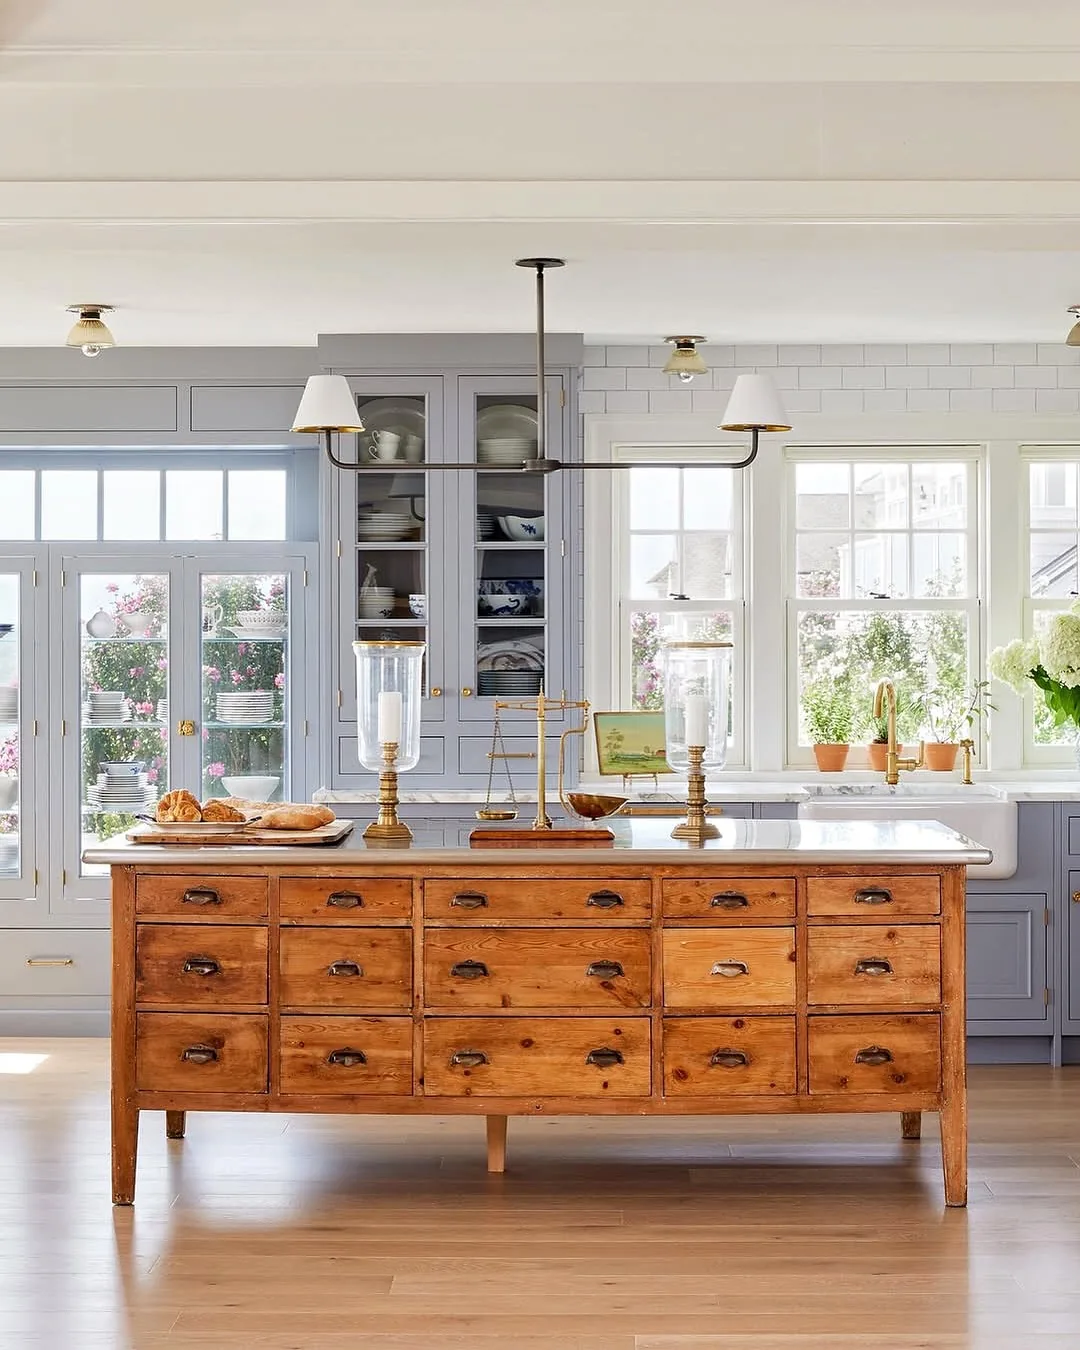
Your dream island fits the Pinterest board. It may not fit your kitchen.
Islands fail in exactly one way: too much island, too little room around it. Blocked dishwasher doors, stools in doorways, cooks squeezing sideways, all from an island sized to desire instead of to aisles.
Clearances decide. Everything else, seating, storage, pendants, negotiates within what the aisles allow. Measure first and the island serves you for decades.
Clear the aisles or shrink the dream
You’ll tape floors before sketching islands. Three ideas keep circulation honest.
Guard 42 inches on working sides
Tight aisles turn cooking into choreography nobody enjoys. You’ll hold 42 inches clear between island and perimeter on working sides, more where two cooks pass or oven doors swing. That number assumes standard appliance doors opening into the aisle without blocking humans.
You’ll tape it with doors open, not closed. Cardboard boxes at island corners plus an open dishwasher reveal collisions drawings hide. When tape shows a squeeze, you’ll shrink the island before touching anything else. Aisles are circulation, and circulation is the room’s actual job. Islands serve it, never the reverse.
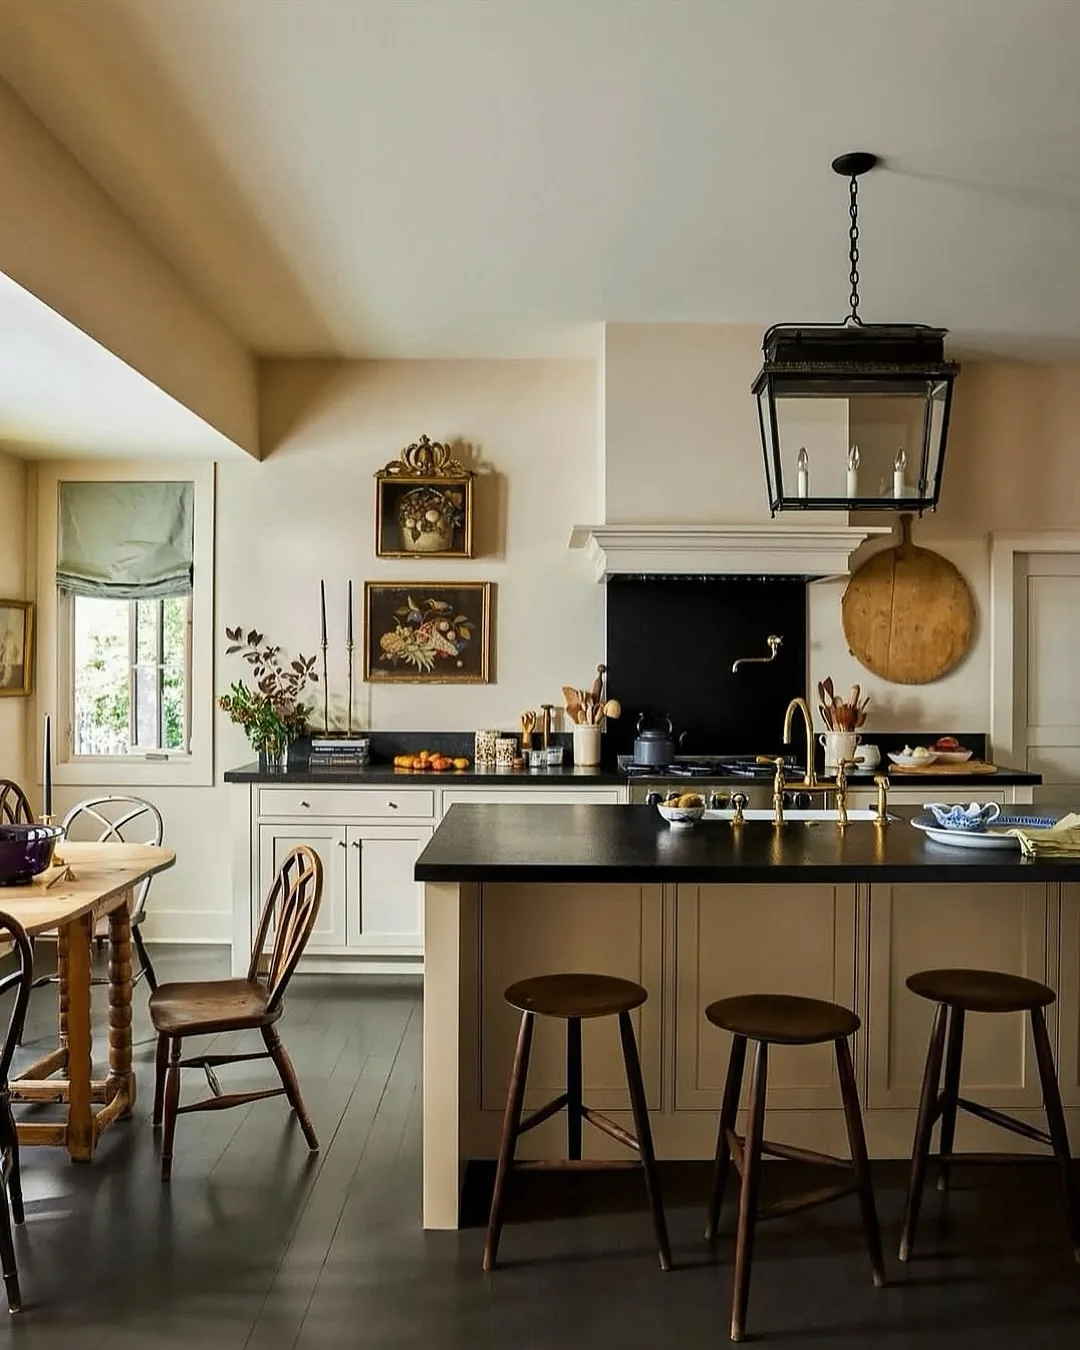
Count stools at 24 inches apiece
Stool math disappoints optimists reliably. You’ll allow 24 inches of edge per seated adult, which means two stools need four feet of seating face and four need eight. Drawings that squeeze five across six feet lie, and elbows prove it nightly.
You’ll count actual daily users, not holiday maximums. Guests overflow to the table while daily sitters need real elbow room. When the island can’t honestly seat your household, you’ll shorten the guest list rather than the inches. Comfortable three beats miserable five every breakfast of your life.
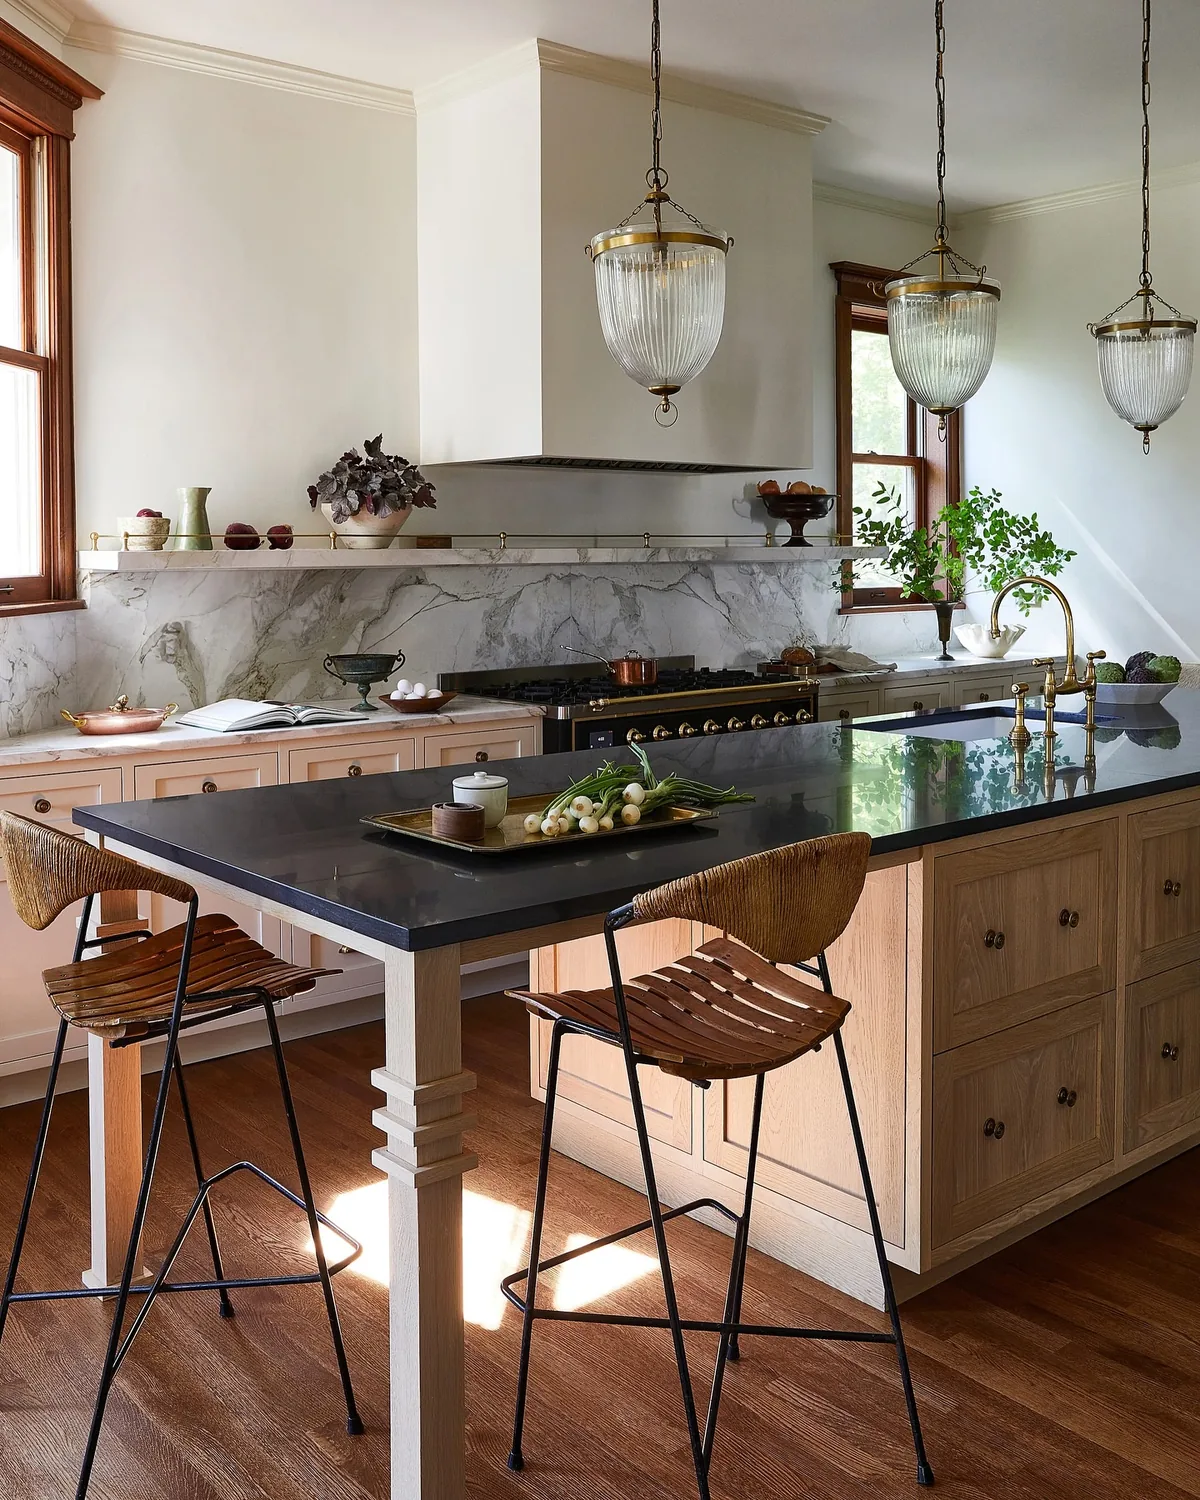
Choose peninsula when aisles vote no
Some rooms simply can’t clear four sides. You’ll take the hint and build a peninsula, gaining prep, seating and storage while needing clearance on three sides only. Peninsulas aren’t consolation prizes. In galleys and tight L-shapes they outperform islands completely.
You’ll design the peninsula with the same rigor: overhang, outlets, lighting, landing space. A peninsula done deliberately beats an island done hopefully every time. When the floor plan votes, you’ll listen on the first ballot. Forcing islands into small kitchens is the most common expensive mistake in renovations.
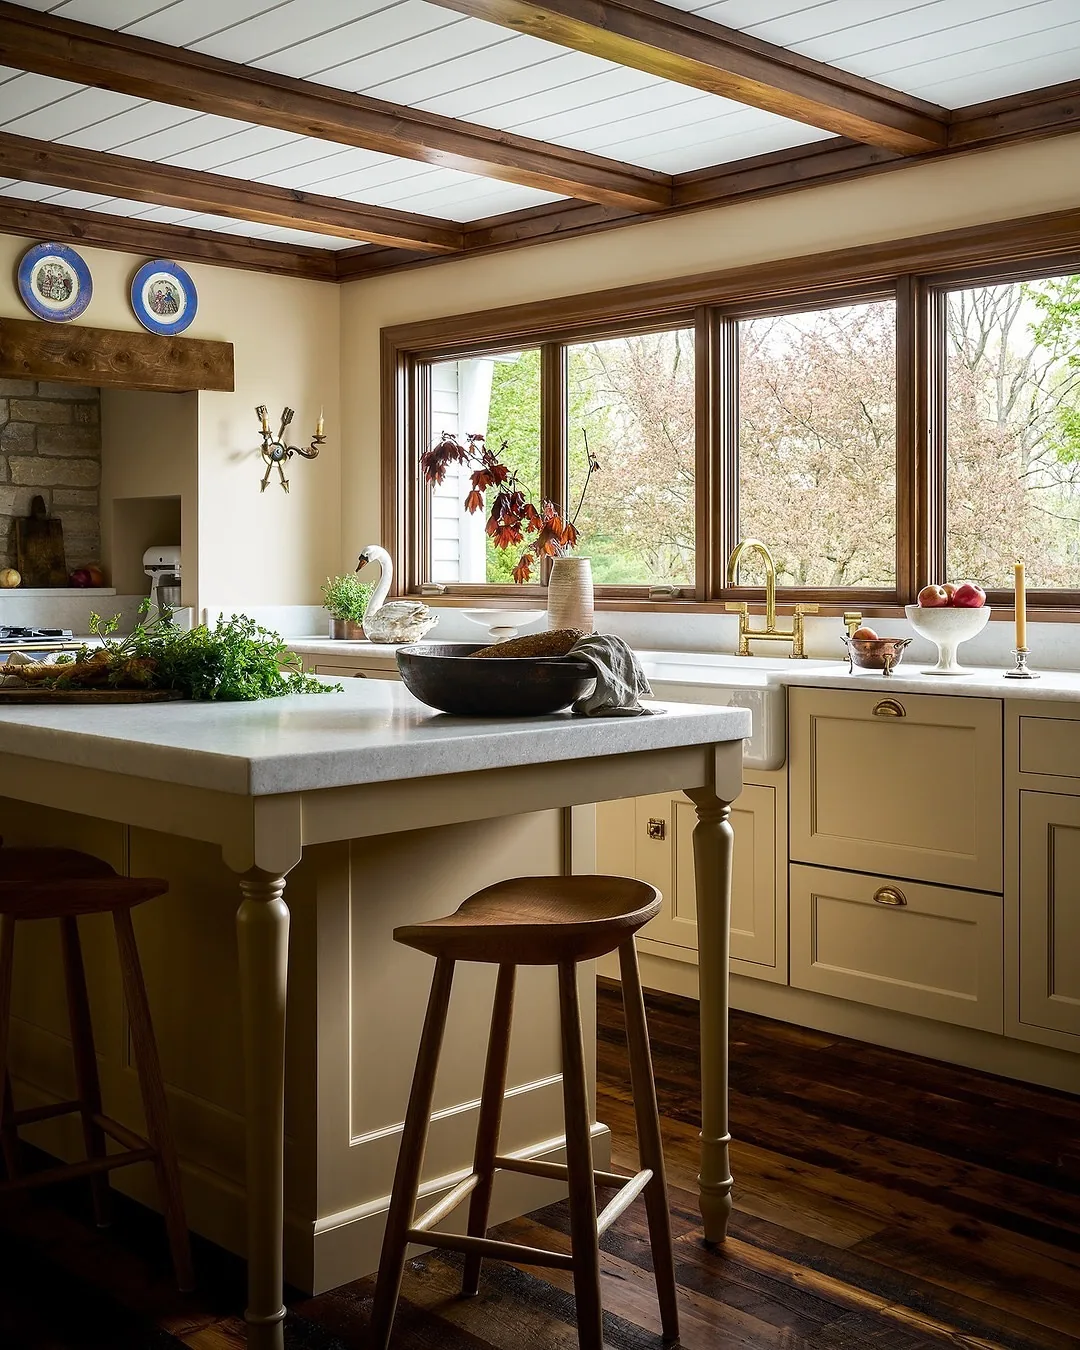
Seat people without punishing cooks
Seating and prep share the island uneasily. Four ideas broker the peace.
Overhang twelve inches minimum for knees
Shallow overhangs exile sitters to perching. You’ll give counter-height seating 12 inches of knee space minimum, 15 for full meals, so adults pull in fully. Knees hitting cabinetry ends island breakfasts within a week. If your island can’t host real breakfasts at all, a proper corner can: our breakfast nook and kitchen window ideas give mornings their own room.
You’ll support deep overhangs properly, with hidden steel past 18 inches. Sagging stone is the slow-motion failure nobody budgets for. When knees clear and stone holds, the seating side works as designed. Measure twice here, because retrofitting overhang means replacing the whole top.
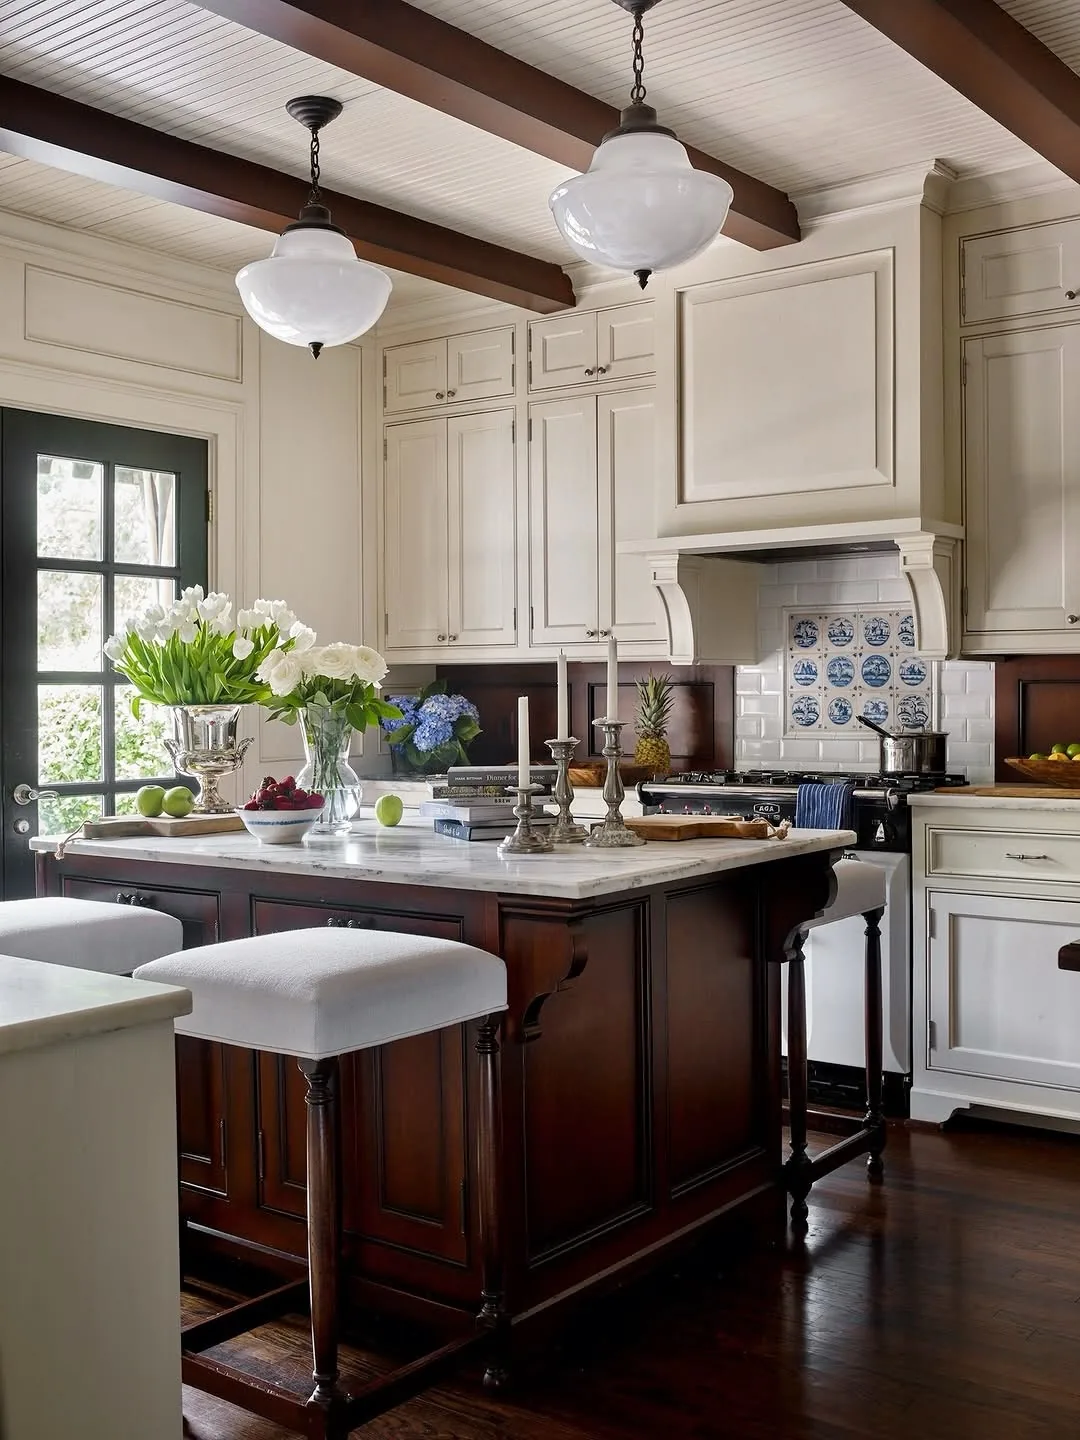
Seat one height, never a split level
Split-level islands, half prep height and half bar height, date kitchens faster than almost any other choice. You’ll build one level, counter height, with stools to match. Single-height reads clean, works for prep overflow and never traps you in 2005.
You’ll separate zones by depth instead: generous overhang on the sitting side, full storage beneath the working side. One plane does both jobs better than a step ever did. When the island reads as one confident table, the whole kitchen calms. Steps belong on staircases, not stone.
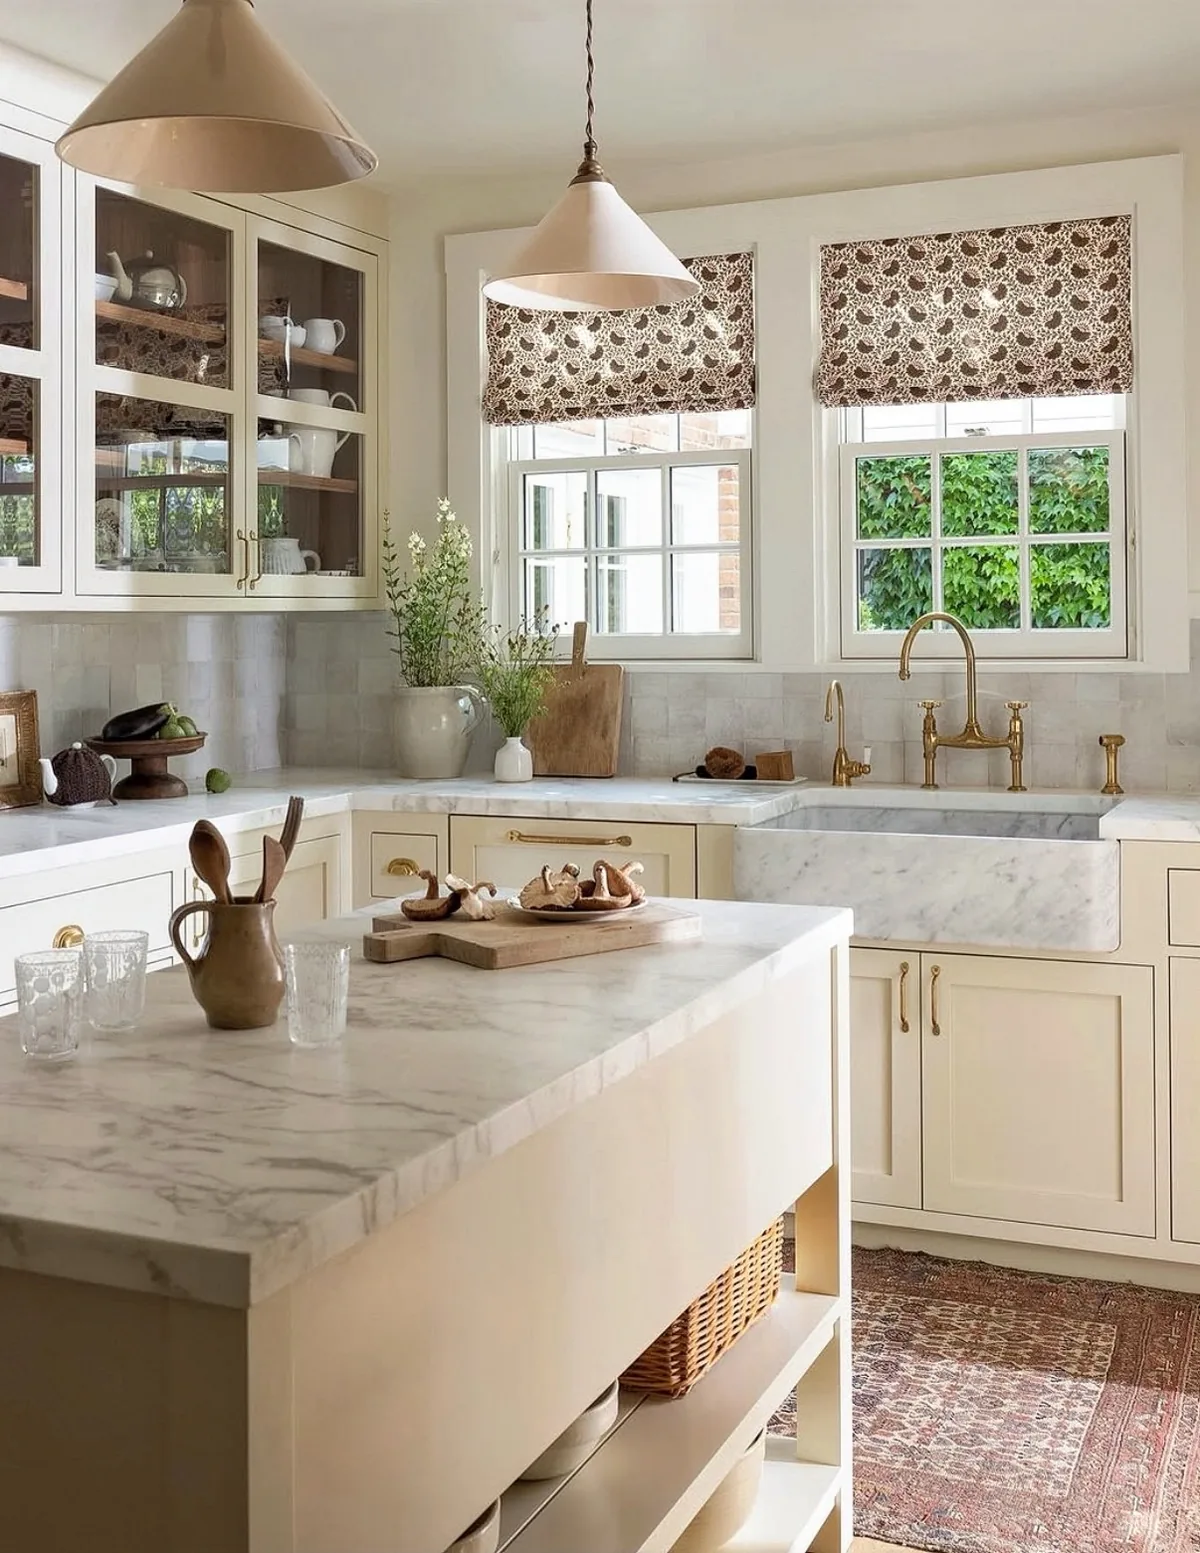
Face sitters toward life, not walls
Stools facing a blank wall go unused whatever their comfort. You’ll orient seating toward windows, the room or the cook, giving sitters something worth watching. Morning people face sunrise. Homework needs the cook in view. Nobody lingers staring at drywall.
You’ll check the view from every stool before finalizing, sitting at height with the plan taped. A turned island costs nothing on paper and everything in daily use. When seats face life, they fill. When they face walls, they hold bags and laundry within a month.
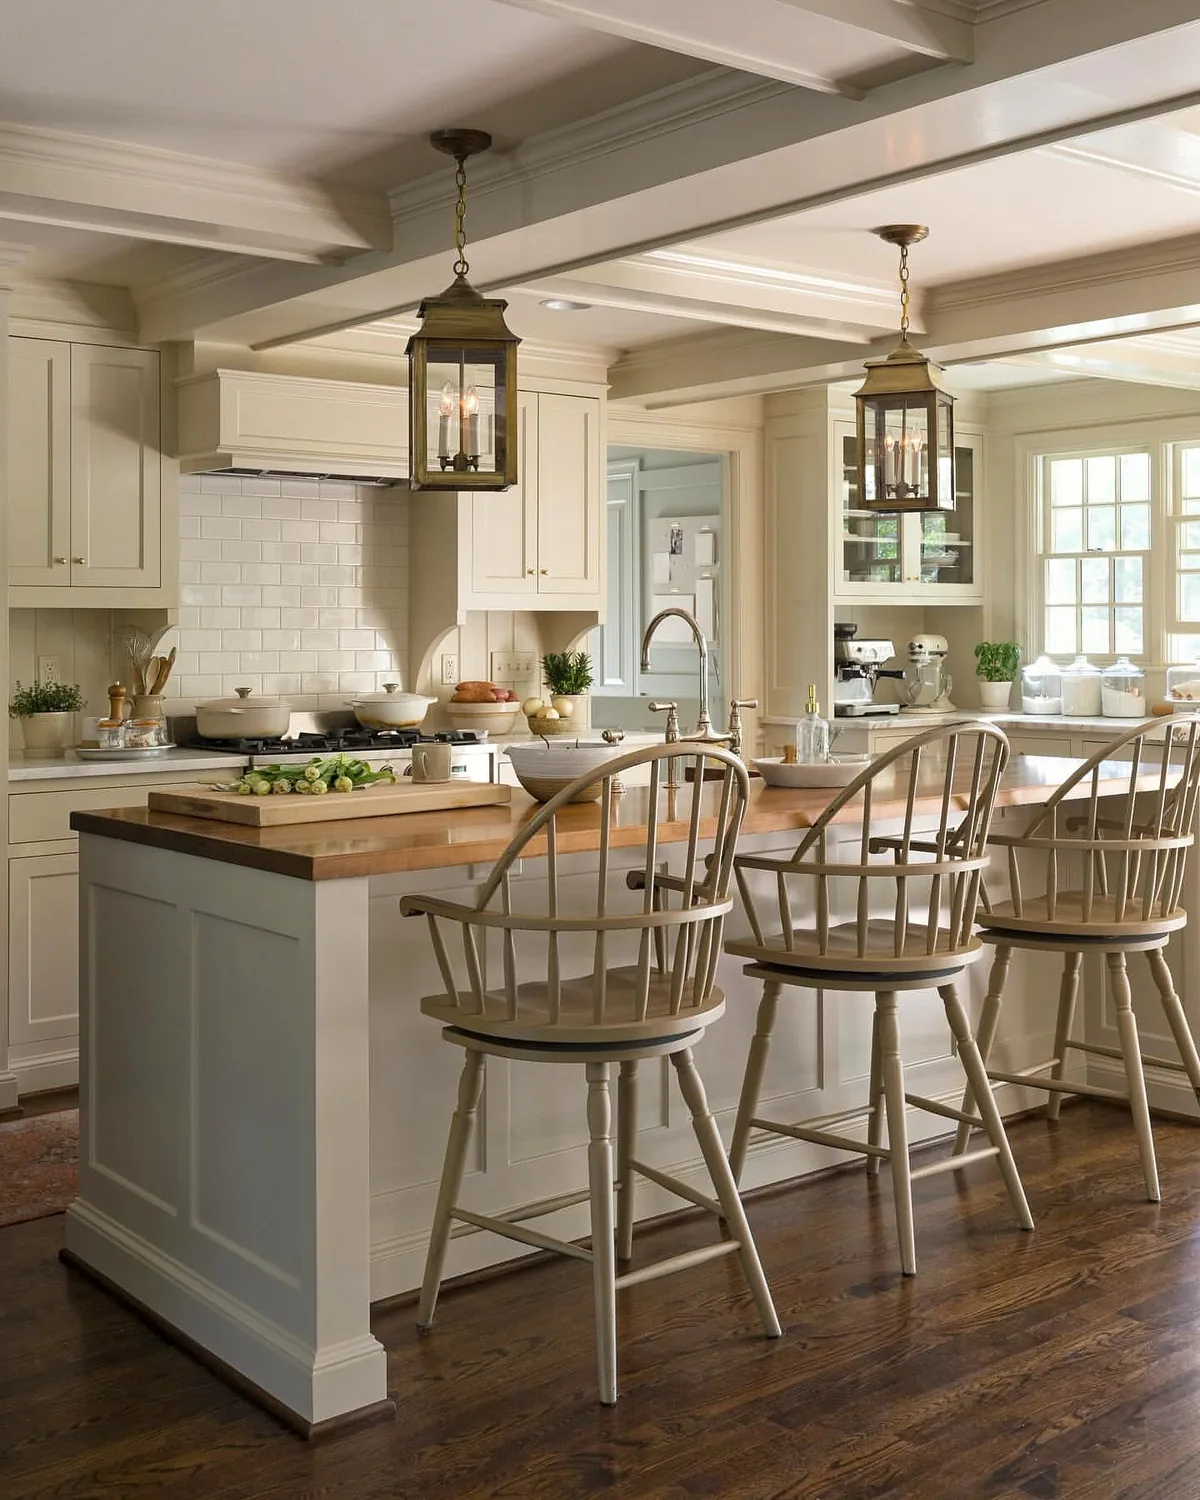
Judge kitchen island ideas by stool clearance behind
Stools need pull-out room plus passage behind them. You’ll allow 32 inches to a wall with no traffic, 36 to edge past seated diners and 44 to walk past comfortably. Seating that blocks the kitchen’s main path fails however generous the overhang.
You’ll test with real stools borrowed or taped, pushed out as if occupied. Paper plans forgive what hips don’t. When circulation survives seated diners, the layout works on holidays too. Count the passage before the stools, and the island serves crowds instead of causing them.
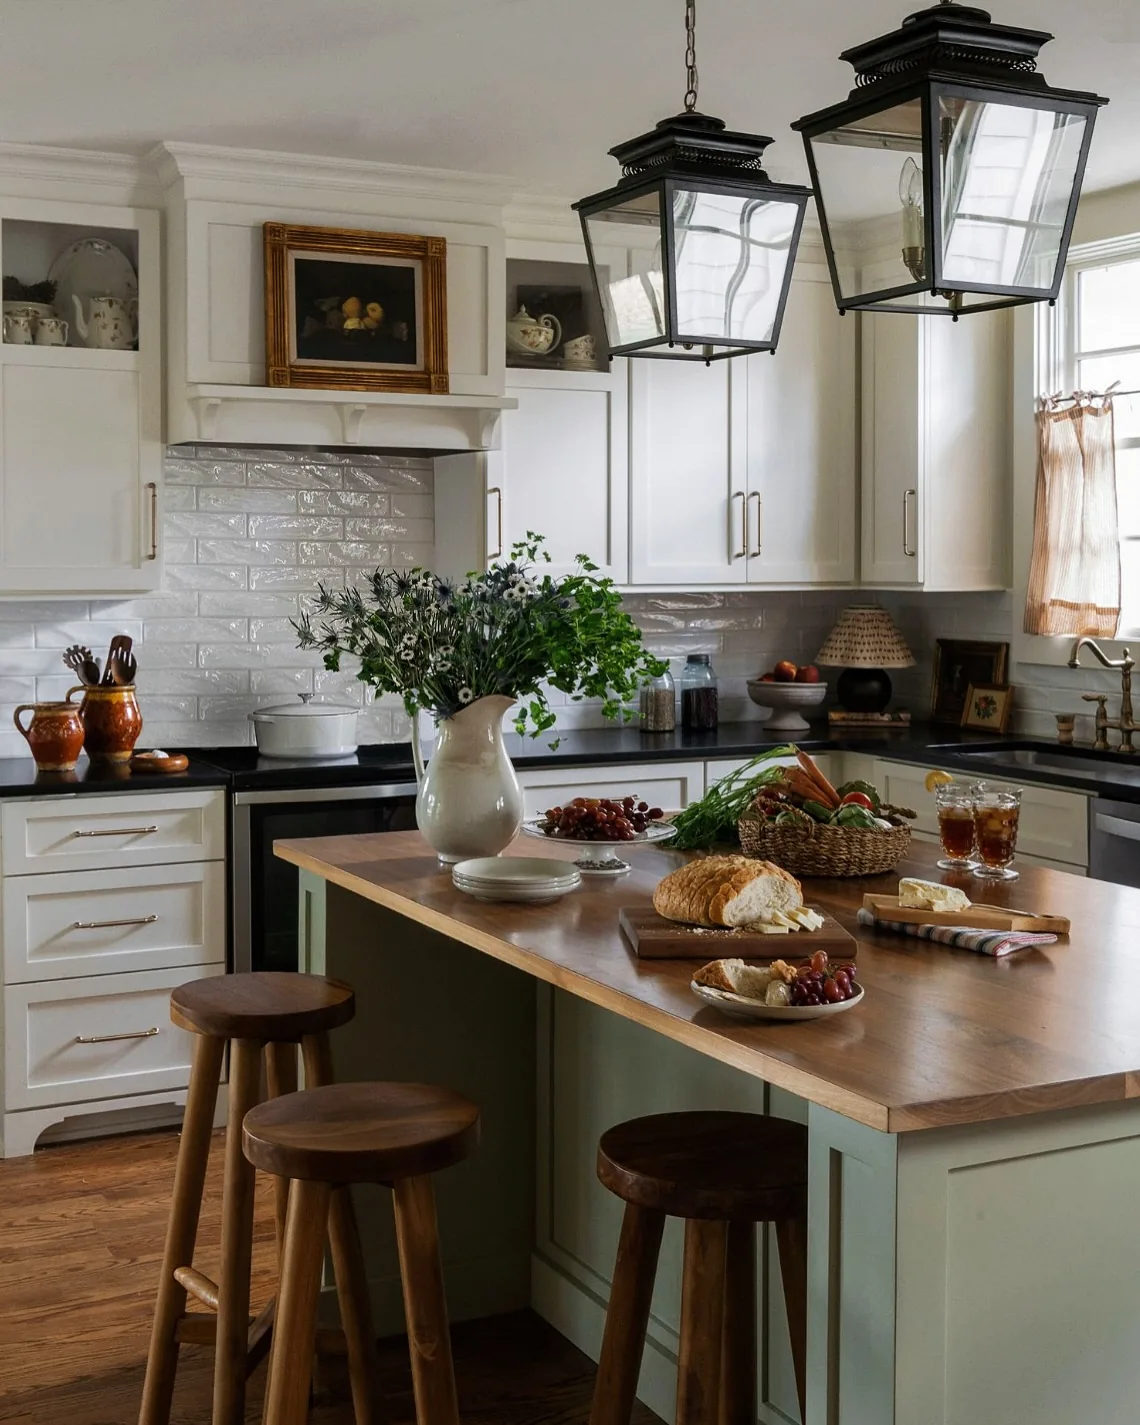
Store daily life inside it
Islands hide the bulky realities of cooking. Four ideas load them correctly.
Drawer the prep side three deep
Deep drawers beat doors for island storage completely. You’ll stack prep-side drawers shallow for tools, medium for bowls and deep for pots, so everything slides out to meet you. Fixed shelves in islands waste a third of their volume behind kneeling and reaching.
You’ll fit dividers and rollouts from day one, not as future upgrades. Organization installed with the cabinets costs little and gets used. Retrofitted organization costs more and half gets skipped. When drawers open to exactly what the meal needs, the island earns its footprint daily.
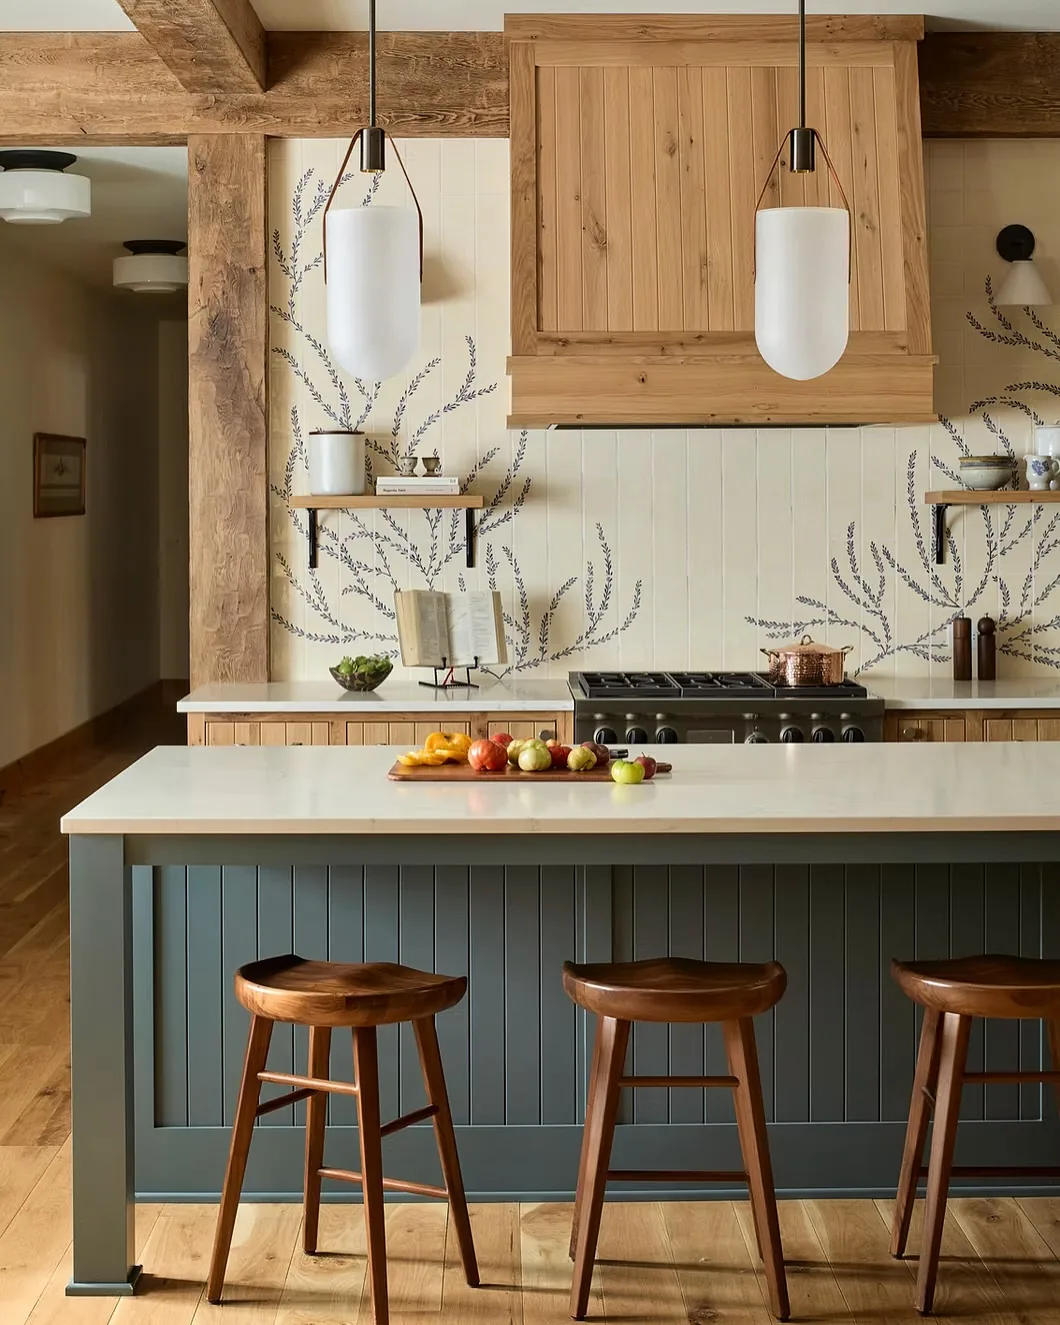
Pull trash where prep happens
Trash belongs at the work, not across the room. You’ll fit a double pull-out, waste plus recycling, in the island near the sink end. Single bins breed floor piles of recyclables within days, while doubles keep both streams hidden and handy.
You’ll size the cabinet for bags you actually buy, measuring box dimensions before ordering. Too-tight pull-outs jam and get abandoned. When waste disappears at the point of creation, counters stay clear and the kitchen reads twice as tidy. The least glamorous decision delivers the most daily relief.
End-cap the small appliances away
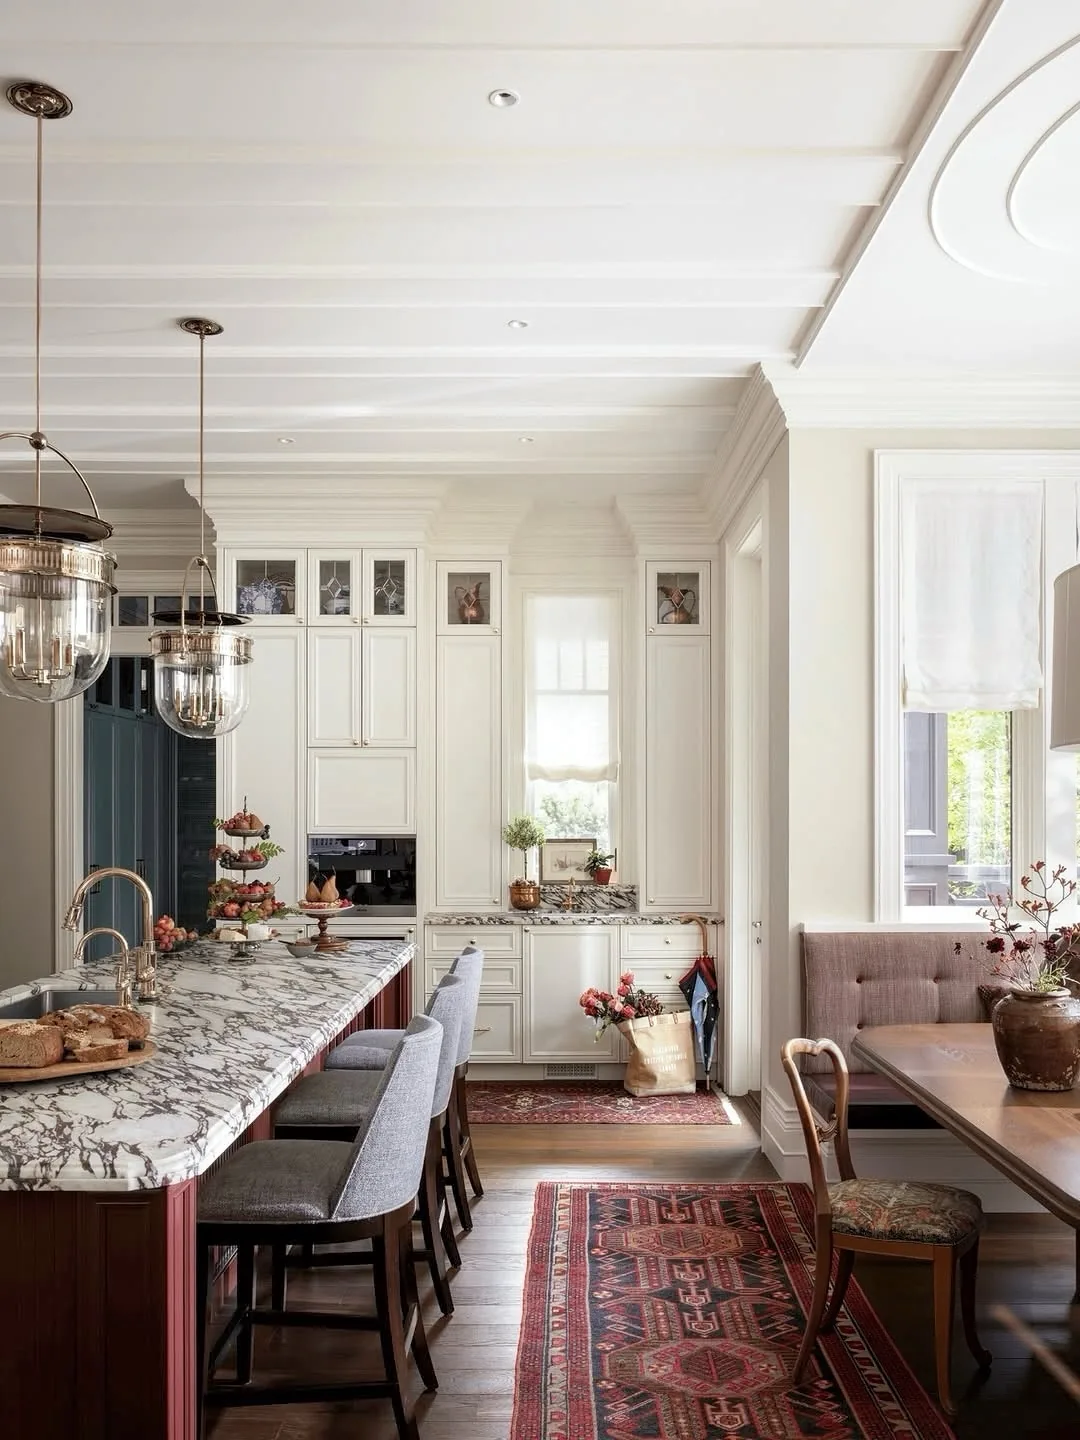
Toasters, mixers and coffee gear colonize counters without assigned homes. You’ll build appliance garages or tall end pull-outs into the island ends, giving bulky tools doors to hide behind. Clear counters are the visible payoff of hidden storage.
You’ll wire one garage with an outlet so the coffee station works doors-open or closed. Appliances that migrate daily waste minutes that compound into hours monthly. When everything bulky has a door, the deck stays a workspace instead of a warehouse. Ends work hardest, so you’ll spend storage budget there first.
Sink the island only with dishwasher beside
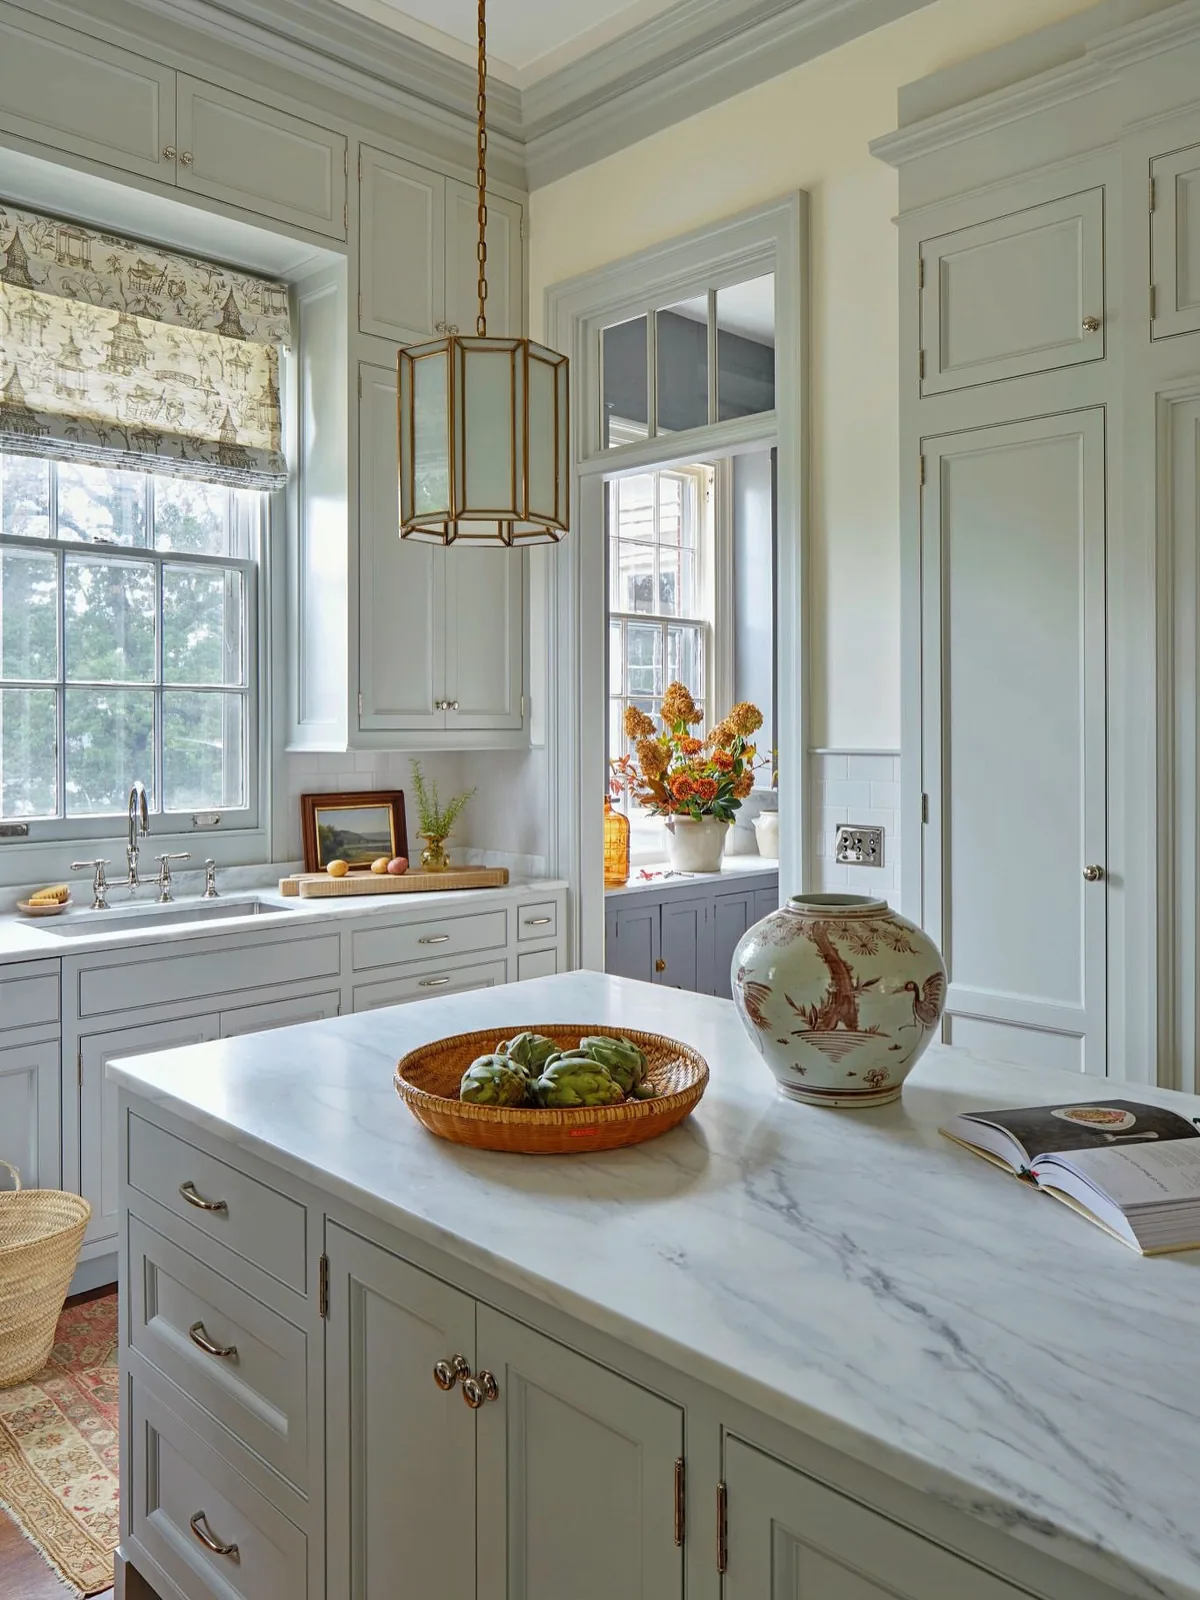
Island sinks work beautifully with the dishwasher within arm’s reach and plumbing routed cleanly. You’ll place both together or keep the sink on the perimeter. A lonely island sink without landing space or dish storage nearby creates drips marched across the kitchen.
You’ll weigh the view against the splash. Sink islands face the room wonderfully and display dirty dishes to it equally. If your household clears as it goes, you’ll love it. If dishes wait, you’ll keep the mess on the perimeter run. Honest habits decide better than aspirations here.
Wire and light it early
Utilities poured in concrete can’t move later. Four ideas plan them before floors finish.
Outlet the island for real appliances
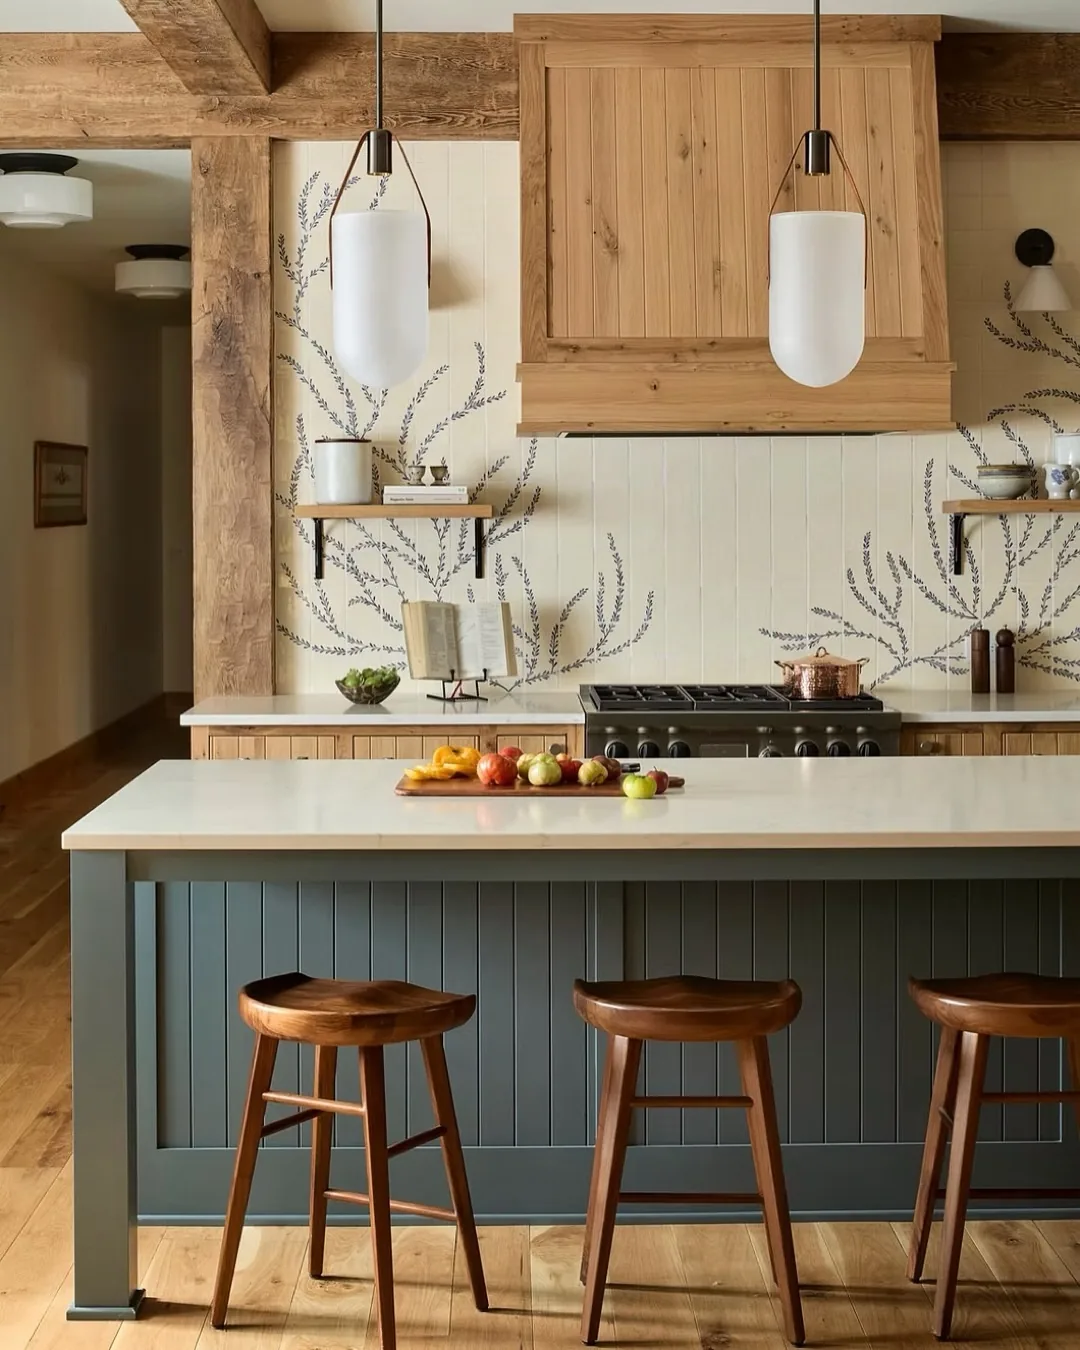
Cord-free islands photograph well and function poorly. You’ll plan pop-up or end-panel outlets for mixers, laptops and chargers during rough-in, since concrete and finished floors forgive no afterthoughts. One well-placed receptacle beats three inconvenient ones.
You’ll check local code with your electrician early, because island receptacle rules changed recently and inspectors vary. Provisions beat violations every time. When power waits where hands work, the island serves modern life. Without it, cords snake across walkways and the beautiful island annoys daily.
Hang two pendants, not three dinky ones
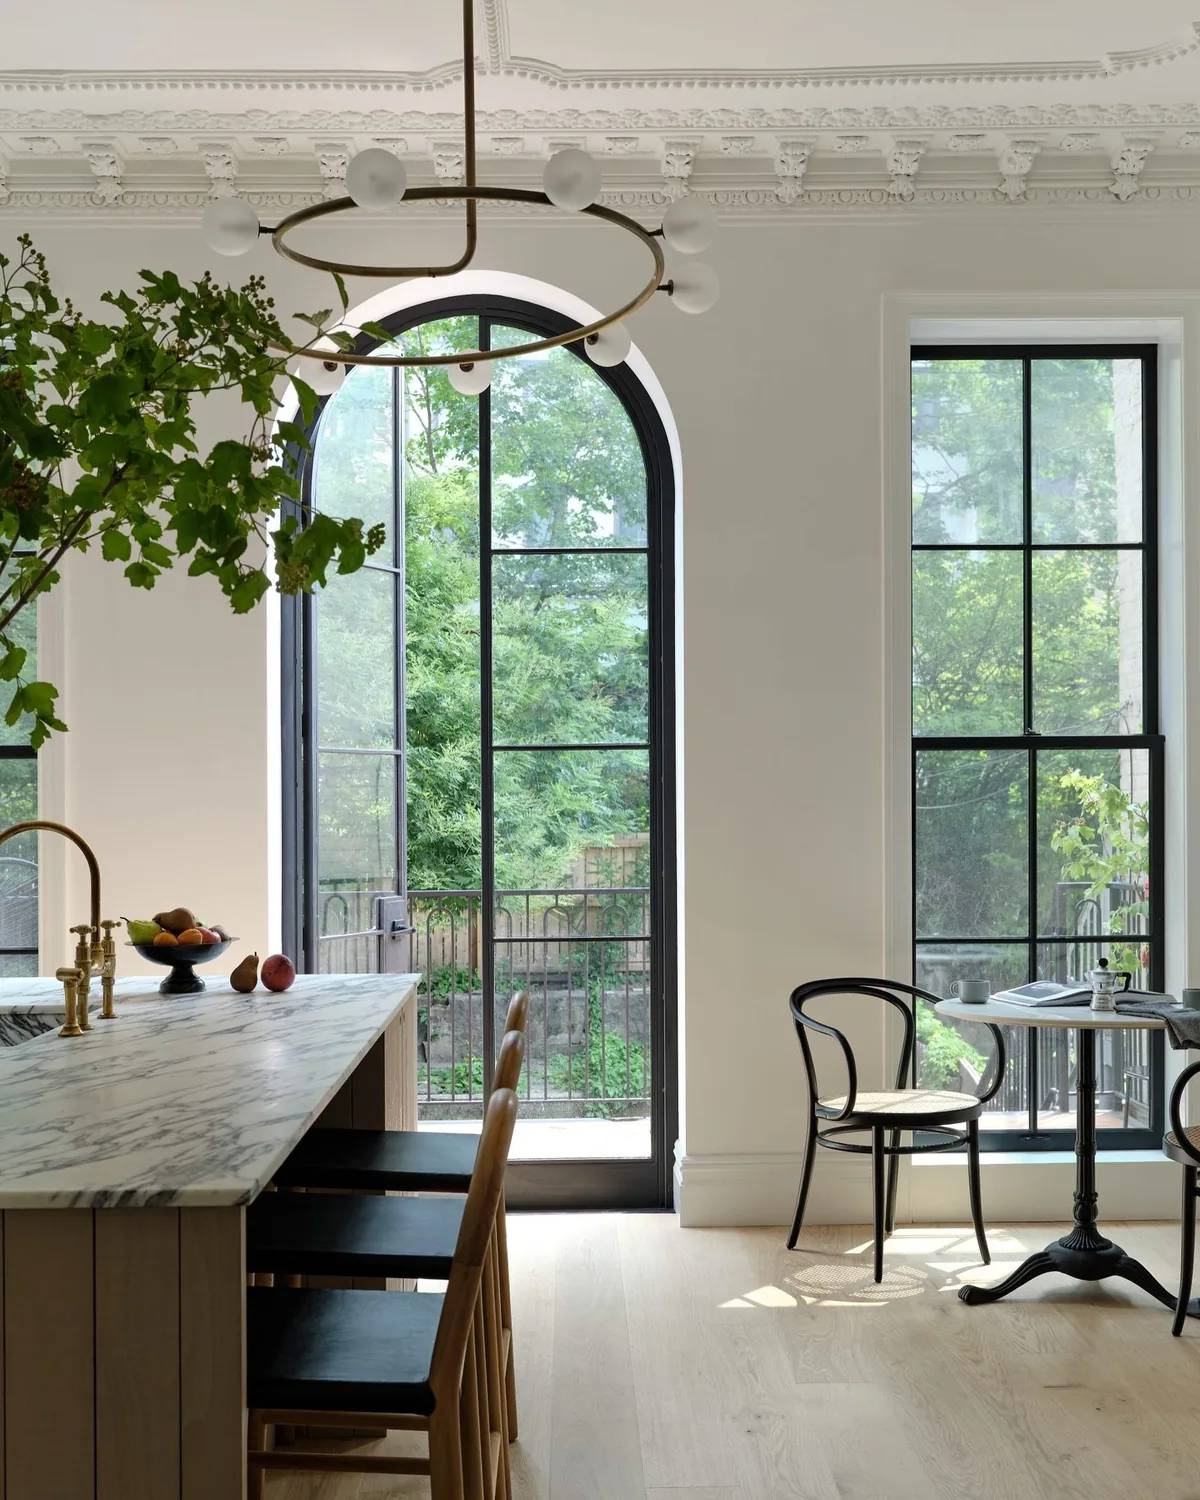
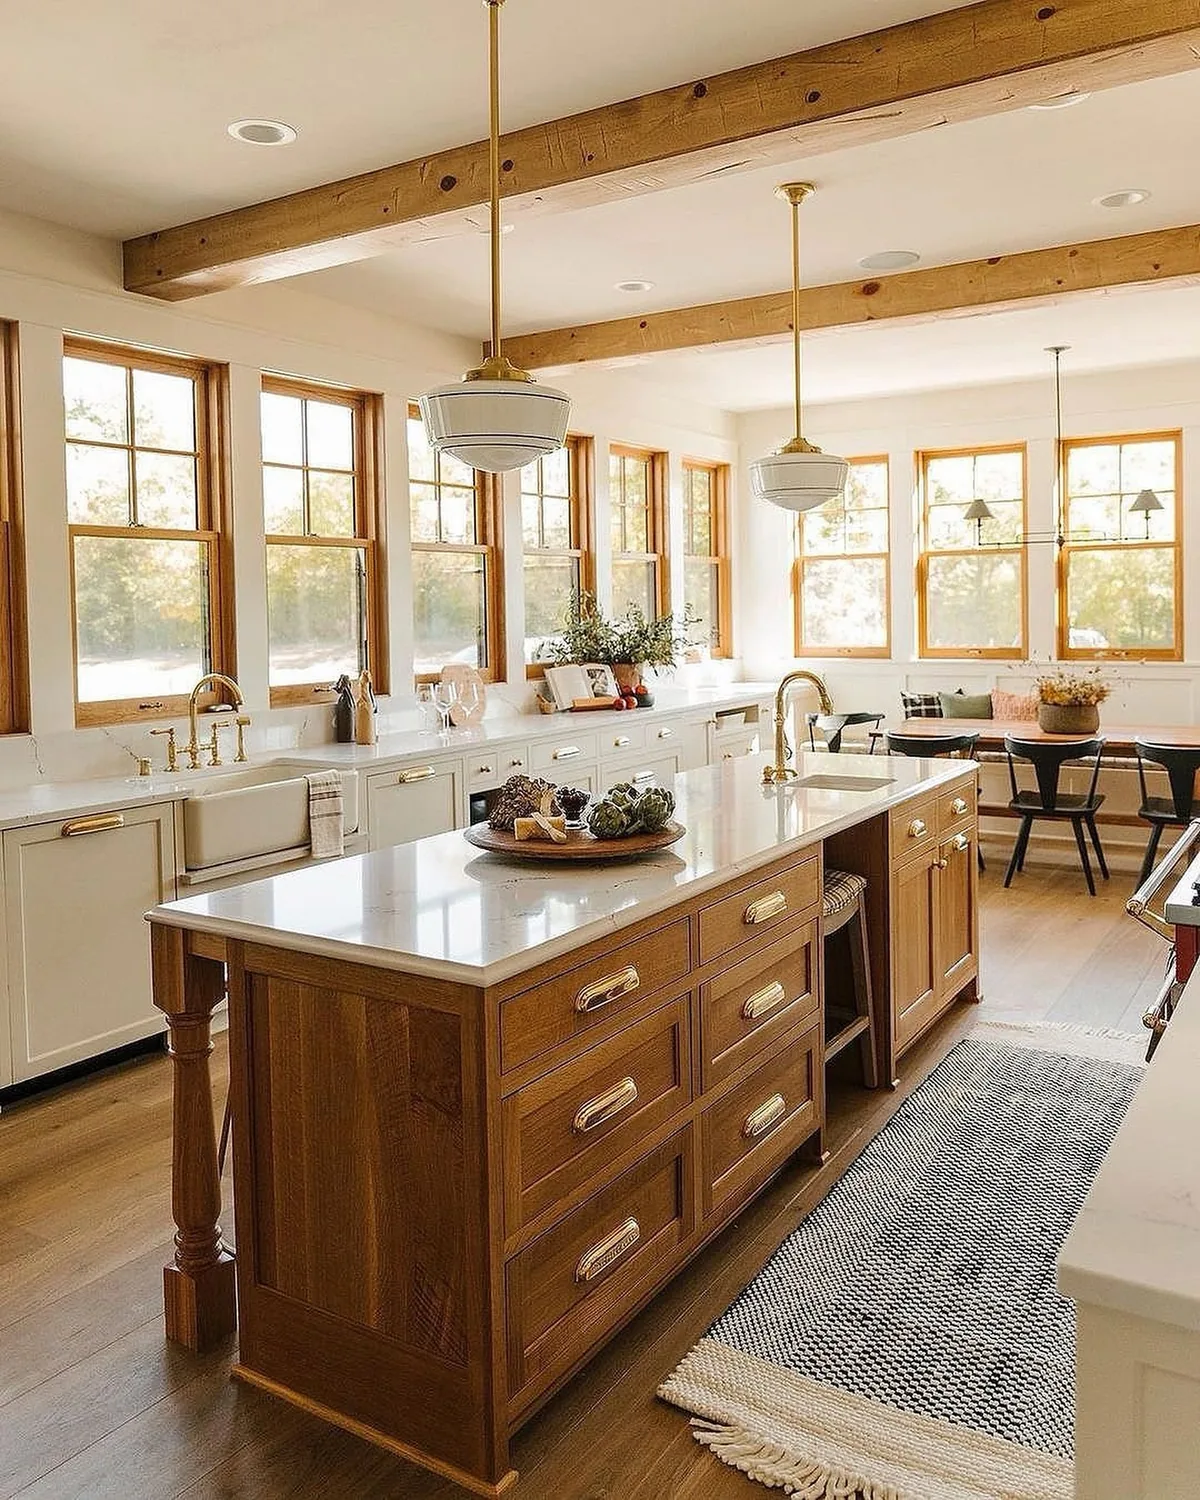
Two generous pendants beat three undersized ones over almost every island. You’ll size fixtures to the island’s length, hanging them 30 to 36 inches above the surface and centered over work zones. Dinky pendants in a row read as visual noise whatever their style.
You’ll dim them separately from task strips so evenings drop to glow while prep stays bright. Pendant light should flatter faces at the island, not blast the stone. When scale and height both suit the island, lighting becomes jewelry. When either misses, even expensive fixtures look apologetic.
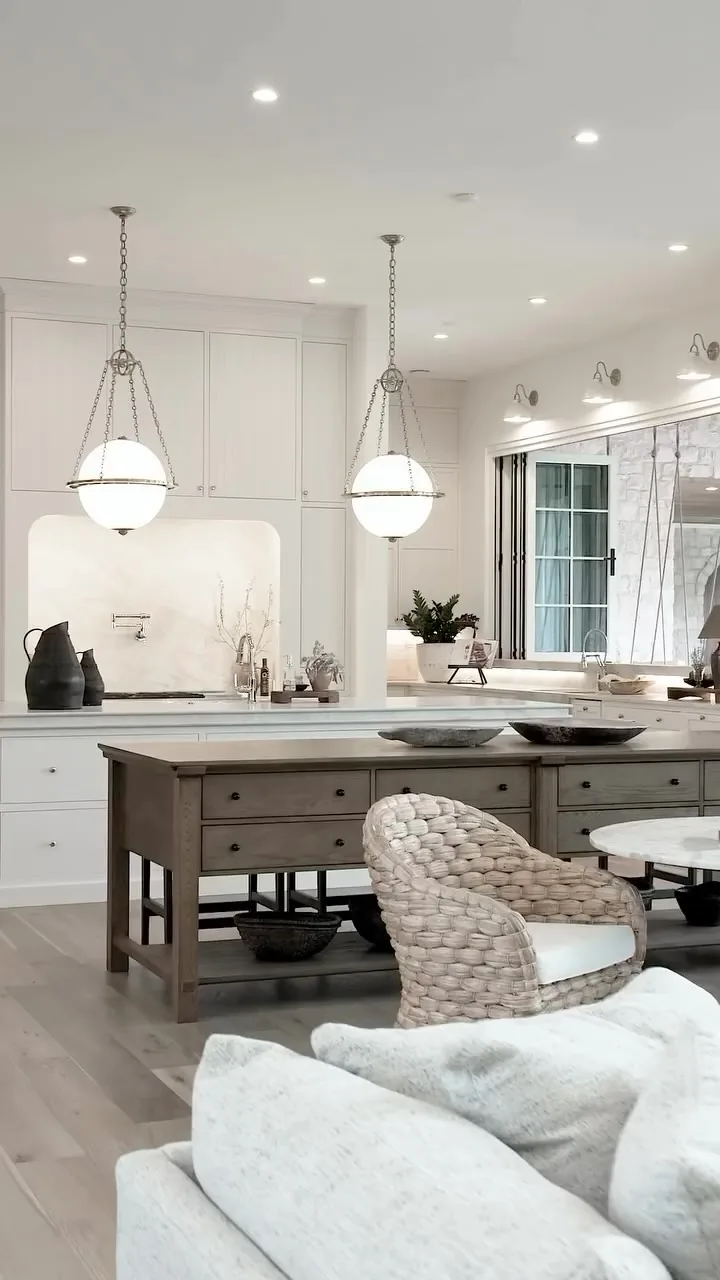
Wash the island with under-cabinet task light
Pendants decorate while strips illuminate. You’ll run under-cabinet LEDs on surrounding runs so prep light comes from the front, not from behind your head. Shadows across the board mean the light plan failed regardless of pendant beauty.
You’ll specify warm high-CRI strips that render food honestly. Green-grey cheap light flatters nothing and tires eyes. When task light handles work and pendants handle mood, each does its job without compromise. For the full layered approach, see our dark and moody kitchen ideas lighting plan. Layers, always layers.
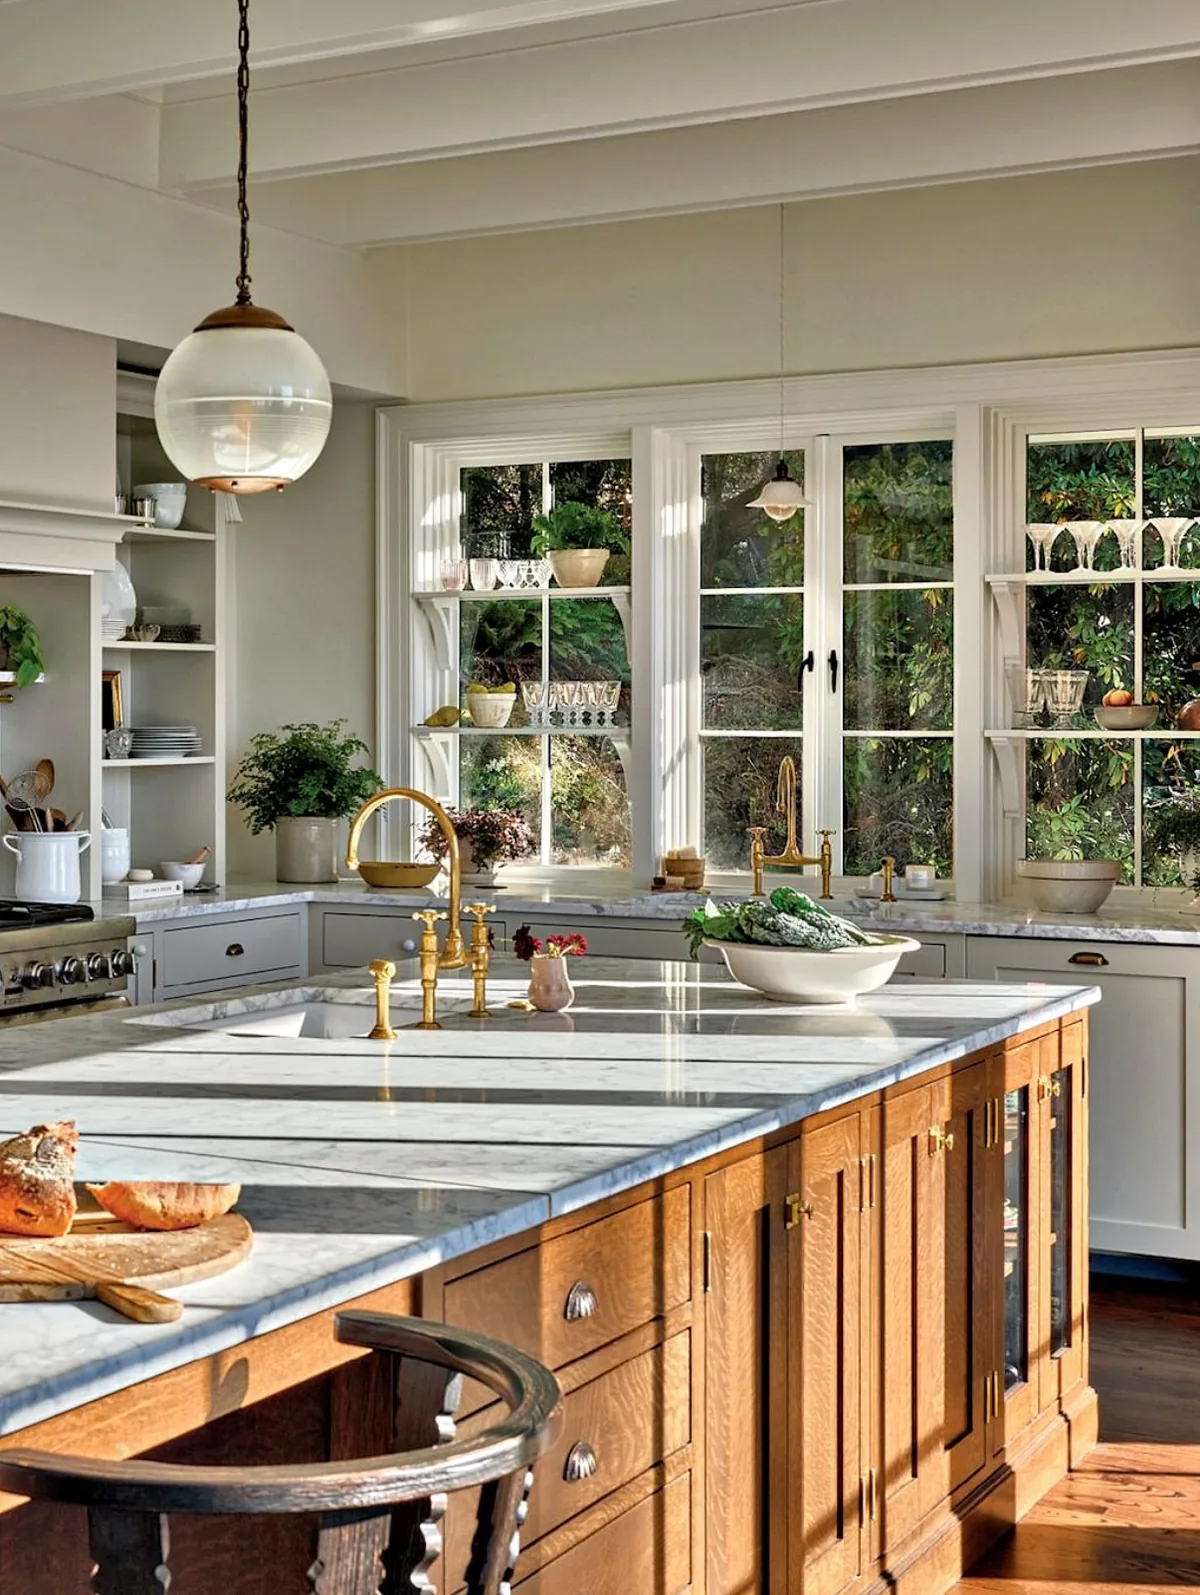
Material the island as furniture, not cabinets
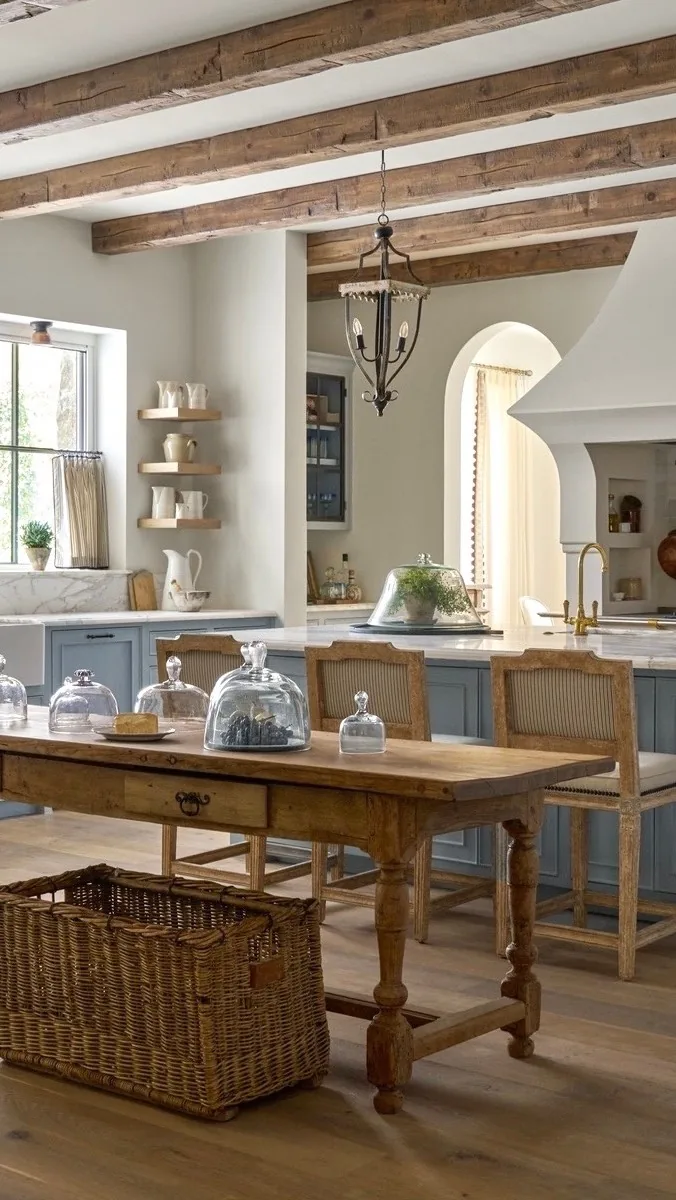
Islands read best as furniture pieces, not cabinet runs. You’ll differentiate with a wood top, a furniture-grade paint color or turned legs at the ends. If that paint color runs navy, our blue kitchen cabinet ideas sort depth, metal and evening light for exactly that choice. That distinction lets the island anchor the room the way a table anchors dining.
You’ll echo the material once elsewhere, stools, shelves or a hood trim, so it relates without matching. Total contrast fragments the kitchen. When the island stands slightly apart yet clearly belongs, the room gains the collected feel designers charge for. For more kitchens composed this way, browse our kitchen ideas hub.
Island math that matters at a glance
| Minimum | Comfortable | Generous | |
|---|---|---|---|
| Working aisle | 42 inches | 48 inches | 54 inches |
| Behind seating, no traffic | 32 inches | 36 inches | 44 inches |
| Edge per stool | 24 inches | 28 inches | 30 inches |
| Knee overhang, counter height | 12 inches | 15 inches | 18 inches plus steel |
| Pendant height above stone | 30 inches | 33 inches | 36 inches |
| Verdict | Survives | Lives well | Hosts parties |
The Kitchen Island Formula
If you strip all fifteen ideas down to a plan, it reads like this:
- Aisles first. 42 inches working, tape with doors open, shrink island before all else.
- One main job. Prep, seating or storage leads, others negotiate around it.
- Stool math honest. 24 inches each, knee space real, views worth sitting for.
- Storage three deep. Drawers, trash pull-out, appliance garages at the ends.
- Utilities in rough-in. Outlets and pendant boxes before floors finish.
- Furniture, not cabinets. Differentiated island relating through one echo.
Get those six right and the island serves for decades. You’ll cook, gather and clean around it daily without a second thought.
Frequently Asked Questions
How much clearance does a kitchen island need?
You’ll hold 42 inches on working sides and more where two cooks pass. Tape the footprint with appliance doors open before committing. When tape shows a squeeze, you’ll shrink the island or choose a peninsula.
How many stools fit on my island?
You’ll allow 24 inches of edge per adult, so two stools need four feet and four need eight. Count daily users, not holiday maximums. Comfortable three beats miserable five every breakfast.
Should my island have a sink?
You’ll pair it with the dishwasher within reach or keep the sink perimeter. Island sinks face the room wonderfully and display dishes equally. Honest clearing habits decide better than aspirations here.
What is the best island height for seating?
You’ll build single-height counter level with matching stools. Split levels date fast and trap you in their decade. One plane serves prep overflow and seating better than any step.
How do I light a kitchen island?
You’ll hang two generous pendants 30 to 36 inches above the stone, dimmed separately, plus under-cabinet task strips on surrounding runs. Pendants flatter faces while strips light boards. Layers, always layers.
Is an island or peninsula better?
You’ll choose by clearances, not dreams. Four clear sides earn an island, three earn a peninsula. A deliberate peninsula beats a hopeful island in every tight kitchen ever renovated.
This article may contain affiliate links. We may earn a commission at no extra cost to you.