Stop Your Stone Where Your House Has a Line

Add us as a preferred source to see more stories on Google.
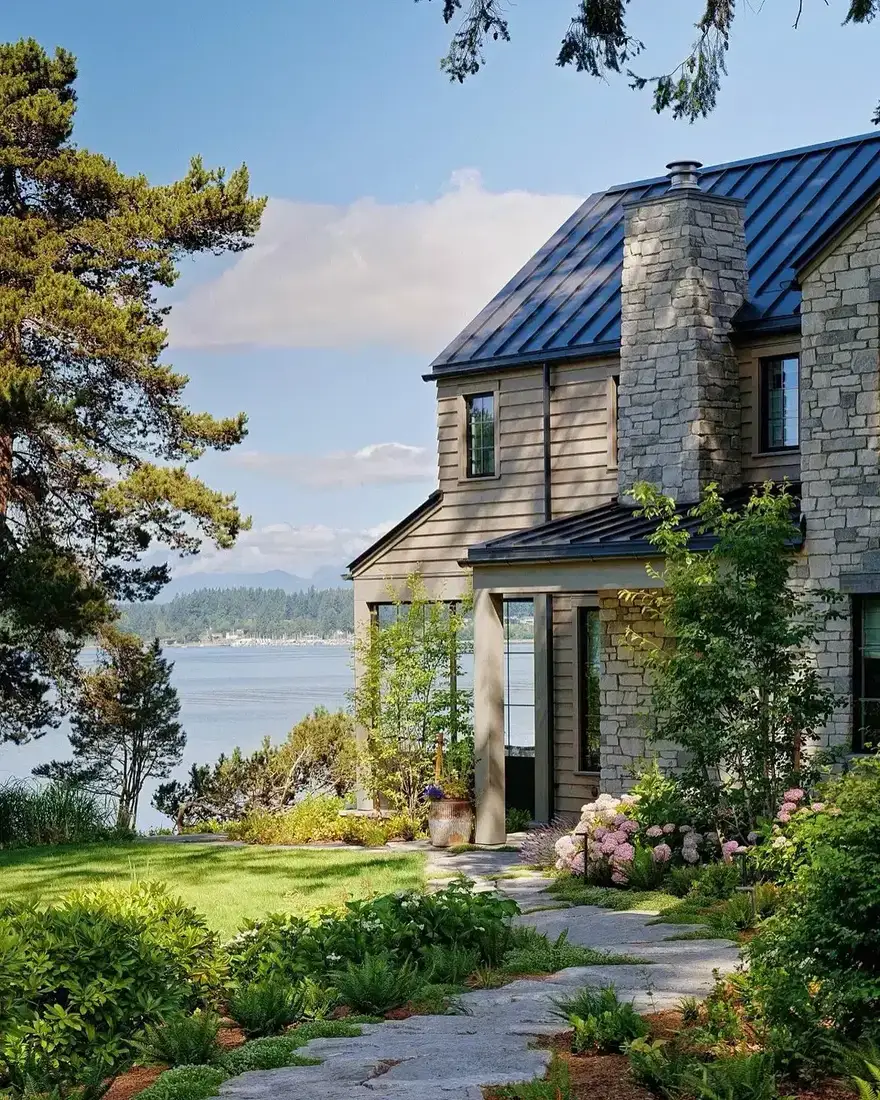
You think stone has to cover the whole wall to count, so you price a full stone house and stall.
Or you run a low stone skirt to a random height and wonder why it looks stuck on.
On every house here the stone is a base, not the wall. The mistake is choosing a height you like instead of one your house already owns.
These eleven fronts show you where to stop the stone, how to join it, and what to plant so your base reads as if the house grew that way.
The line you choose matters more than the stone you choose
These first houses prove the height is not a taste decision. It is a building decision.
Stop the stone at a line your house already owns
That green cottage works because its pale stone base stops at the same line the windowsills make, which your house already drew for you. If you pick an arbitrary midpoint between windows, every passerby feels something is off, even if they cannot name it. You should stand back and trace the horizontal lines your facade already has before you mark a height. Ask your mason to align the top of the stone to one of them and to keep it level while the ground steps below.
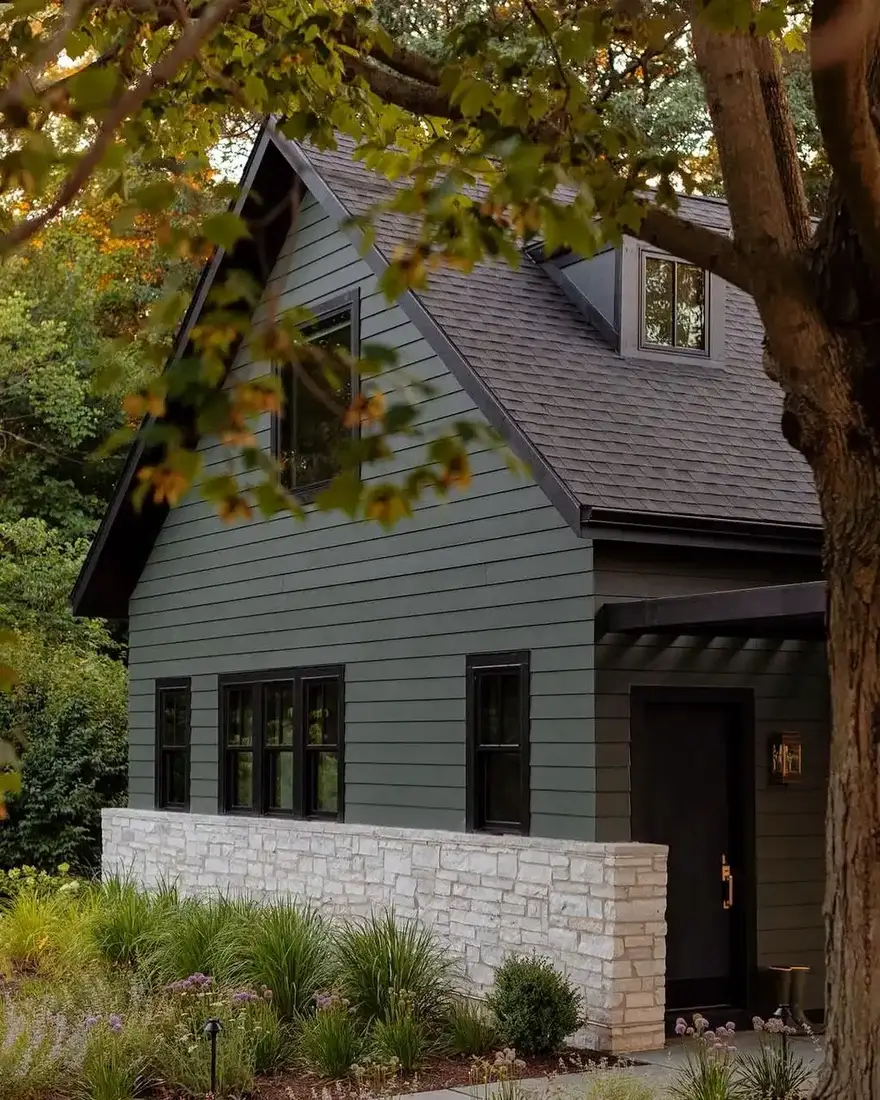
Add a drip where stone meets siding
Notice how the pale blue cottage keeps its white trim crisp where it sits over the low stone garden wall and the base below the porch. That clean edge is not paint, it is a small overhang that throws water clear. Without a drip or flashing at the joint, rain runs down the upper wall and settles into the top course of stone, and your paint starts peeling within a season. You can ask for a metal flashing tucked behind the siding and a slight projection, even a modest one, so you see shadow rather than a stain. When you visit, run your hand under that edge. You should feel an undercut that breaks the water.
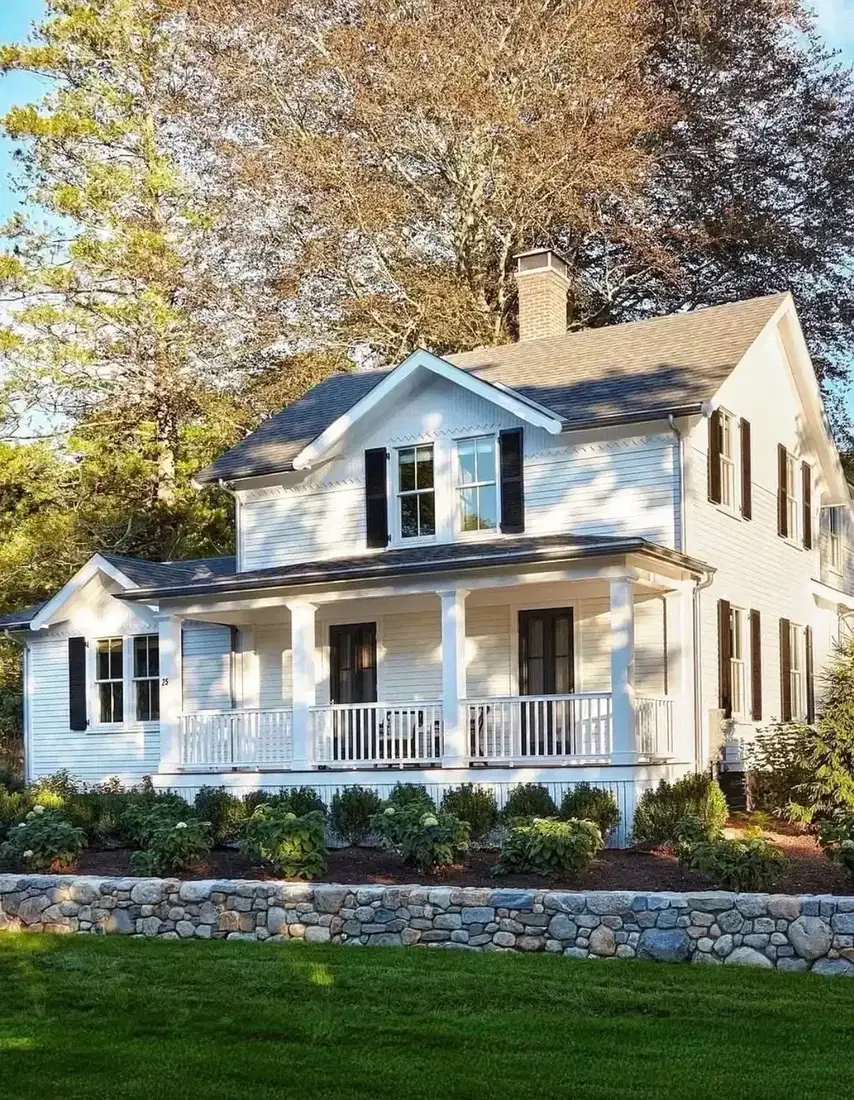
Keep wood off the stone so it can breathe
The yellow colonial shows stone steps meeting painted trim, but the principle travels to every base. Timber or board that sits directly on stone wicks moisture upward, and your siding swells, cups, and rots from the bottom. You want a visible gap between the top of the stone and the bottom of your clapboard, with air able to move through. That gap also gives you space to paint the low board without smearing mortar. If you are recladding, pull the boards, confirm the flashing is intact, then reset them with clearance. Your future self will not be prying off soft boards in a few damp winters. Browse our home exterior guides if you are planning the wall build-up before you pick finishes.
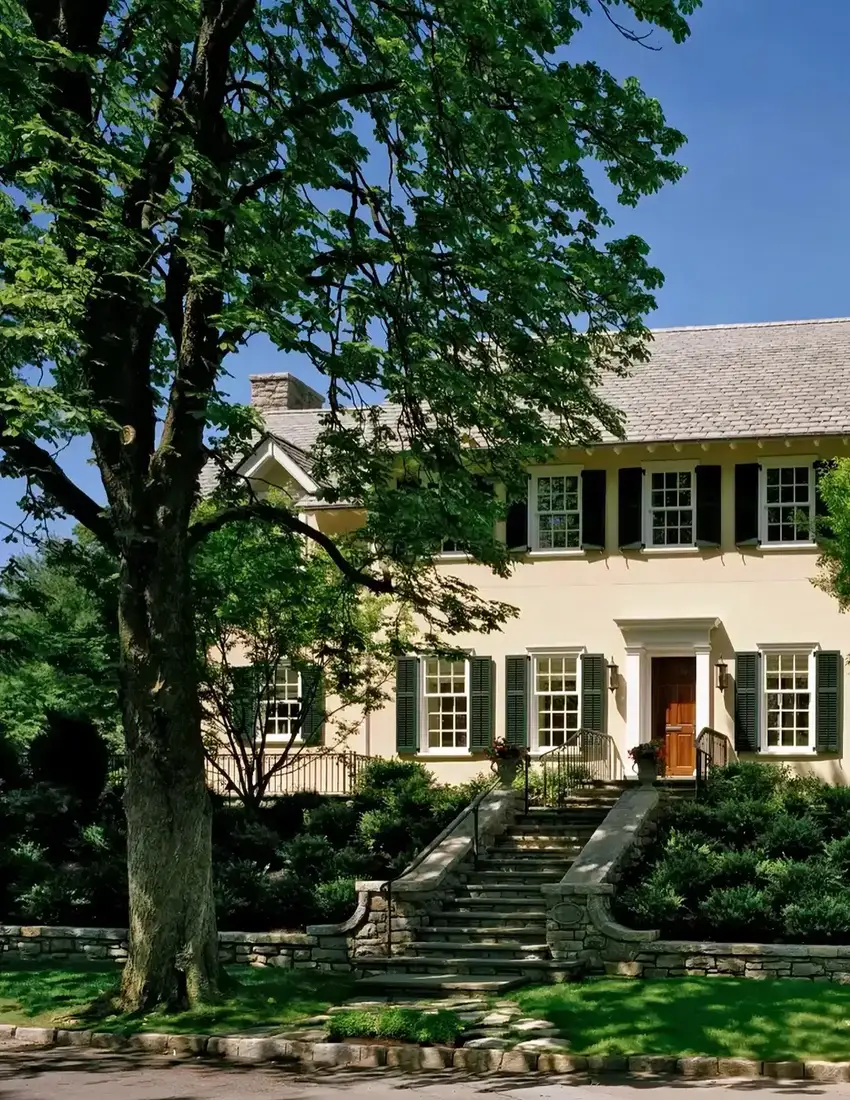
How the base earns its keep
A base is not just decoration on these houses. It solves a site or material problem quietly.
Use a stone base to step a sloping site gently
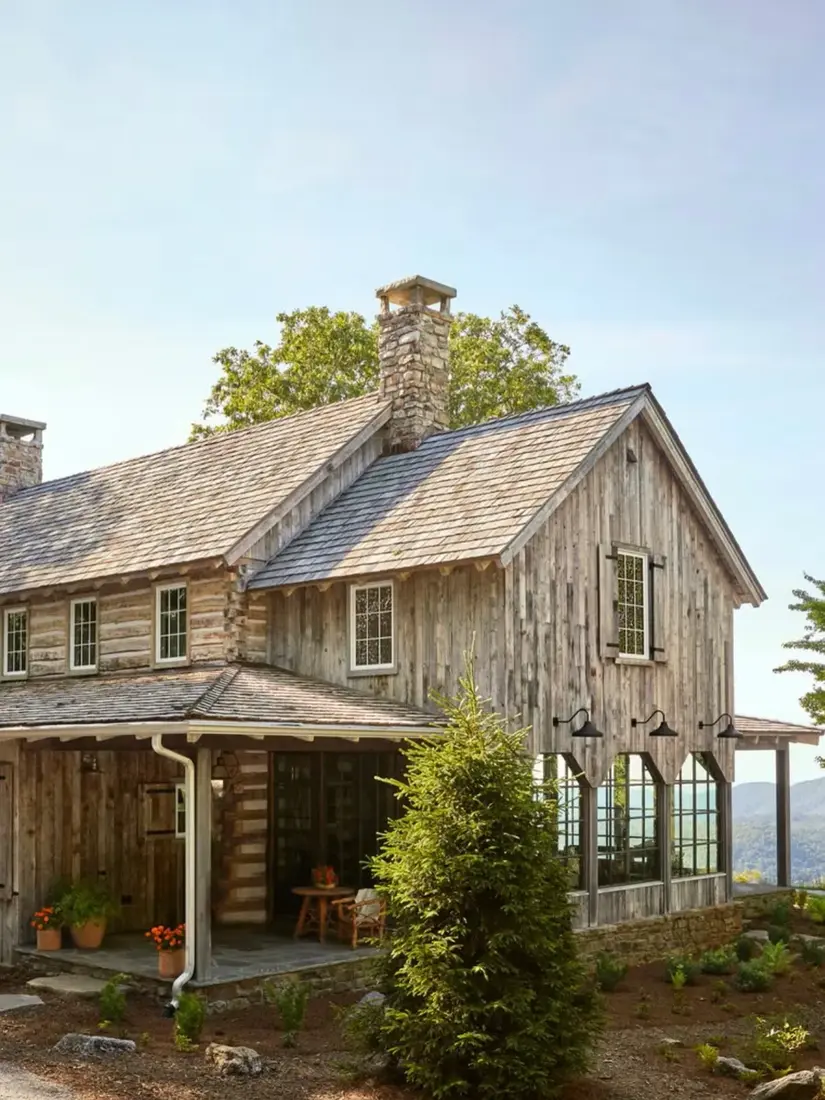
Consider the reclaimed barnwood house where the chimney rises in fieldstone beside weathered timber. That same logic lets a house sit on a slope without an exposed concrete plinth. You can let the stone course step down with the grade, keeping its top level while the ground falls away, so you read solid wall instead of foundation block. This reads calm because the step follows the land rather than fighting it. If your site slopes, ask your designer to draw the base in elevation before you approve a flat line that leaves a triangle of concrete showing at one end.
Tint your mortar to the stone itself
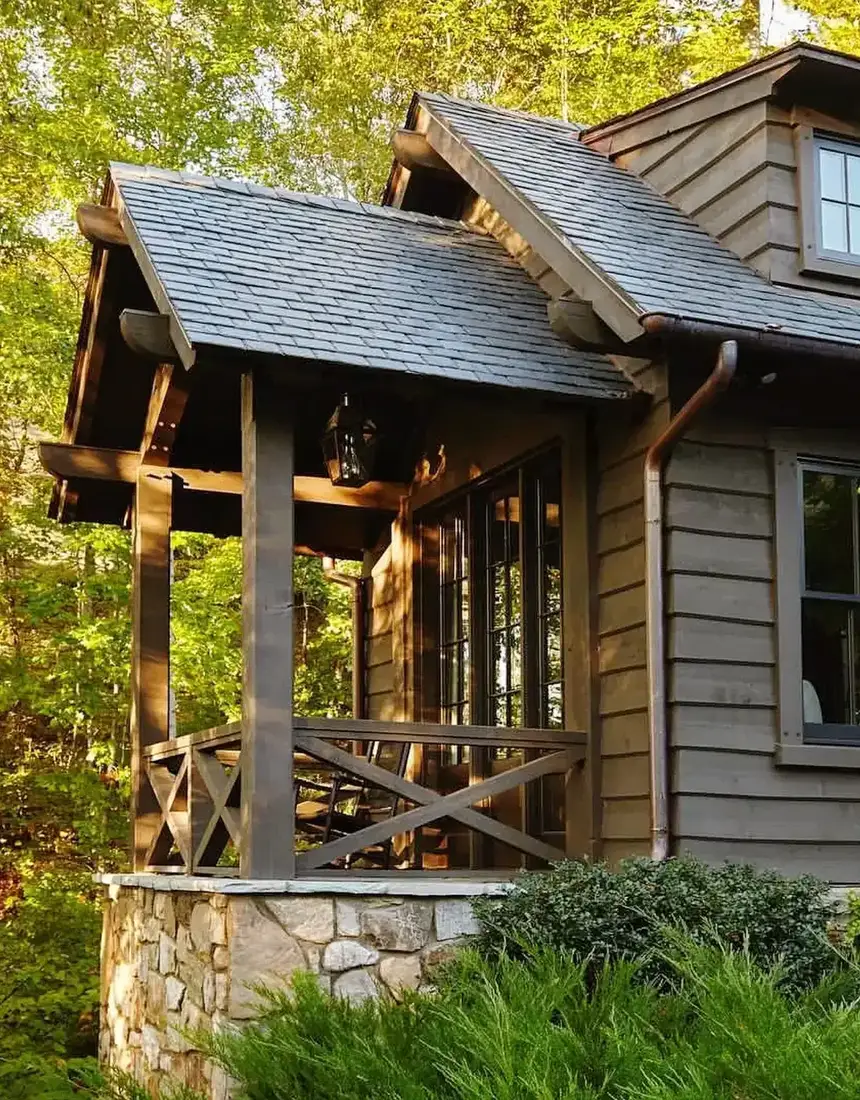
Step closer to the cedar cabin whose rubble foundation meets a boarded porch. The joints almost disappear, and your eye goes to the stone shape rather than a grid. That happens when you match mortar to the stone’s own tone, not to the wall above it. A mortar that matches the siding frames the stone as a separate patch. A mortar that matches the stone lets the base read as one mass. You should collect a handful of your stone, dry and wet, and hold the mortar chips against both in daylight. The right choice looks dull on its own and perfect on the wall. Pointing and mortar get their own treatment in our stone house exterior ideas.
Repeat the stone tone at the garden edge
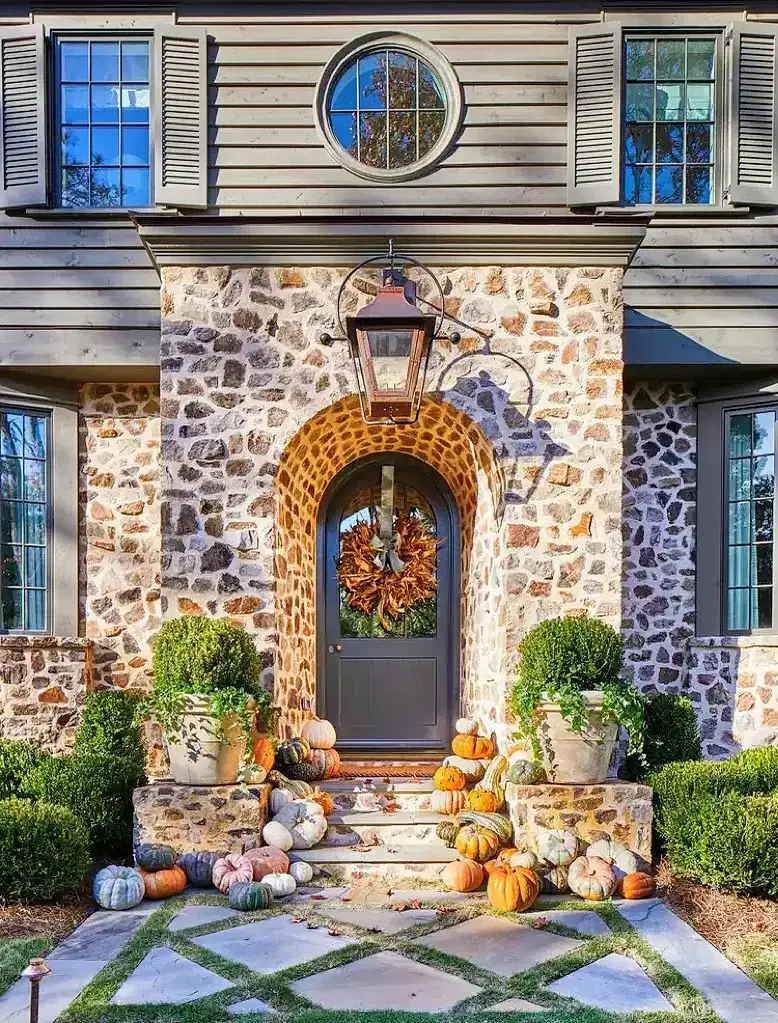
Study the rustic porch dressed for fall, where the low wall and the porch piers share the same warm limestone. You do not need more stone on the house to make the base feel intentional. Repeating that stone in a low garden wall or pier at the same tone ties your house to its site for a fraction of the cost of more cladding. Your visitors feel the continuity before they think about it. Keep the garden stone dry-stacked or lightly pointed to match the house joint, and avoid a contrasting imported stone that pulls your eye away from the base you just paid for.
Roofs, doors and planting that let the base lead
The base stays convincing when everything above it stays calmer.
Let the roof echo the base without matching it
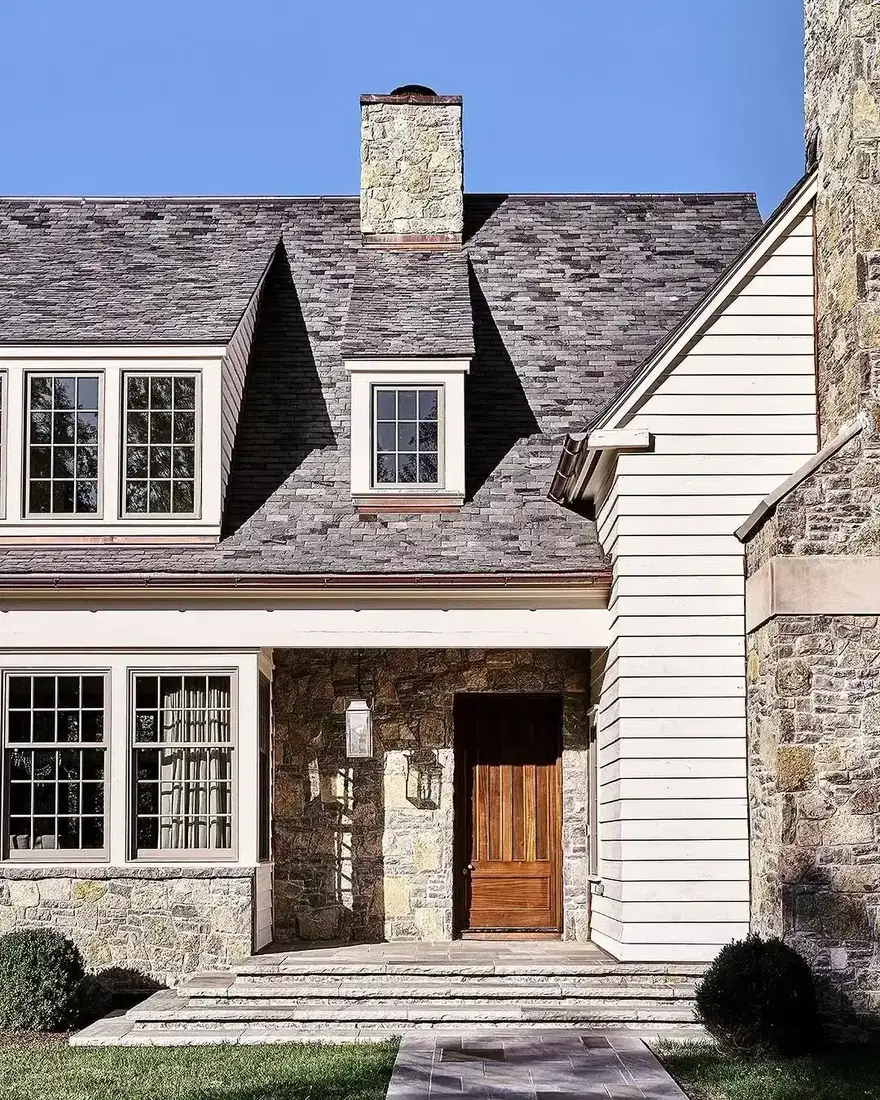
Study the stone and clapboard cottage with its slate roof and tall chimney. The grey slate does not match the limestone, it echoes its quiet temperature, so your base remains the warm note and the roof the cool one. If you chase an exact match, the house looks flat. If you pick a roof that fights the stone, the base looks pasted. You should lay a slate sample next to your stone in overcast light. When both look muted together without competing, you have the pair. The chimney then becomes a vertical exclamation that still belongs to the base family because its mortar matches the stone, not the clapboard.
Hold planting clear so the base stays legible
Notice the stone cottage with the black door and boxwood parterre. The box sits a little forward of the wall, and that small setback is what keeps your base readable from the street. When shrubs press against stone, you lose the shadow line that tells your eye where base stops and planting starts, and you trap damp at the very place you just detailed for water shedding. You can keep evergreen structure, just pull it forward so you see a strip of stone and a shadow at the foot. That strip also gives you room to step in and repoint or wash without hacking through foliage every time.
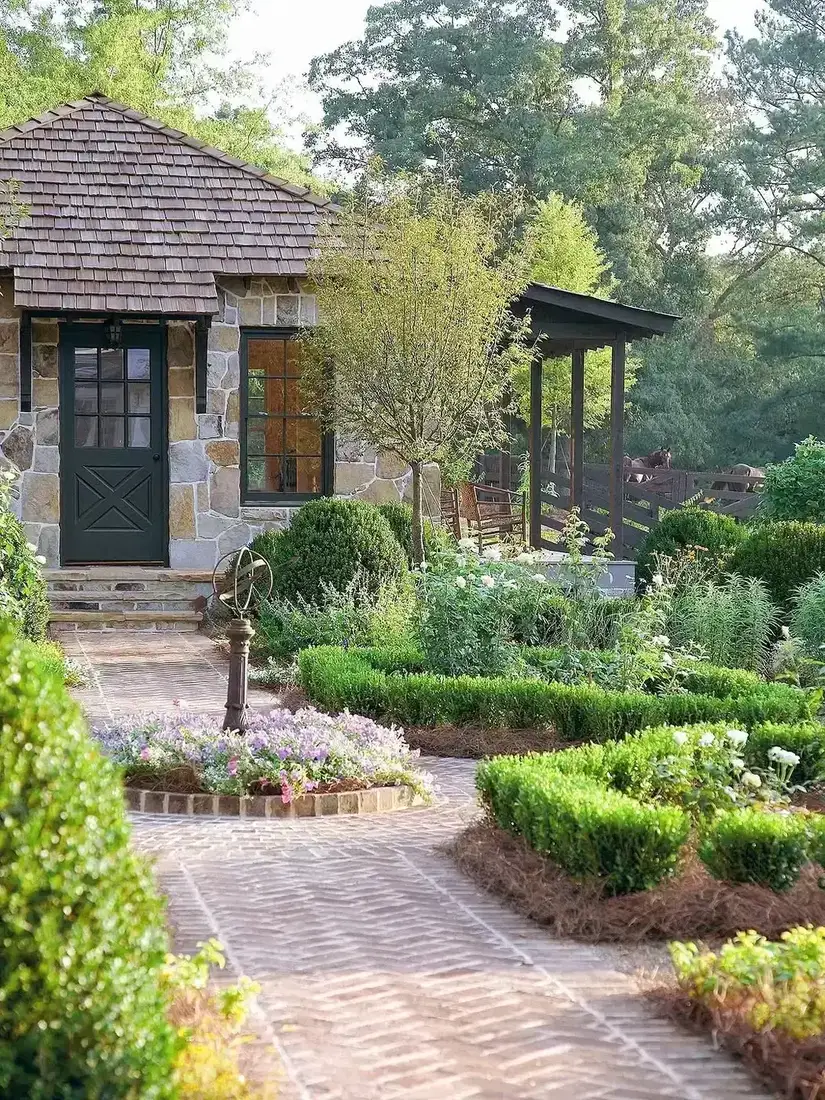
Run the base level even when the ground is not
The gravel courtyard cottage shares the same trick as the sloping barnwood house but in a flatter garden. The top of its stone reads level while the gravel sits a touch lower, creating a clean plinth line that your eye trusts. A base that follows a wavy grade line tilts the whole house in a photograph. You should insist on a level top course even if the footing steps below. Let the gravel handle the fall. When you photograph your own house, that level line is what makes the stone feel structural rather than decorative, and your door and windows sit more calmly above it.
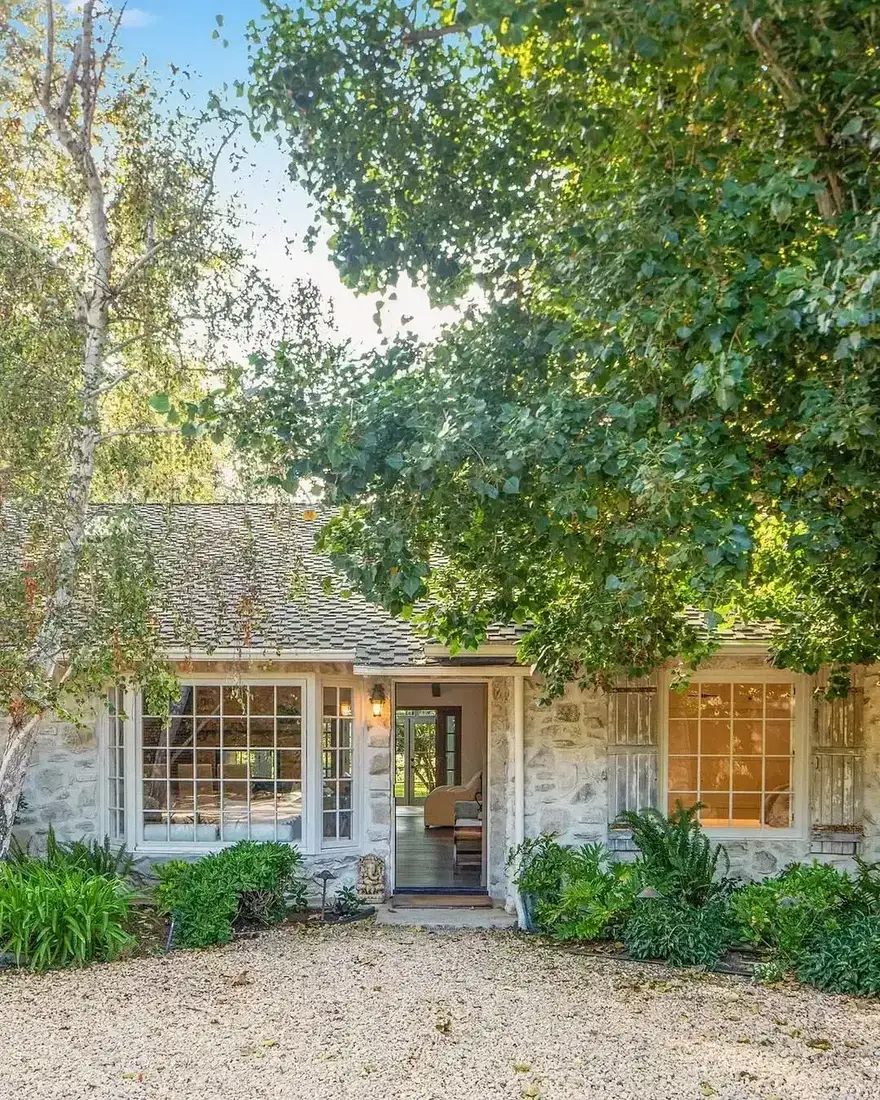
Ground finishes that respect the wall you already chose
The final pair deal with the foot of the wall, and keeping it dry.
Choose gravel at the foot to protect the stone
See the screened porch cottage where stone meets lawn. The stone stays dry because the immediate edge is not soil but a narrow band of gravel that splashes less and drains fast. Soil or paving held hard against the base pushes water back into the wall and stains the lowest stones. You want that permeable edge so rain hits, breaks, and leaves. If you love a lawn, keep it slightly lower than the top of the gravel and mow with the discharge away from the wall. Your base will hold its color longer, and you will spend far less time scrubbing green off the lowest course. The same gravel logic calms a garden decor setting without adding more color.
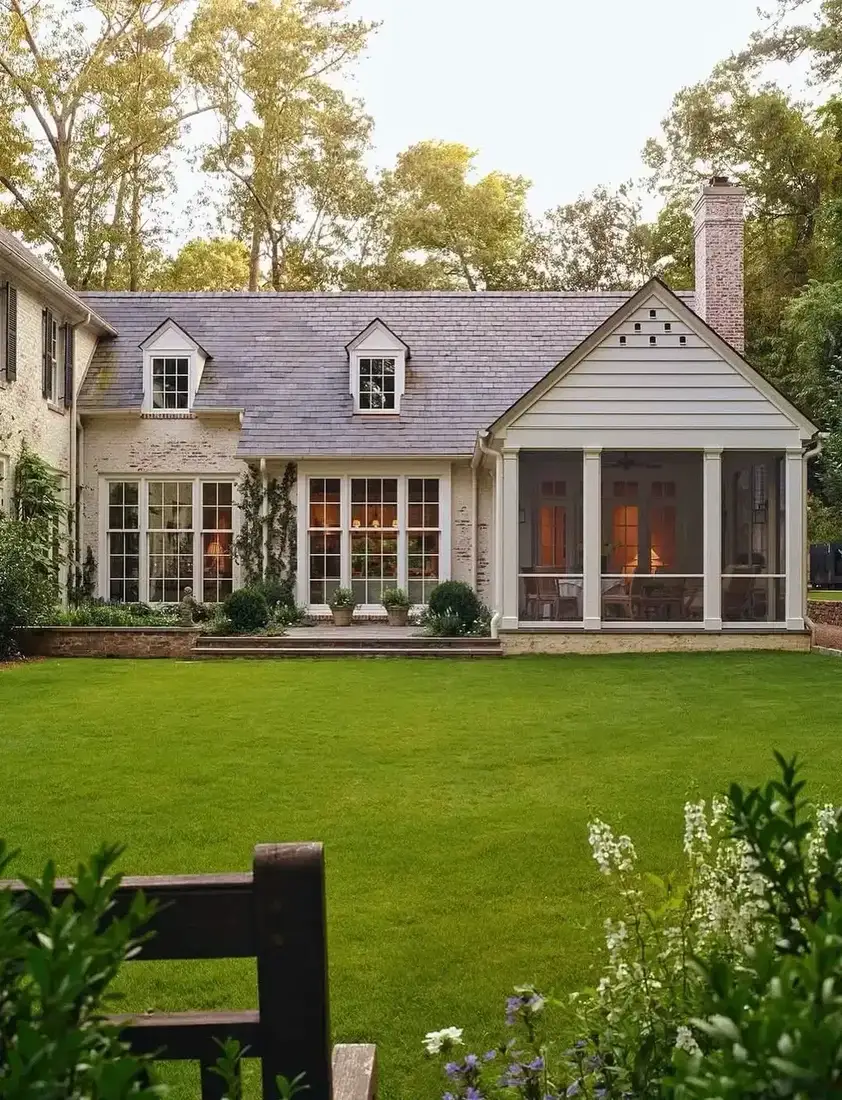
Lighten the wall above so the base reads as base
Consider the final cottage with its slate roof and gravel drive. The limey stone base feels heavier than the pale clapboard and the soft white trim above, and that weight difference is what makes you read base and wall as two considered layers. If you paint the upper wall in a deep or muddy tone that weighs as much as the stone, the line disappears and your expensive base becomes a stripe. You should keep the upper cladding lighter and quieter so the stone anchors the view. When you test paint, hold the chip next to the stone in morning and late afternoon. The base should stay the warmest, densest note at the bottom.
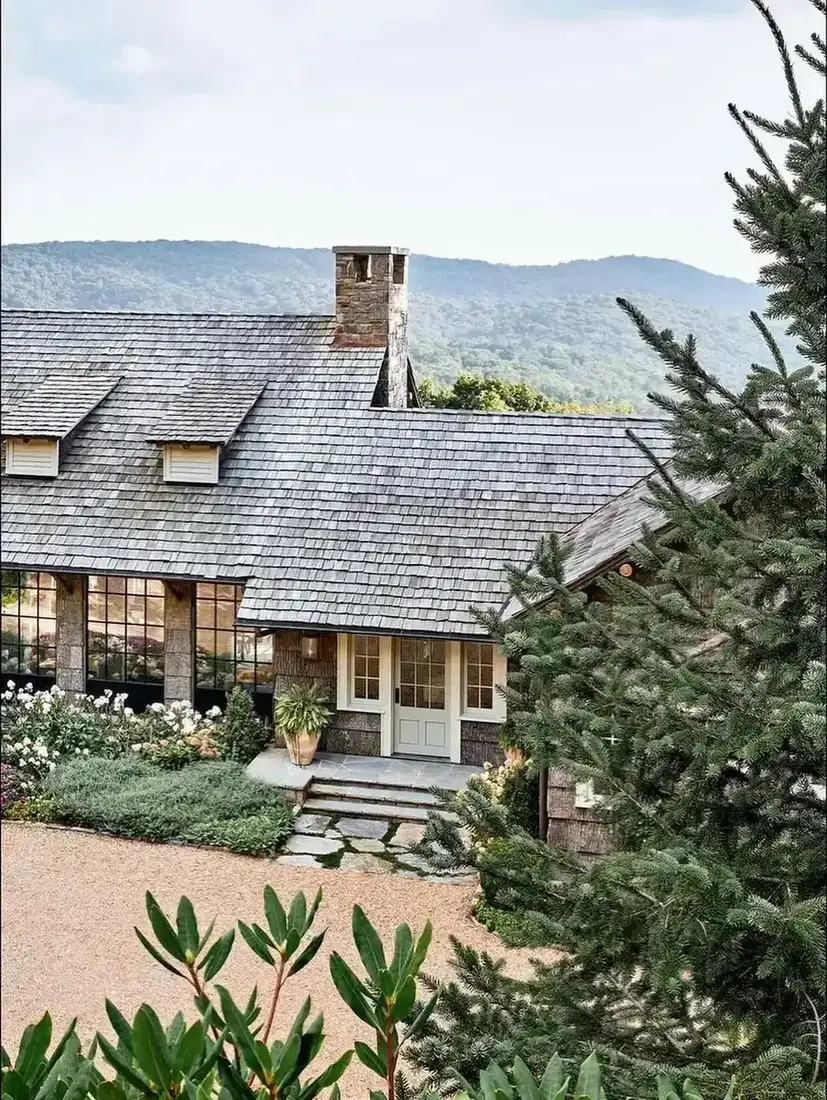
Stone, base and ground choices at a glance
| Choice | What it does to stone | Use it when | Watch for |
|---|---|---|---|
| Stop at existing line | Makes base read as structure | Any stone base | Height picked by eye alone |
| Drip or flashing at joint | Throws water clear of top course | Where siding meets stone | Paint tight to stone with no overhang |
| Gap above stone | Stops wicking into timber | Any timber or board above stone | Board sitting directly on stone |
| Step with the slope | Hides foundations on graded sites | Sloping or uneven ground | Exposed concrete plinth |
| Mortar matched to stone | Lets stone shape lead | Any stone base | Mortar matched to wall above |
| Gravel at foot | Drains and reduces splash | Every stone base | Soil or tarmac hard against stone |
The Stone Base Formula
- Stop the stone where the house already has a line. Sill, floor, or water table, not a number you liked in a photo.
- Flash the joint and add a drip. Water must not run from siding into the top of the stone.
- Hold timber clear of stone. Leave air and a visible shadow gap at the bottom of your cladding.
- Let a sloping base step with the land. Keep the top level, let the footing step below.
- Match mortar to the stone itself. The joint should recede, the stone should lead.
- Keep gravel at the foot and planting off the face. Dry feet and air keep the base honest for decades.
Work through those six and your partial stone wall will look like it was always there, even if you added it last year. The rest of the front is covered across our home exterior guides.
Frequently Asked Questions
Where should a stone base stop on the house?
At a line the house already owns, such as a floor level, a window sill line, or a water table. That alignment makes the stone read as part of the structure. An arbitrary height chosen by eye almost always looks stuck on.
What keeps water out where stone meets siding?
A flashing tucked behind the siding with a drip edge that throws water clear of the stone. Without that, rain runs down the wall and soaks the top course, which peels paint and stains the stone.
Can my siding sit directly on the stone?
No. Timber or board that sits directly on stone wicks moisture and will soften and rot from the bottom. Keep a clear gap above the stone so air can move and you can repaint the lower edge.
Does a stone base work on a sloping site?
Yes, that is where it helps most. You keep the top of the stone level and let the courses step down with the grade, so you avoid a bare concrete plinth showing above ground.
What color should the mortar be?
Match it to the stone’s own tone, not to the paint above it. When the joint disappears a little, the stone shape does the talking and the wall reads calm.
Do I need gravel at the base of a stone wall?
You do if you want it to stay dry. A narrow gravel band at the foot lets splash drain and dry, while soil or tarmac against the face holds damp against your lowest stones.
This article may contain affiliate links. We may earn a commission at no extra cost to you.